I’d planned a tutorial on how to finish a bell pull but didn’t quite get my ducks in a row. Oops! I was more than half way done before I realized that I didn’t take any progress photos.
So instead of a tutorial, I’ve taken some close ups of the finished bell pull with commentary and tips on how I finished this piece.
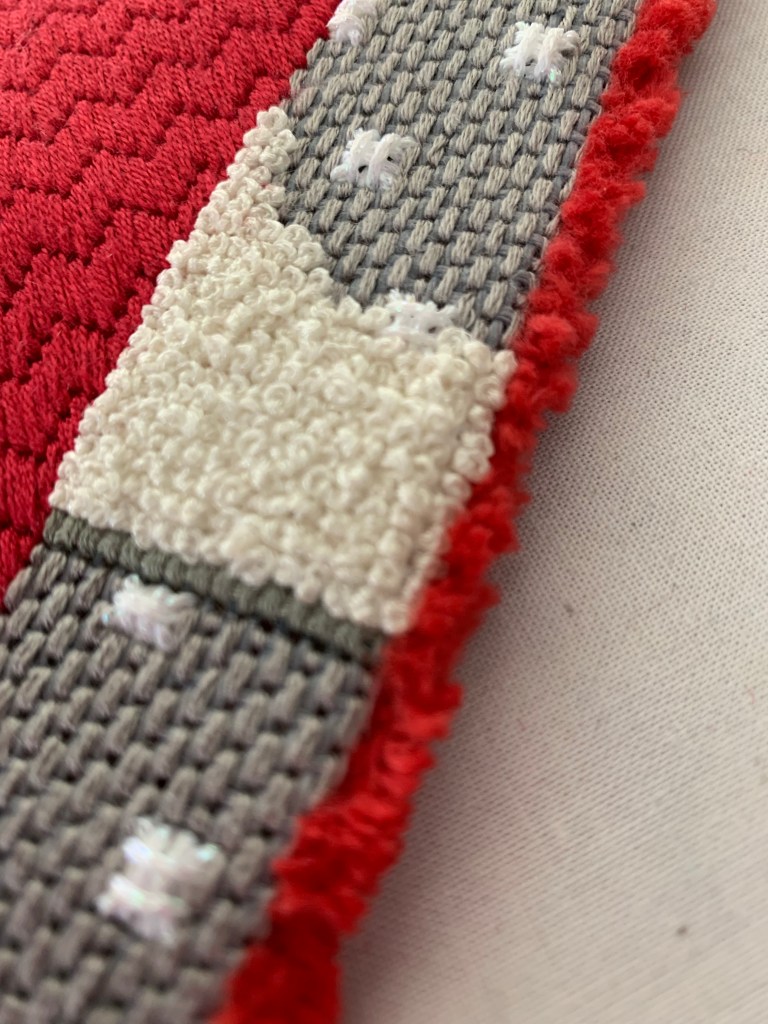
On adding interfacing – I always add a layer of interfacing or quilt batting, between layers to add stability to the finished piece. Even though the monocanvas that this piece was stitched on is very stiff, I found that the added layer of quilt batting gives it just that little extra …. oomf (is that a word??)
In addition to stability, I find that with the holes being quite large on the monocanvas, you can get some “bleed through” of the backing fabric/interfacing colour (in this case, red). The batting helps block the colour from showing through the holes and gives the stitched front a nice, solid, clean look.
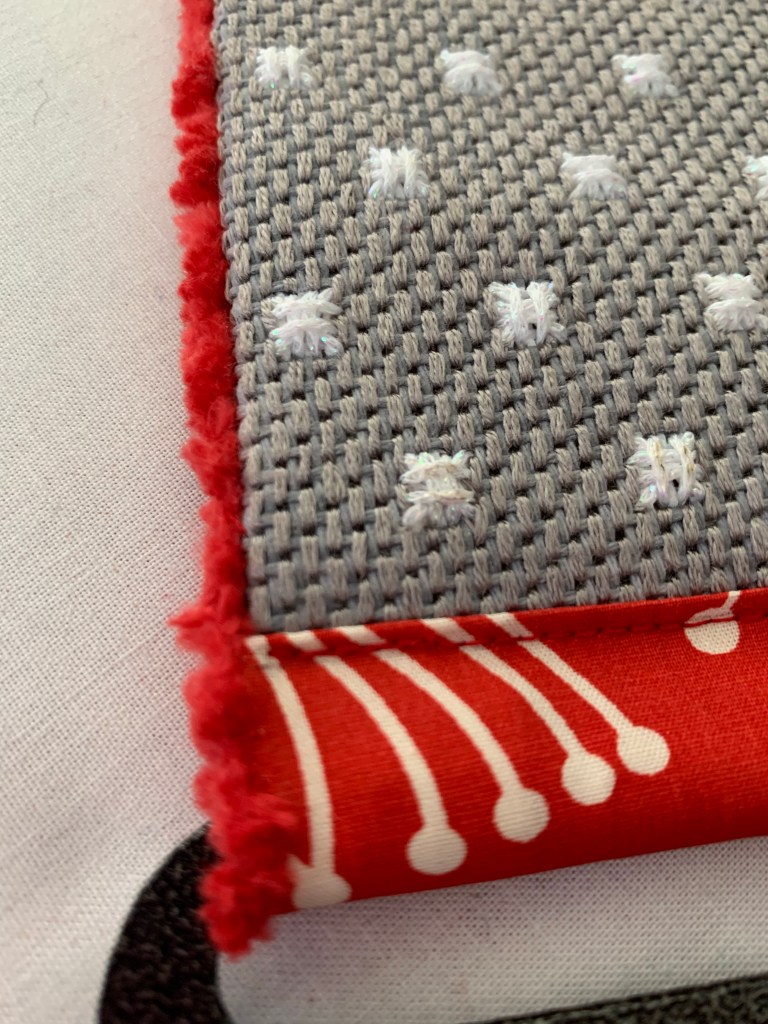
I finished the long seams on this piece with my sewing machine (down each side and across the bottom, creating a pocket for the bell pull hardward to be inserted). The pocket is secured by top stitching on the machine. The chenille trim is sewn on by hand.
I’m a huge fan of chenille trim and have decided to use it on the bell pull. It is very forgiving and easy to attach to any project. This trim is “Sizzle” from Lady Dot Creates (link to her Etsy site below). I’m also a HUGE fan of her pompom trim – both trims are excellent for finishing!
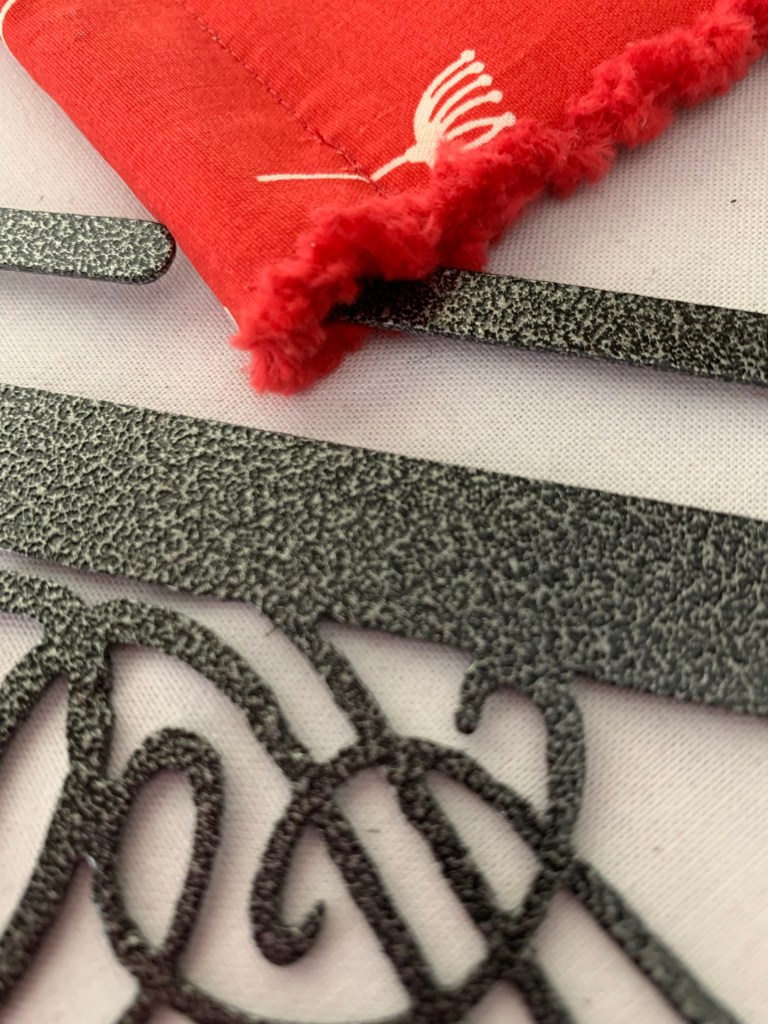
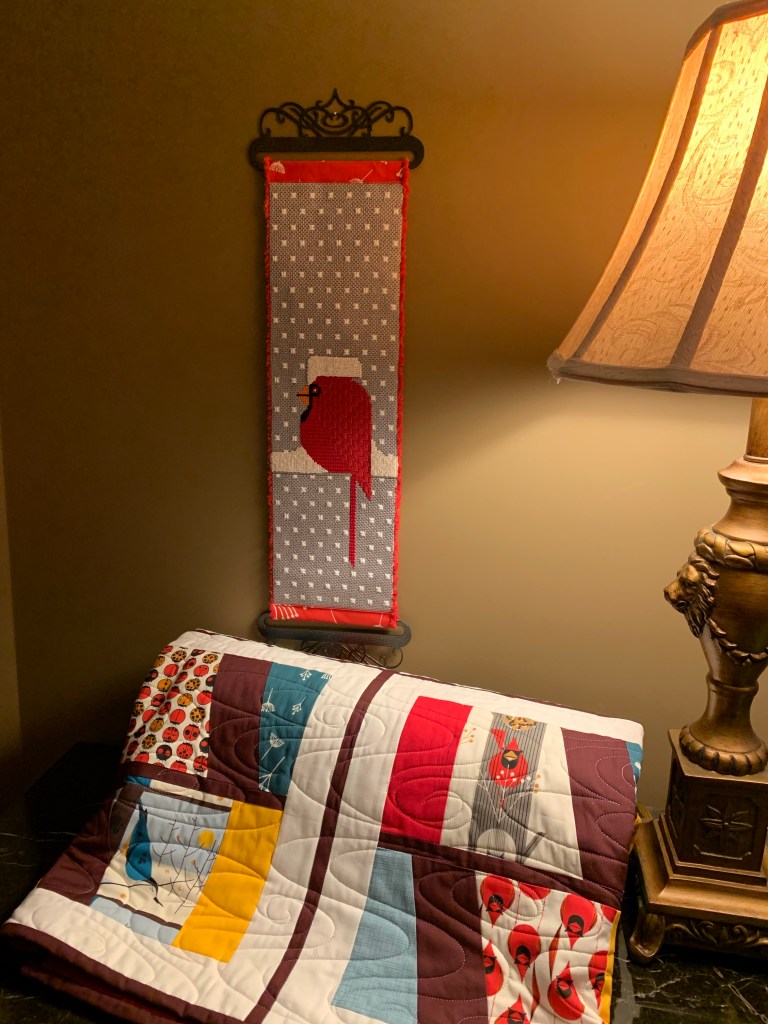
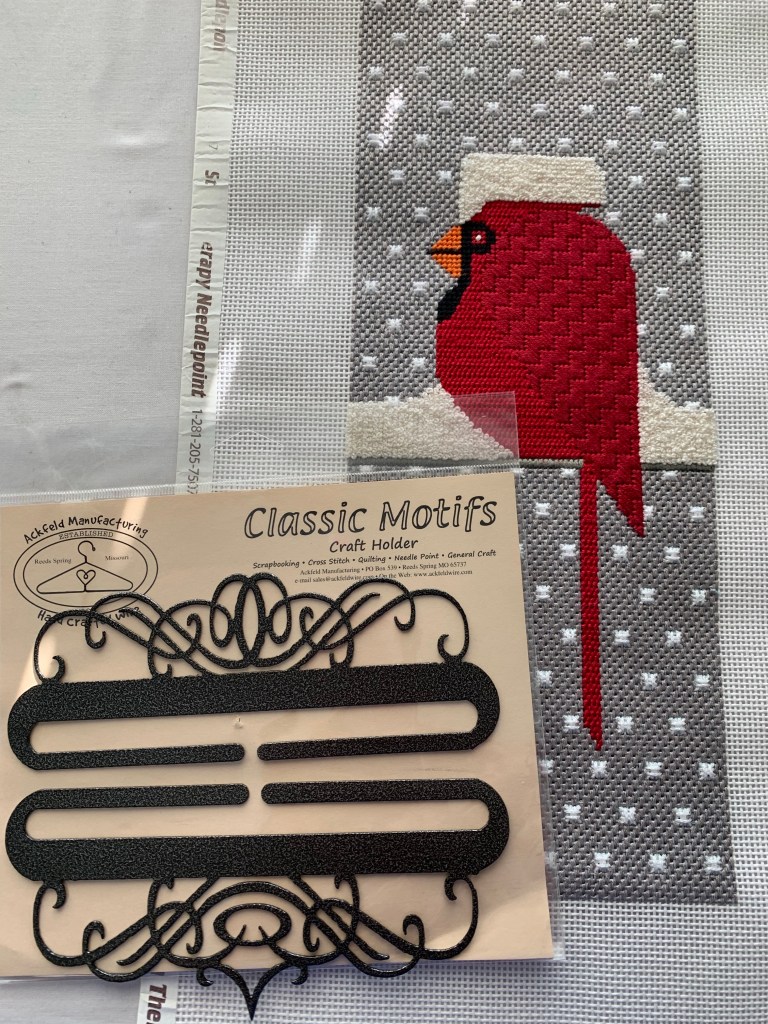
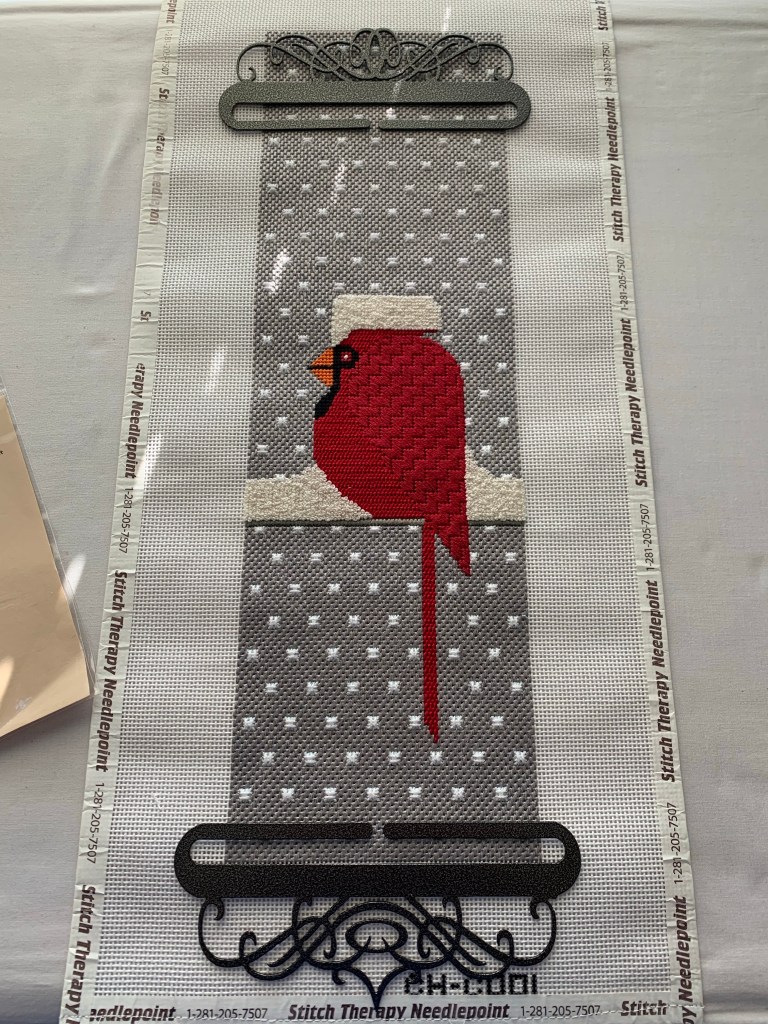
I really liked using this bell-pull hardware. It was very easy to insert into the pockets on the bell pull! I purchased them from a wonderful new local embroidery store – Calgary Embroidery Marketplace. The owner has a wonderful website and is always looking for and adding new product to her site!
Here’s the link directly to the bell pull hardware (what can I say, I’m an enabler)!
If you don’t see what you like on the site, contact Jennifer directly, she can send you a file with literally a hundred different bell pull hardware to choose from!!

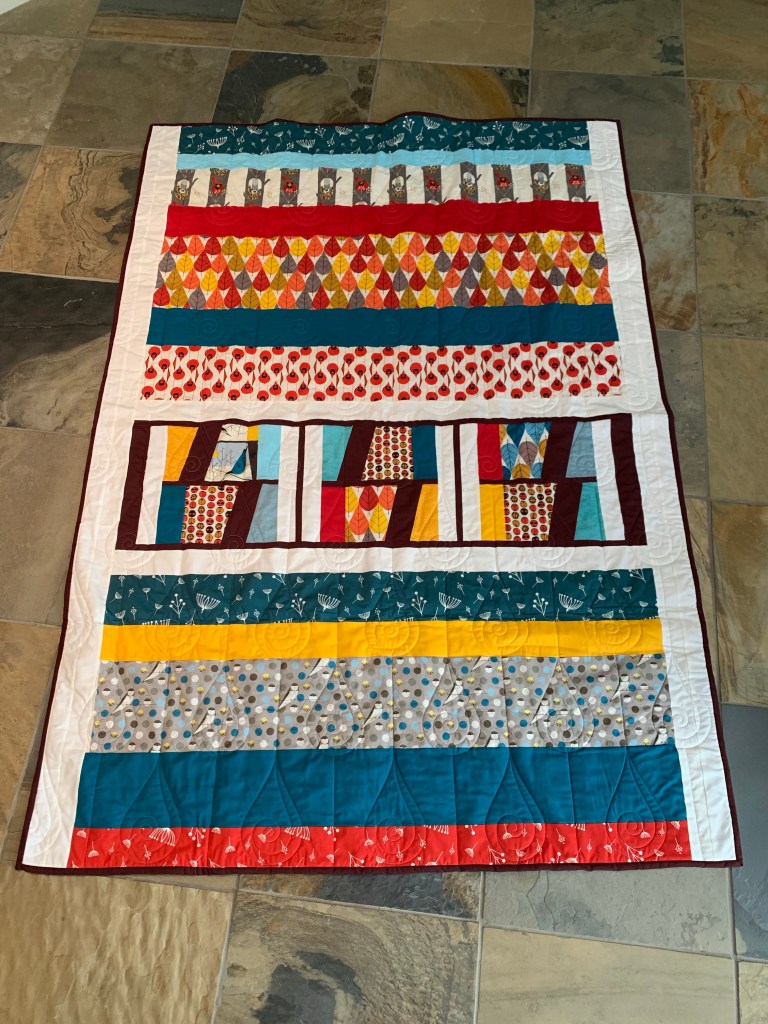
My quilts! I finished them both last year and have finally taken some decent pictures of them. They are both backed with bright red fireside The bell pull is a perfect complimentary piece!

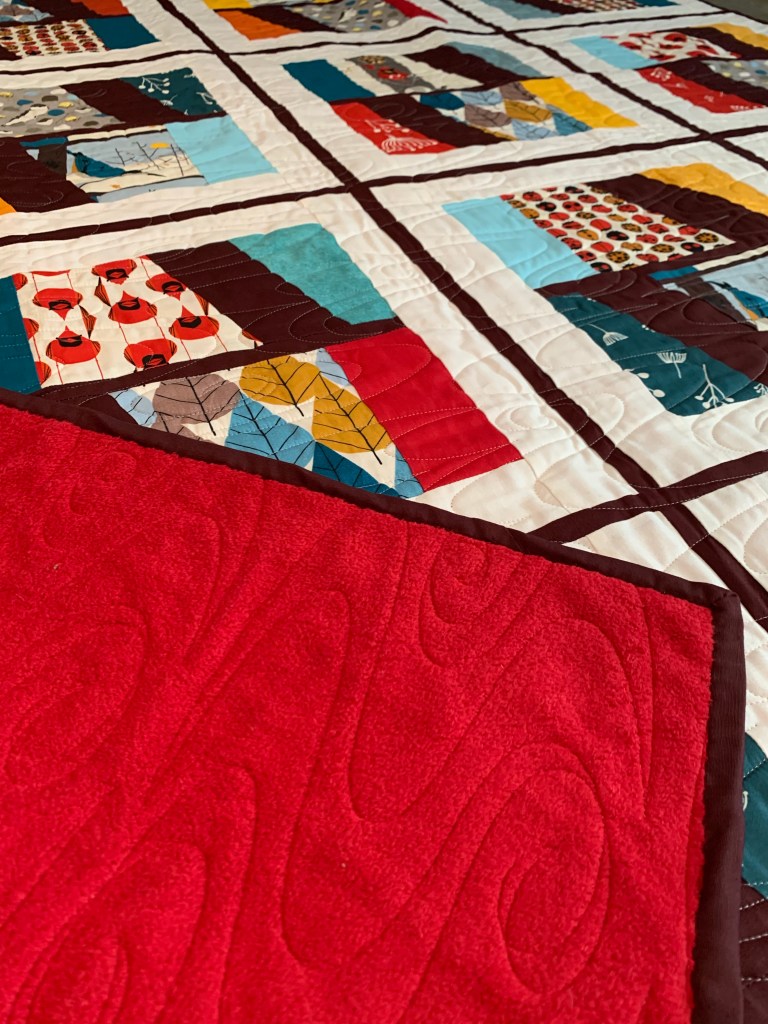

I love the raindrop quilting design!

