I have been working away on two different strawberry projects. The first (which has become a long term) project is the Erica Michael’s “Twelve Days of Christmas” Strawberries.
Eventually I will finish my berries… Sigh….
Although I love these little berries, it has been a slow go as I only work on them once in a while. That being said, I am working on strawberry number 8 now and am nearing the end of this project (more to come!)
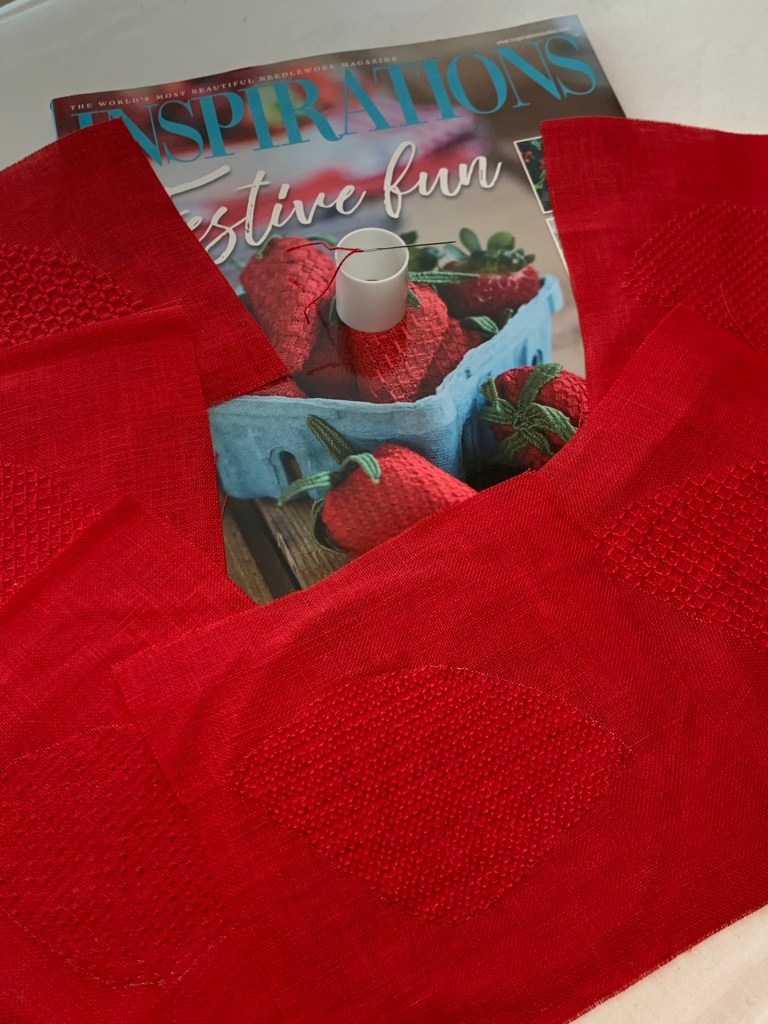
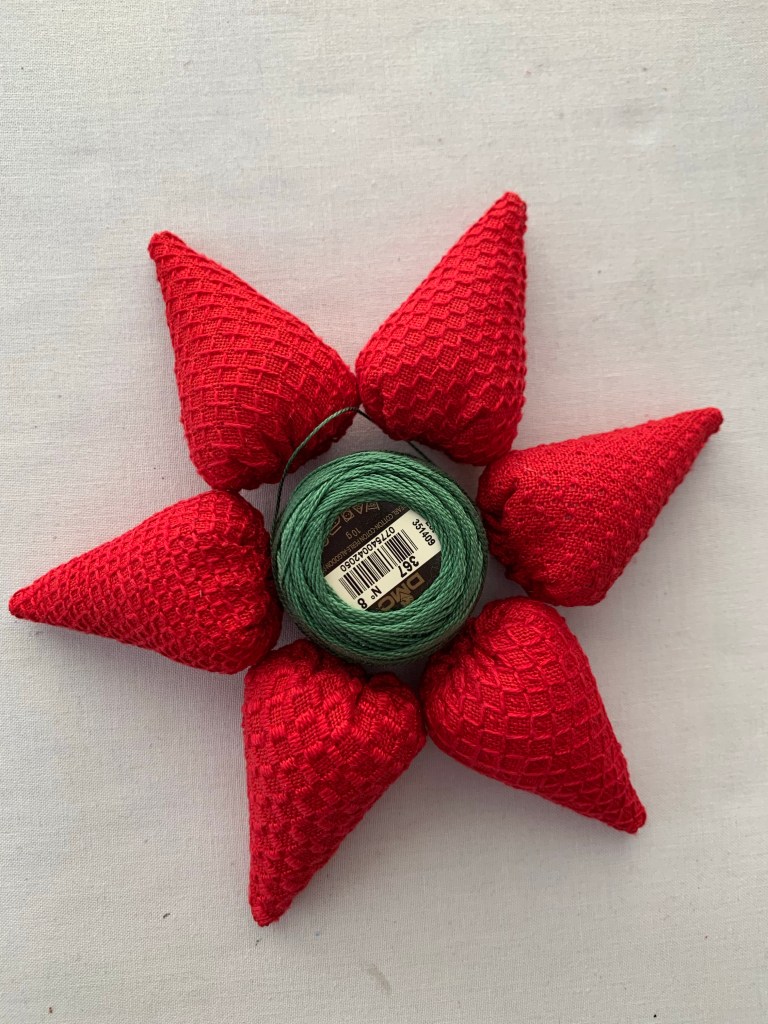
I’m always looking for smaller projects that I can take with me and when I saw the “Festive Fruit” projects in an Inspirations magazine, I knew immediately that this was the project for me!
I managed to stitch all of the strawberries during a camping trip in June this year. We hiked, biked and went canoeing! Such fun! And in the down time, I stitched up these beauties!!
I’ve been itching to finish these strawberries since we’ve been back from our holidays.
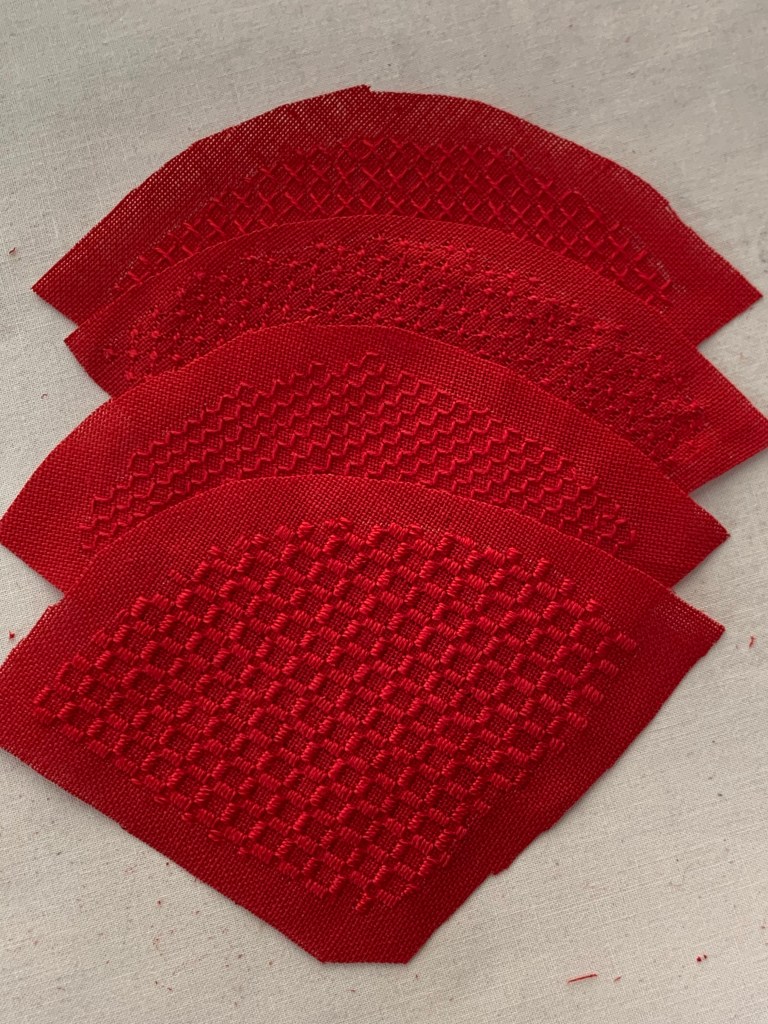
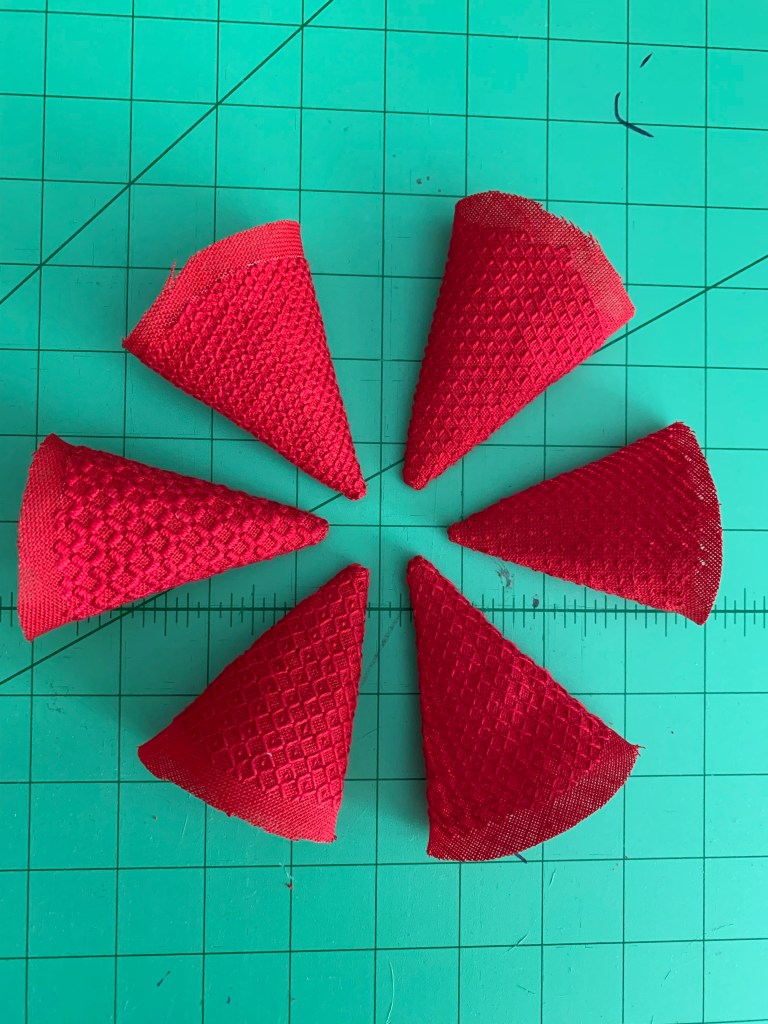
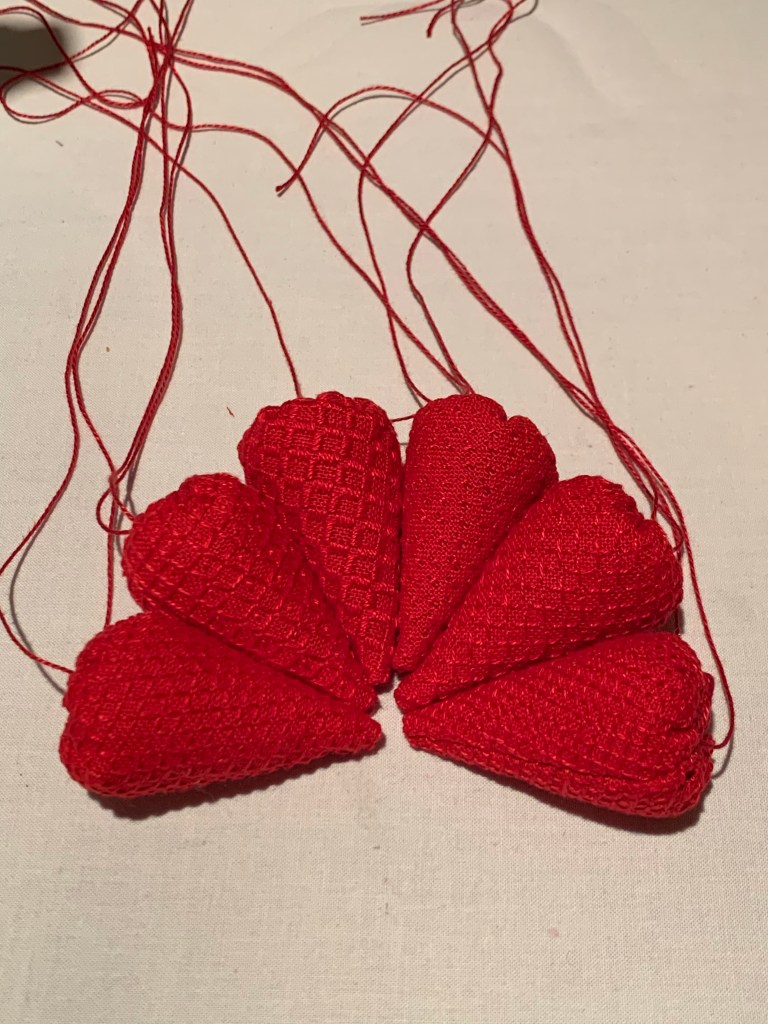
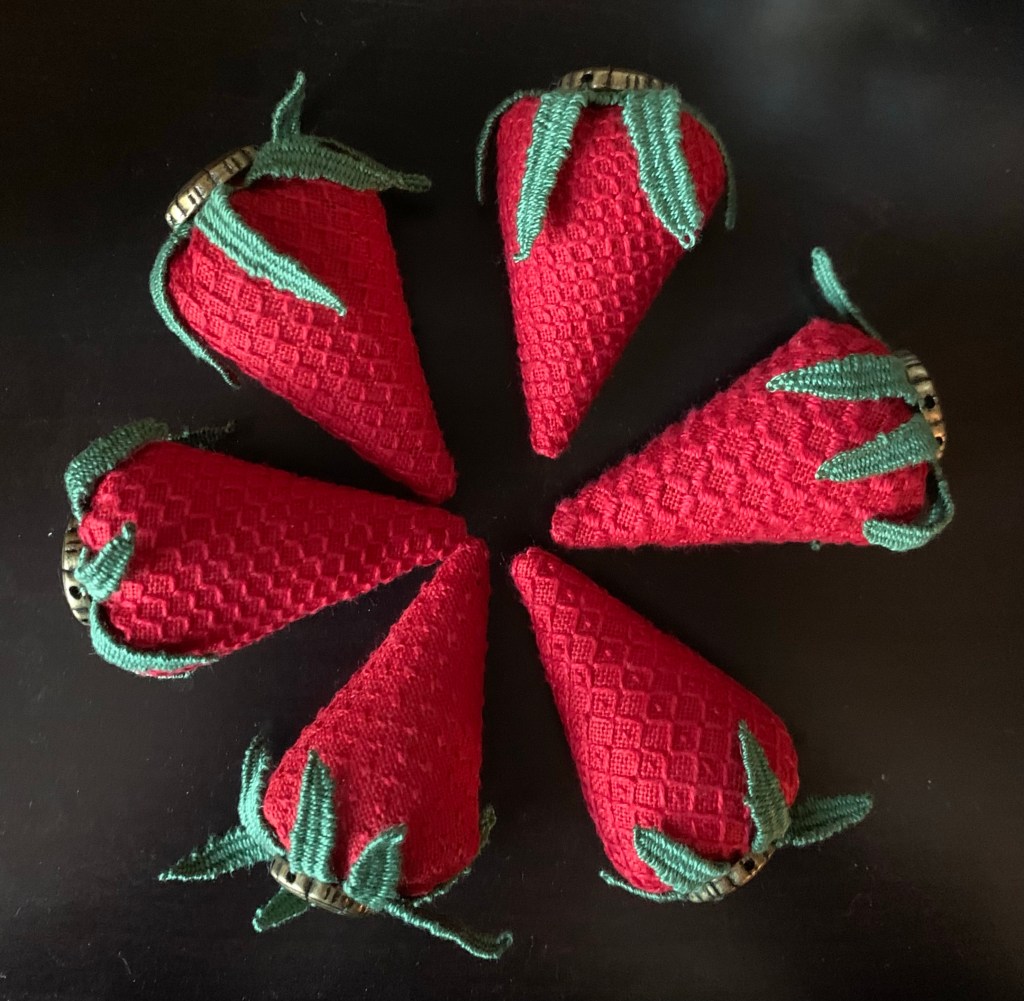
Here’s all six – ready to finish!
Strawberry Finishing Instructions
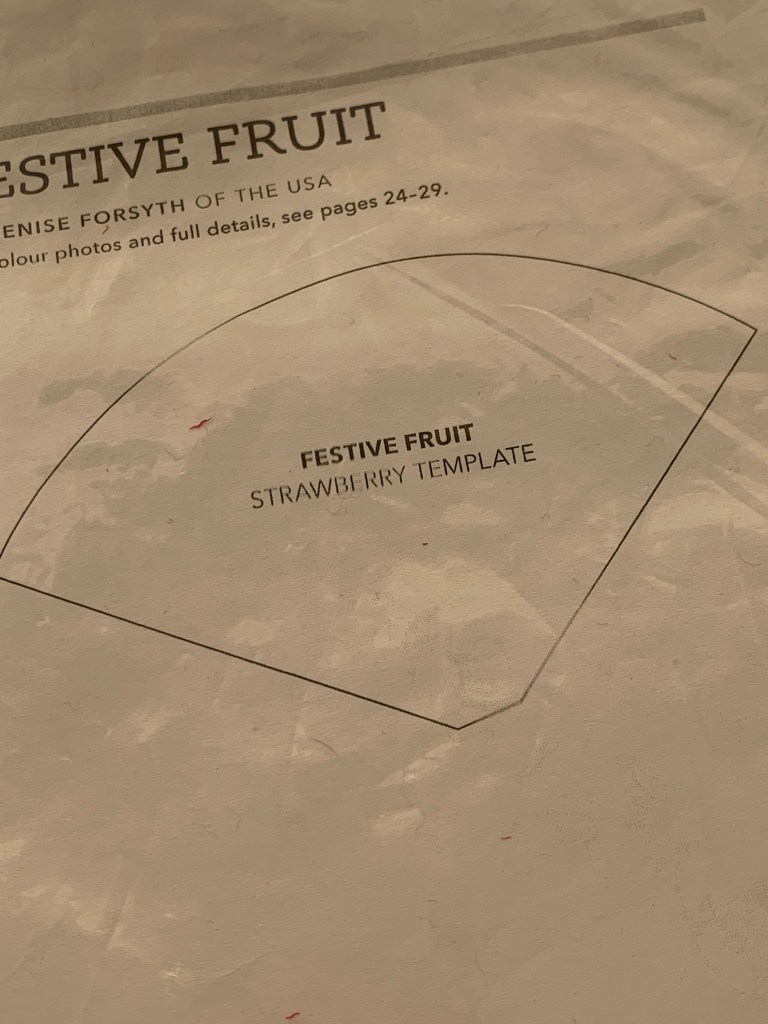
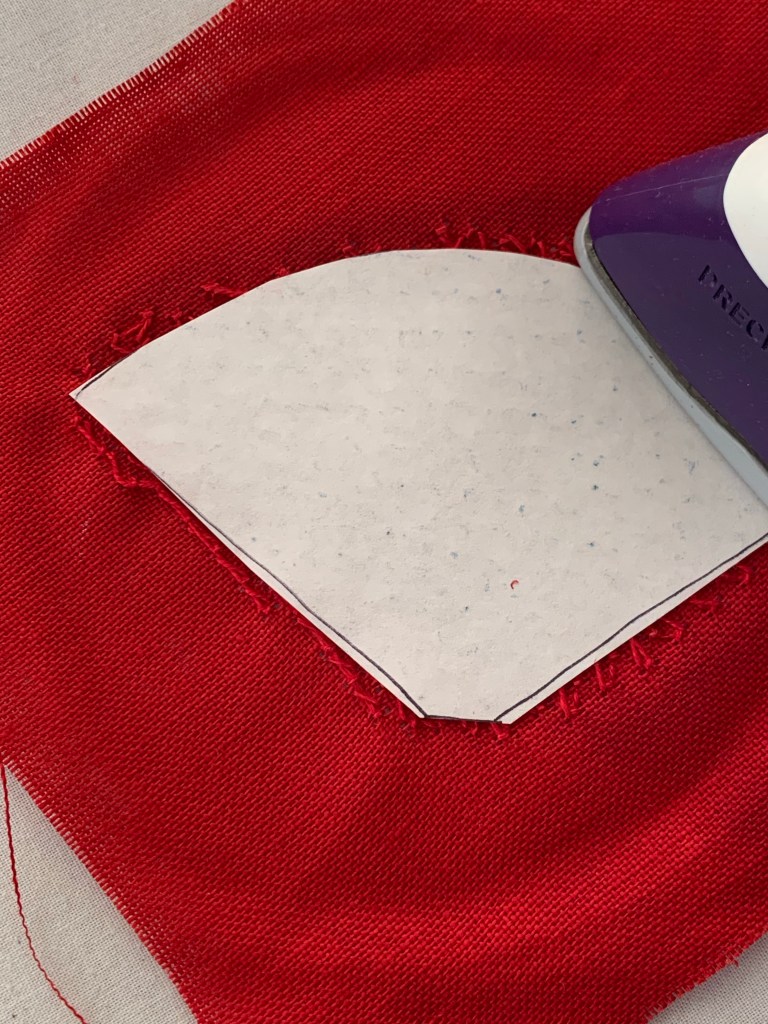
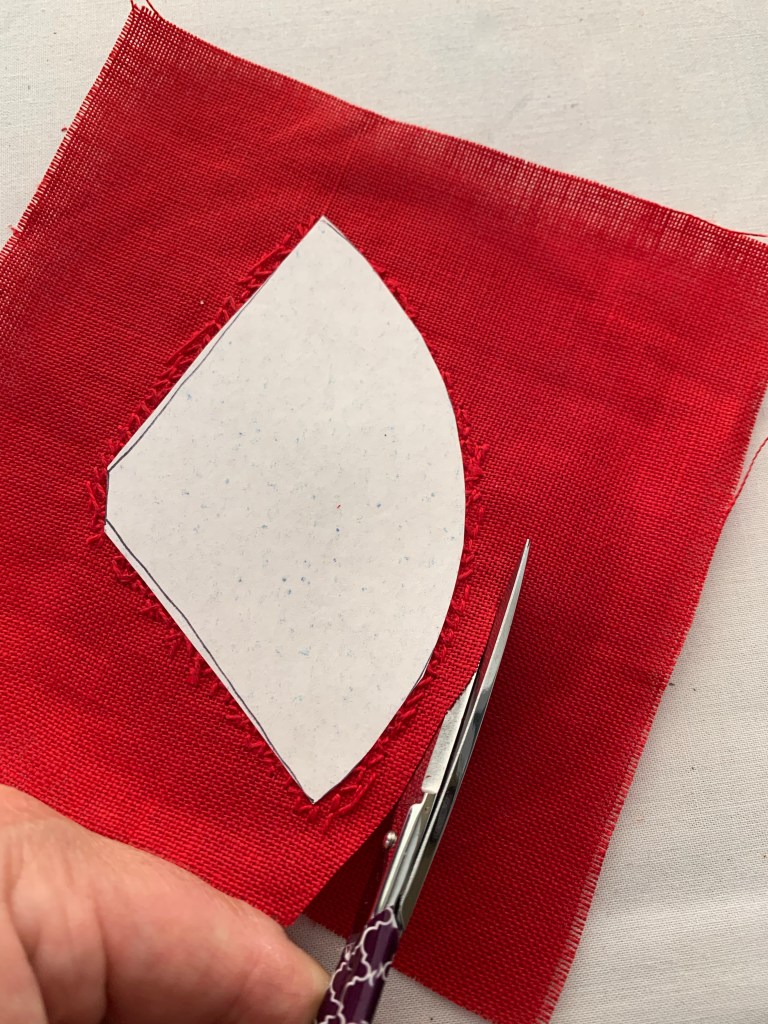
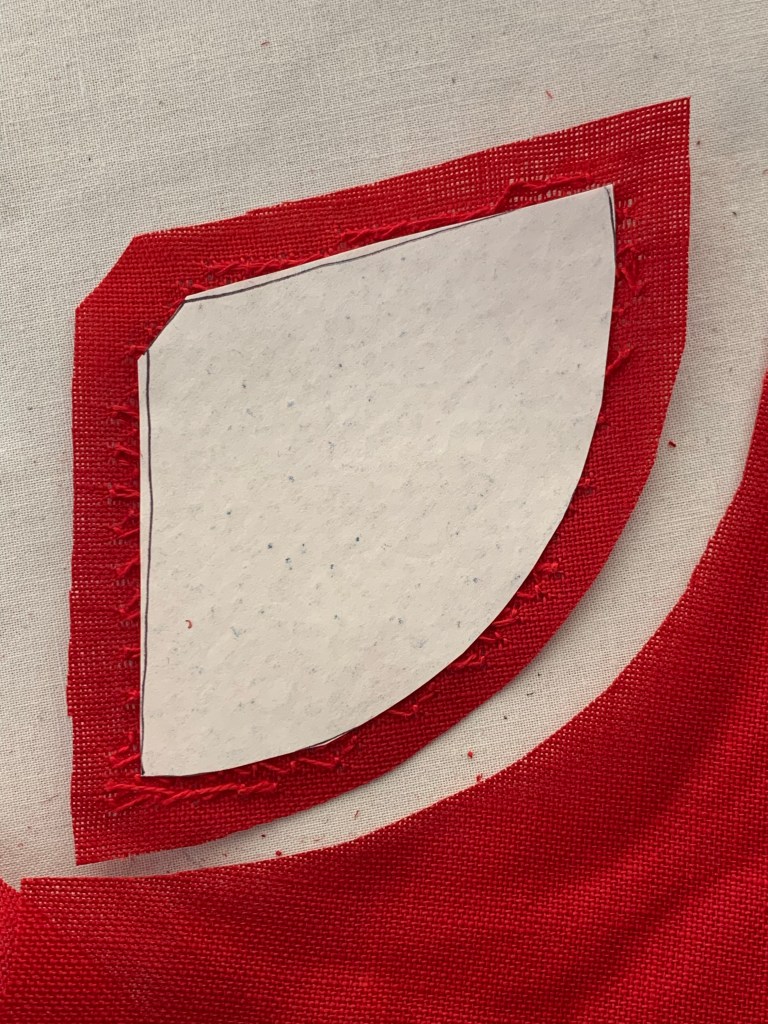
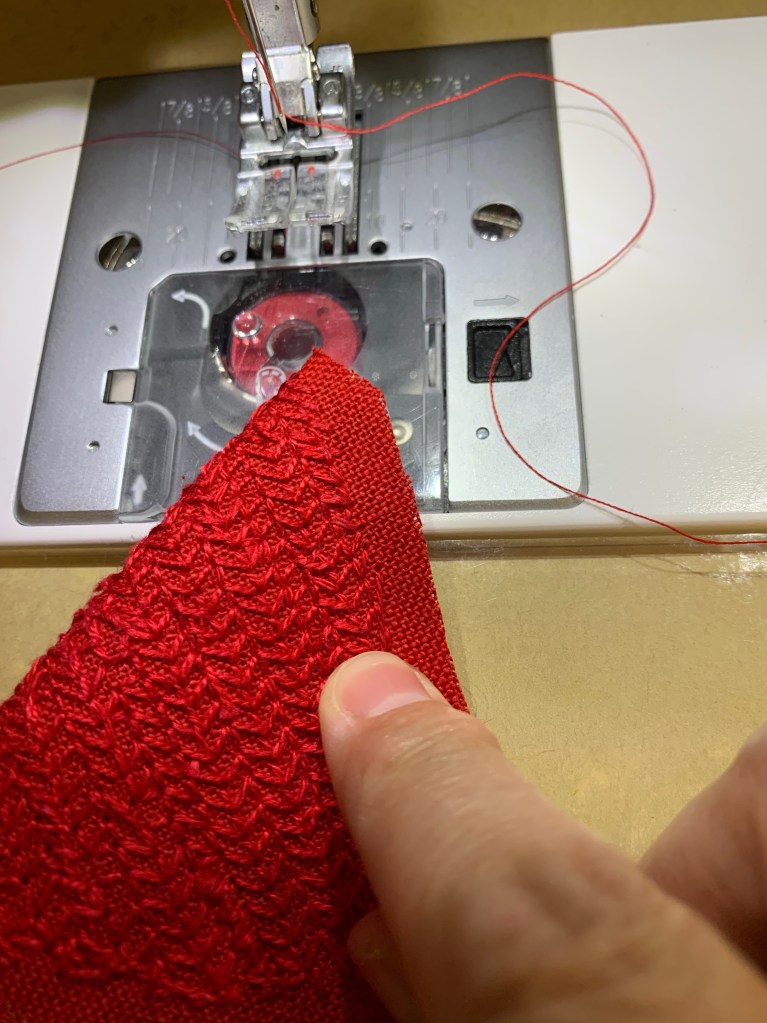
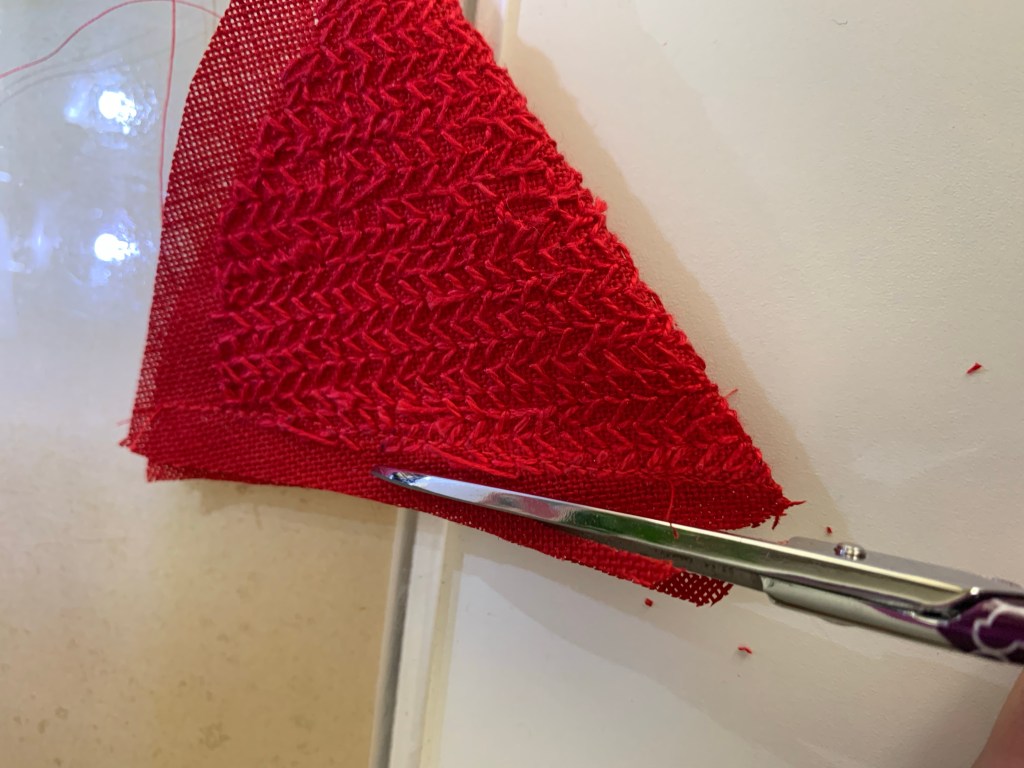
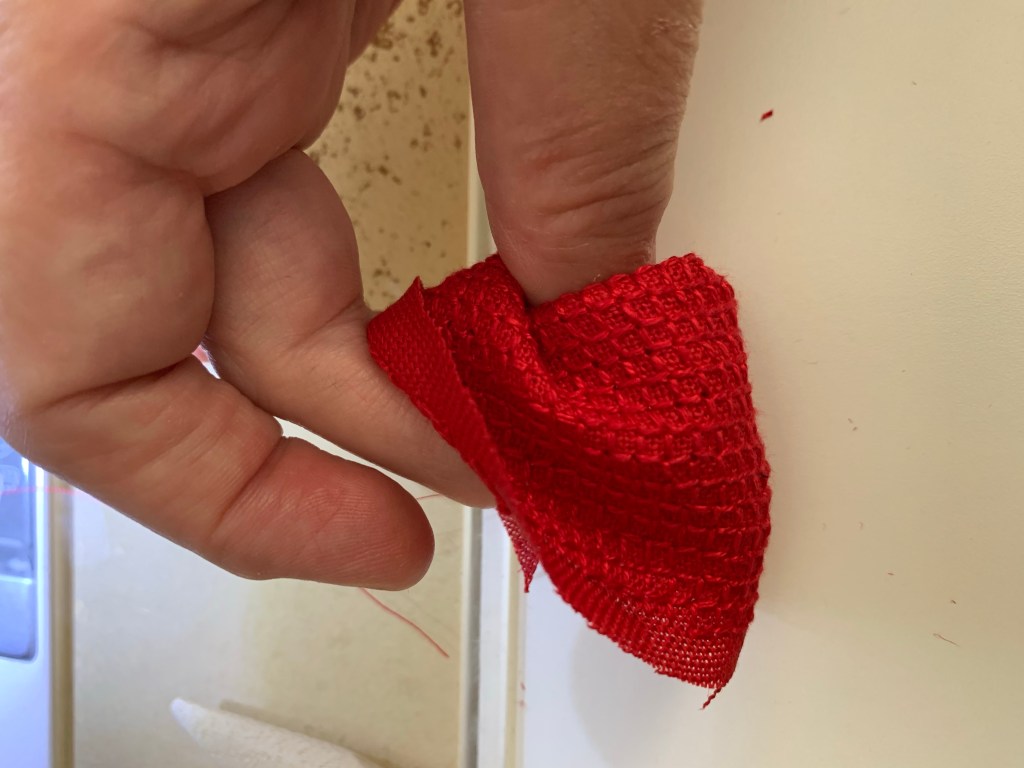
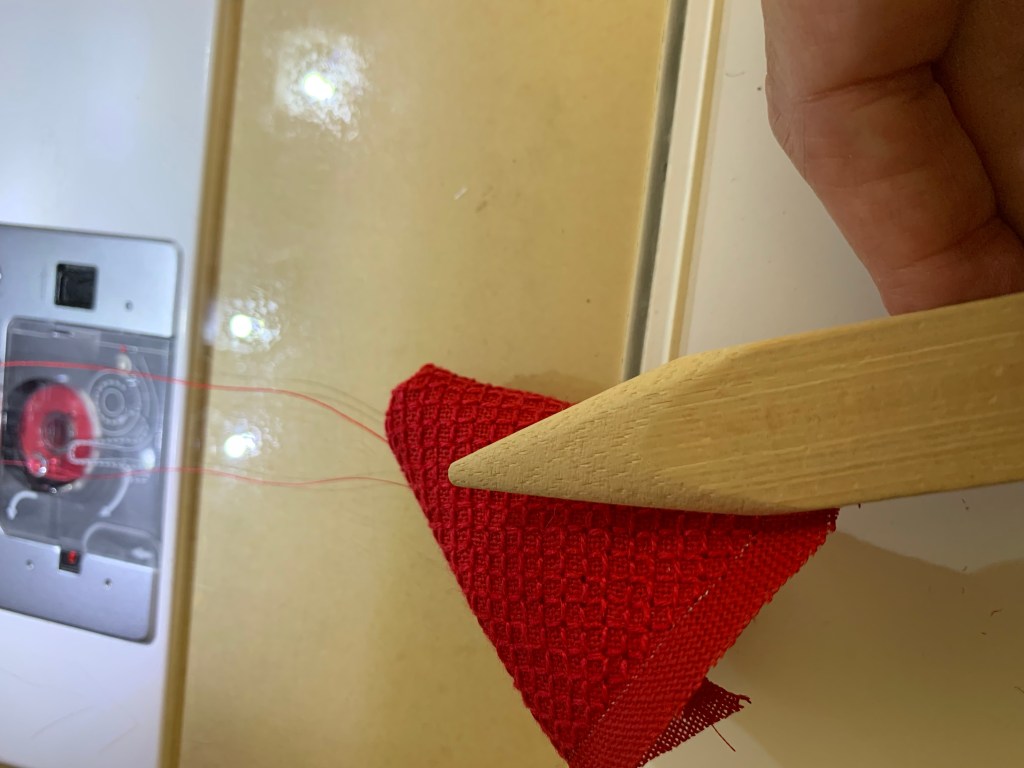
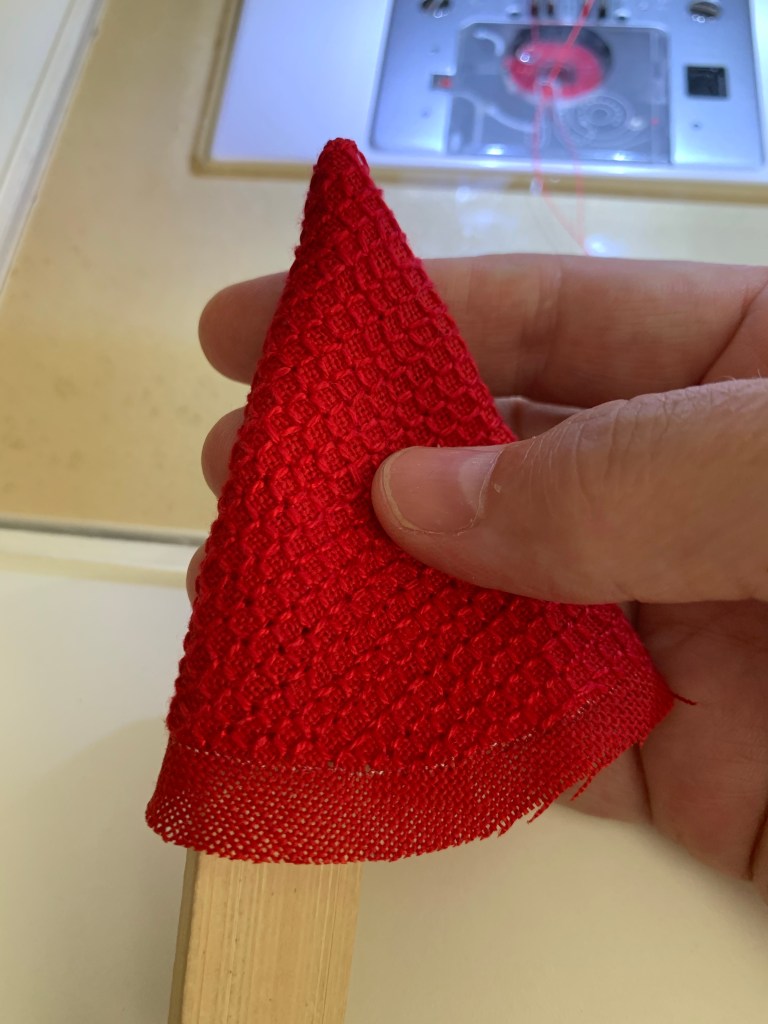
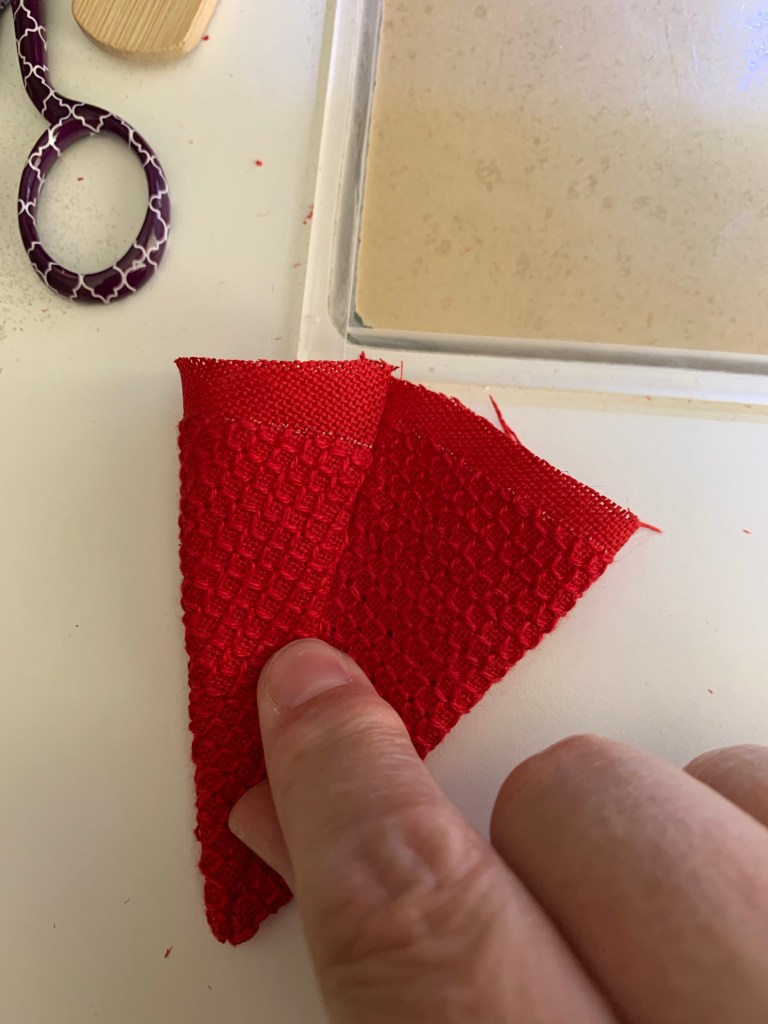
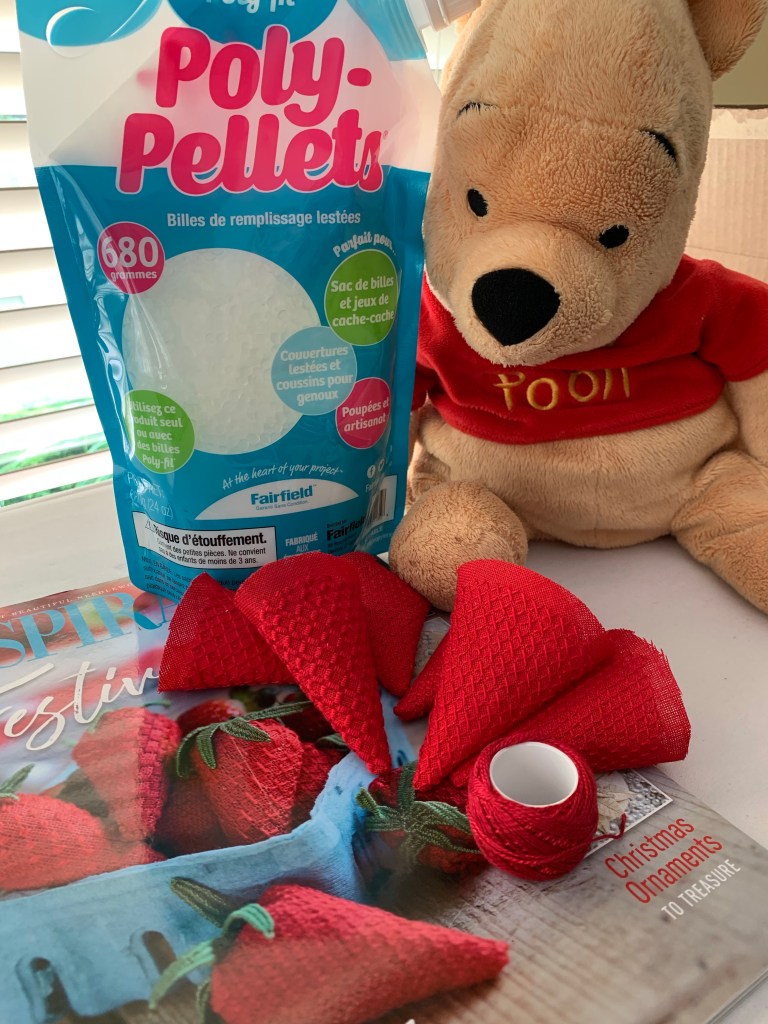
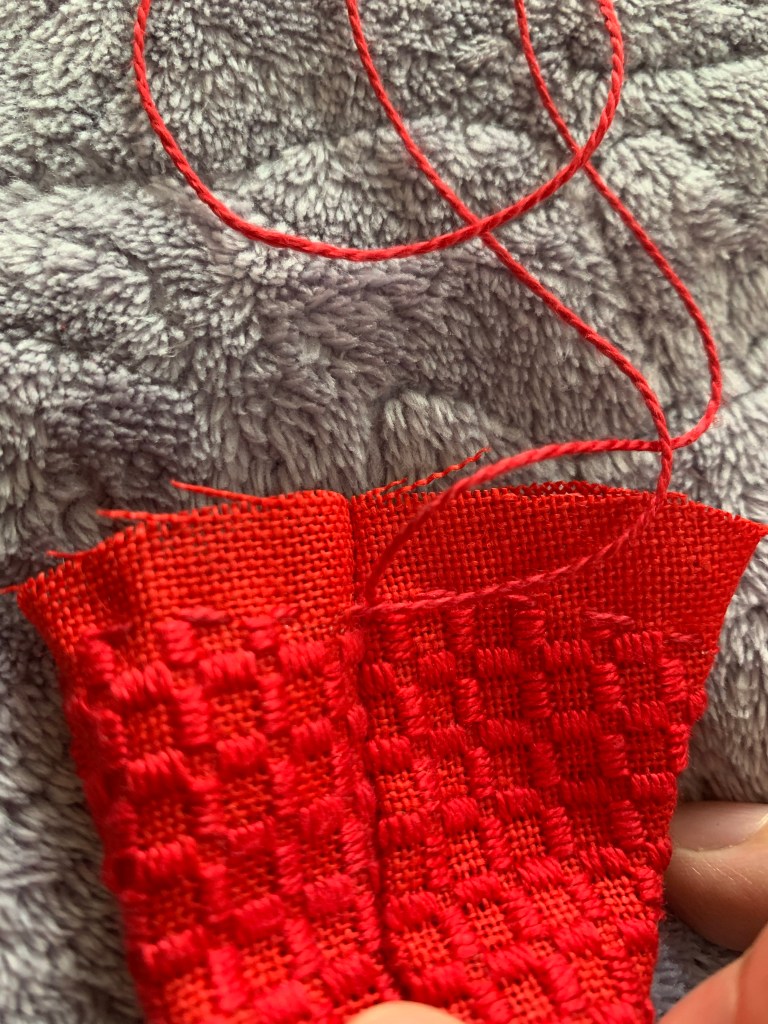
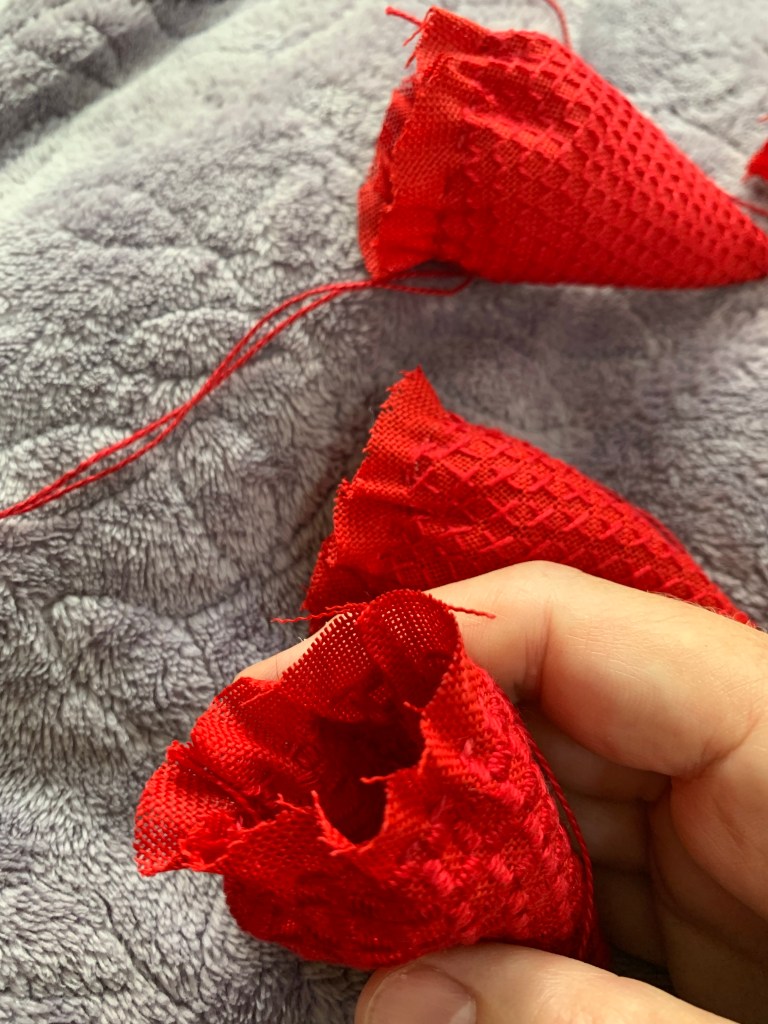
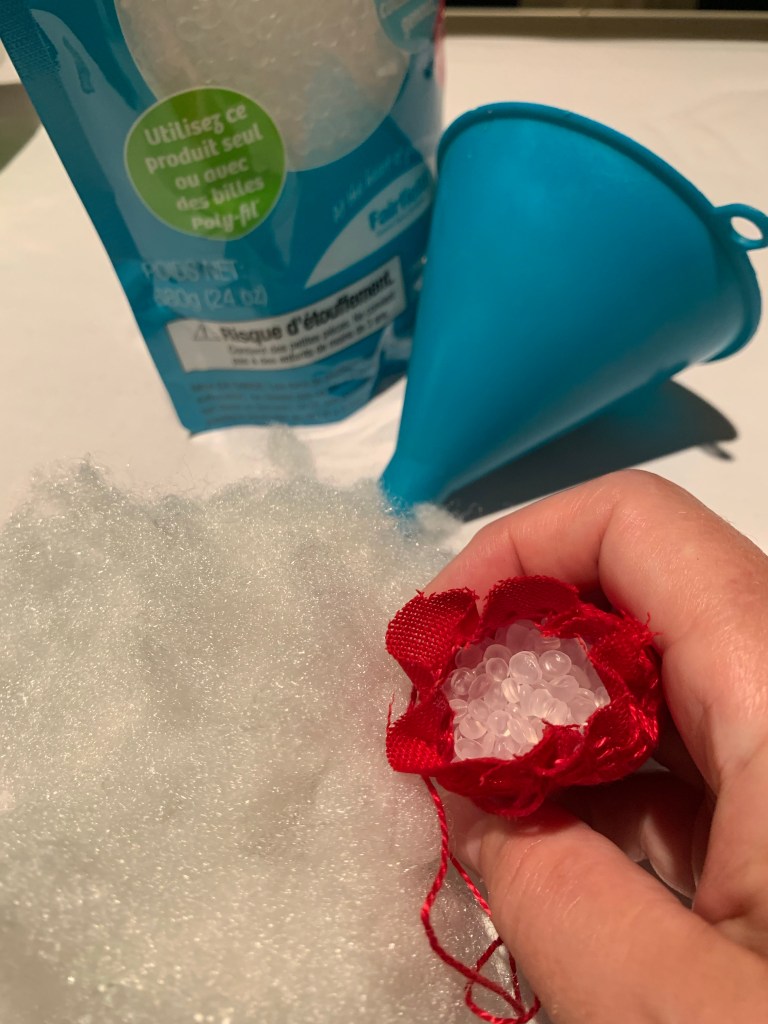
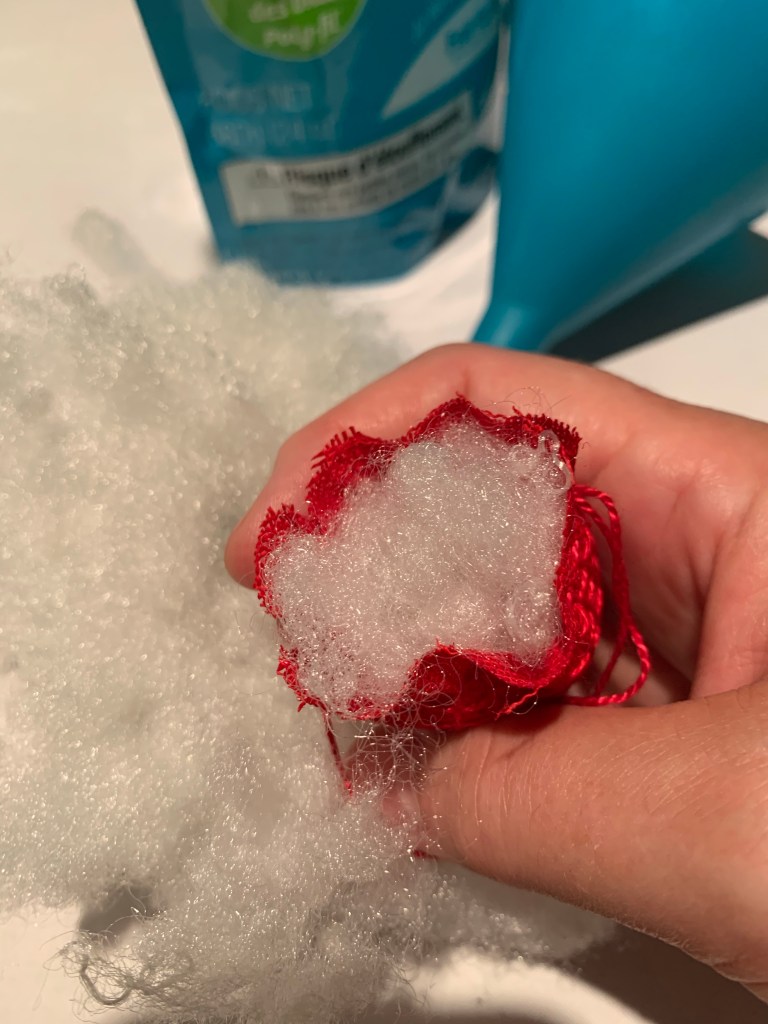
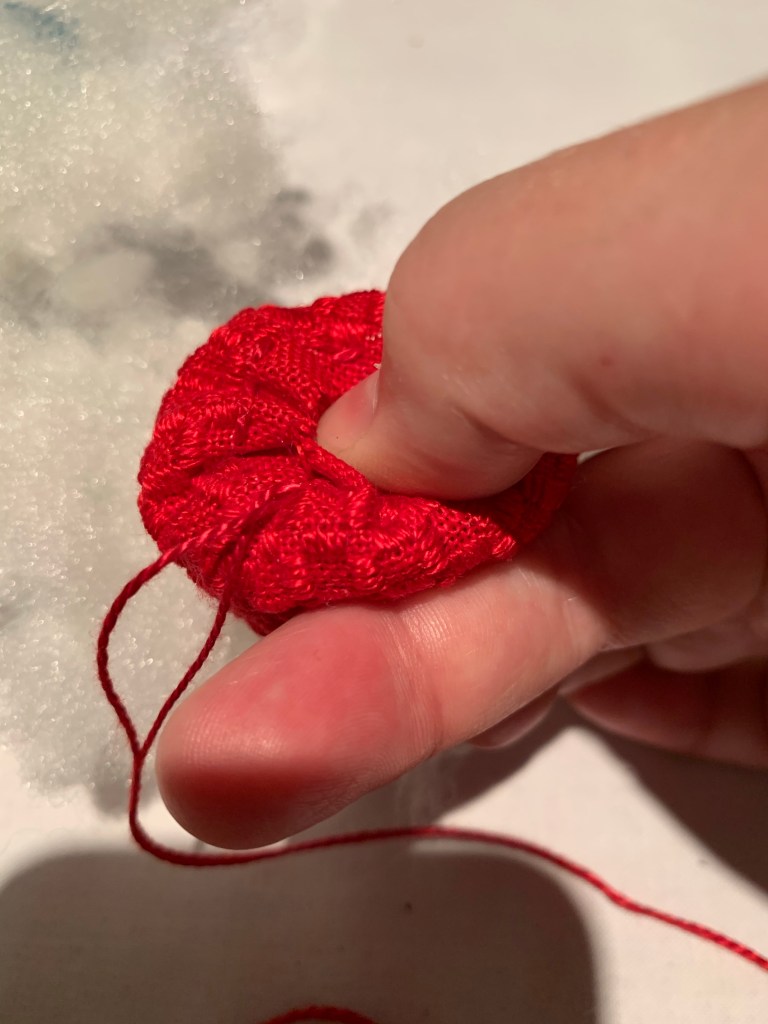
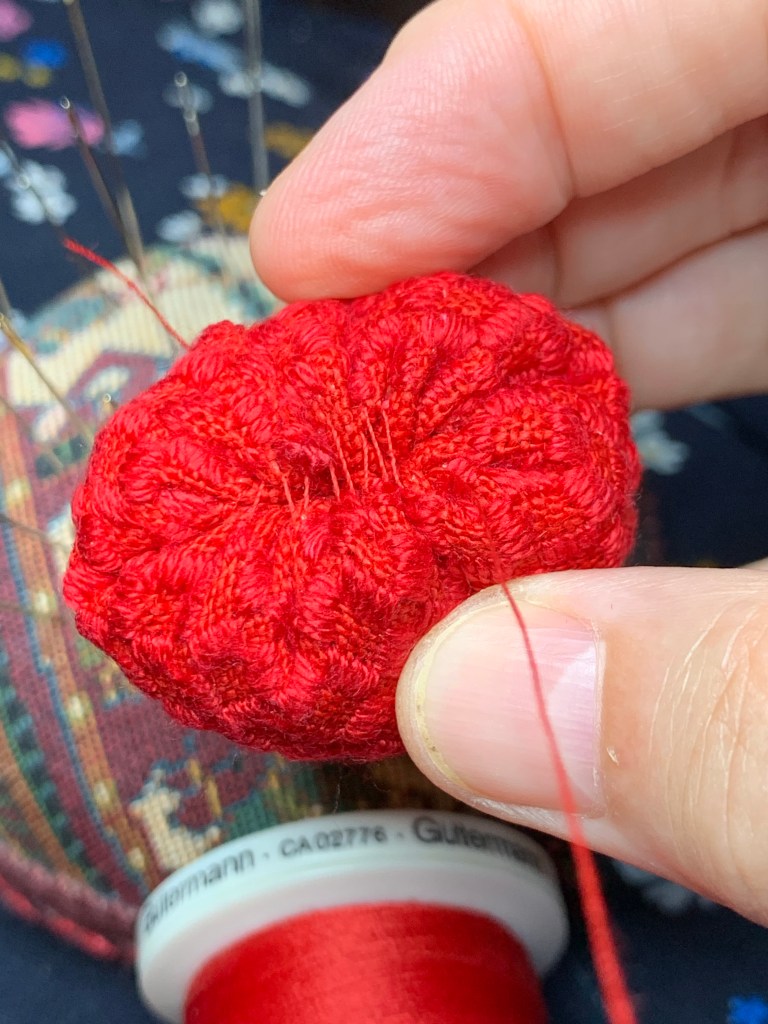
Find the template in your instructions. Trace it out onto a piece of freezer paper and cut out. Lay the freezer paper (waxy side down) onto the back side of the strawberry. Press gently with an iron (no steam) so that the freezer paper becomes affixed to the fabric. Using a sharp pair of scissor trim the fabric allowing a 1/4” to 1/2” seam allowance. I like a larger allowance to allow for some fraying of the fabric (especially linen). Gently remove the freezer paper from the back. I used the same piece of freezer paper for all of six of my strawberries.All done! I will tidy the edges after I sew wthe long edge together. NOTE: if you are worried about fraying along the top rounded edge, you could zig-zag the raw edge. With right sides together, match and sew the straight edges of the strawberry together using tiny stitches. Make sure you secure each end well. You can do this either on a sewing machine or by hand, using small straight stitches. Trim your edge Carefully turn the berry right side out.Using a chop stick or pointy tool, push out the tip of the strawberry. Be very careful as you go as it is very easy to polk through the linen. Looking good!!Finger press the seam so that it lays flat. Trim the top edge of the berry. All of the berries are ready to be filled. There are a few options to consider for filling the strawberry. I am experimenting with Poly- Pellets for this project. You can also use walnut shells or fibre fill. Using perle cotton in a matching colour, baste around the raw edge of the top of the strawberry. Your stitches should be on the smaller side (about 3-4 threads long).Make sure you finish within 1 or 2 threads from where you started. I started and ended my basting stitch near the seam. Pull the basting thread in a bit to start gathering the top. Leave the opening big enough for a funnel to fit. Using a funnel, add your filling. I filled my strawberries up about 3/4 with poly-pellets. To keep the pellets from escaping, I added a small bit of fibre fill on top of the pellets. Start pulling the threads. As you go, start tucking in the raw edges. Tuck in the raw edges as the home gets smaller. It requires a bit of fiddling to get this done. You may need to use a sharp tool to help tuck in the raw edges. Tie off the ends with a couple of good knots. All tied off!
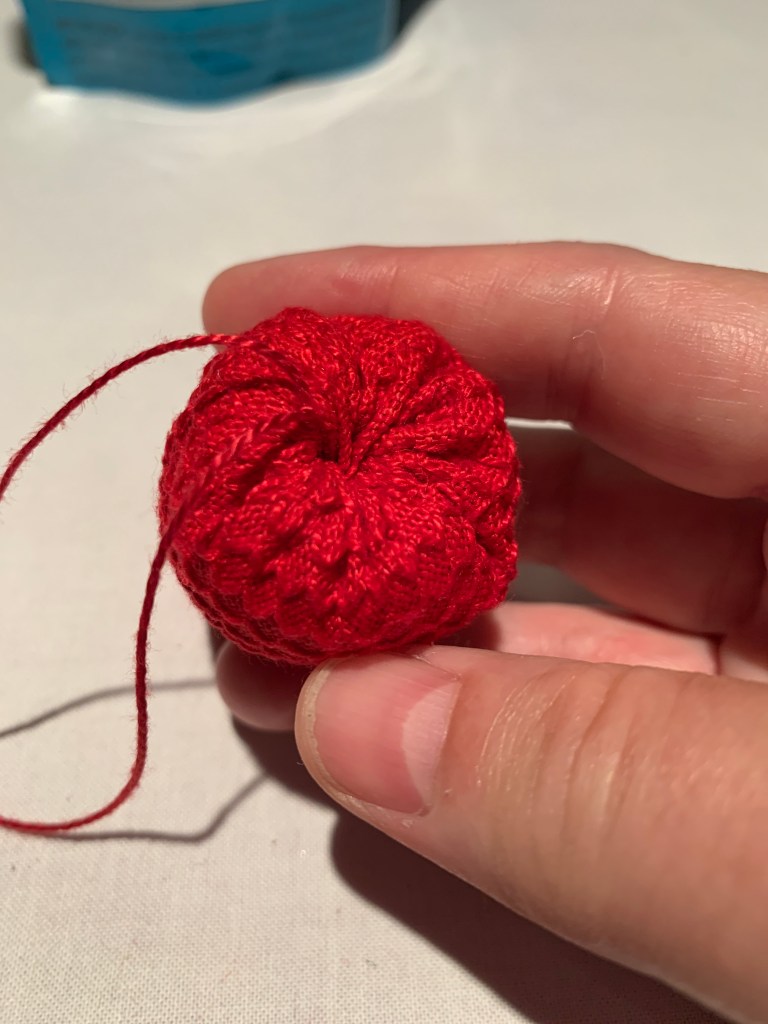
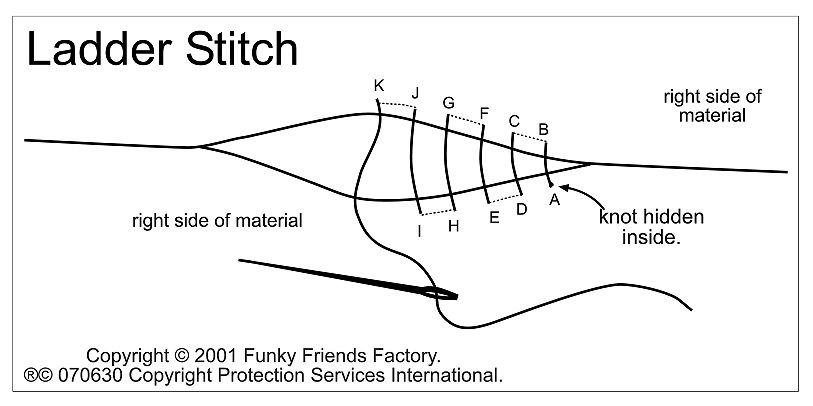
To make sure the raw edges are extra secure and so that none of the stuffing has a chance to escape, I stitched the tops closed using a ladder stitch. These stitches will be covered by the strawberry leaf tops.
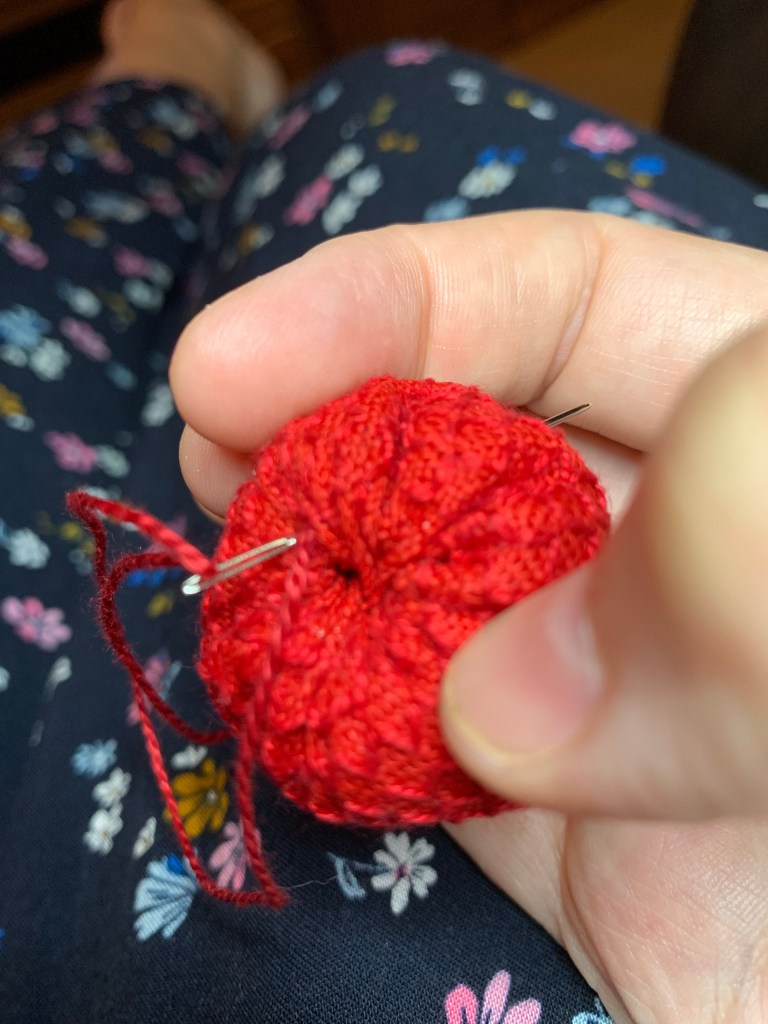
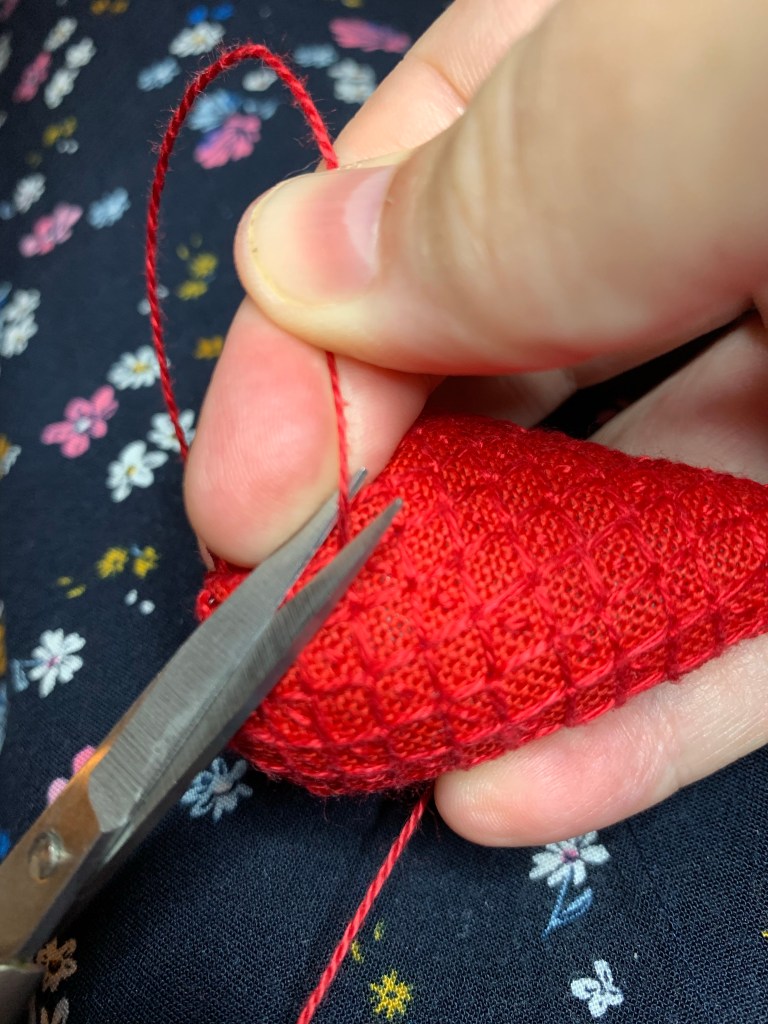
Using a large tapestry needle, bury the ends of the threads used to gather the top. Pull the thread tight before you snip. The end will pop into the strawberry and will not be visible. Using a matching thread (I used Gutermann) and a small needle, secure the opening and any exposed raw edges using a ladder stitch. Start by loosely stitching 4 or 5 stitches. Pull the stitches right, closing the gap and burying any raw edges. tie ends off and bury the ends into the strawberry. Found some nice green DMC perle 8 for the leaves
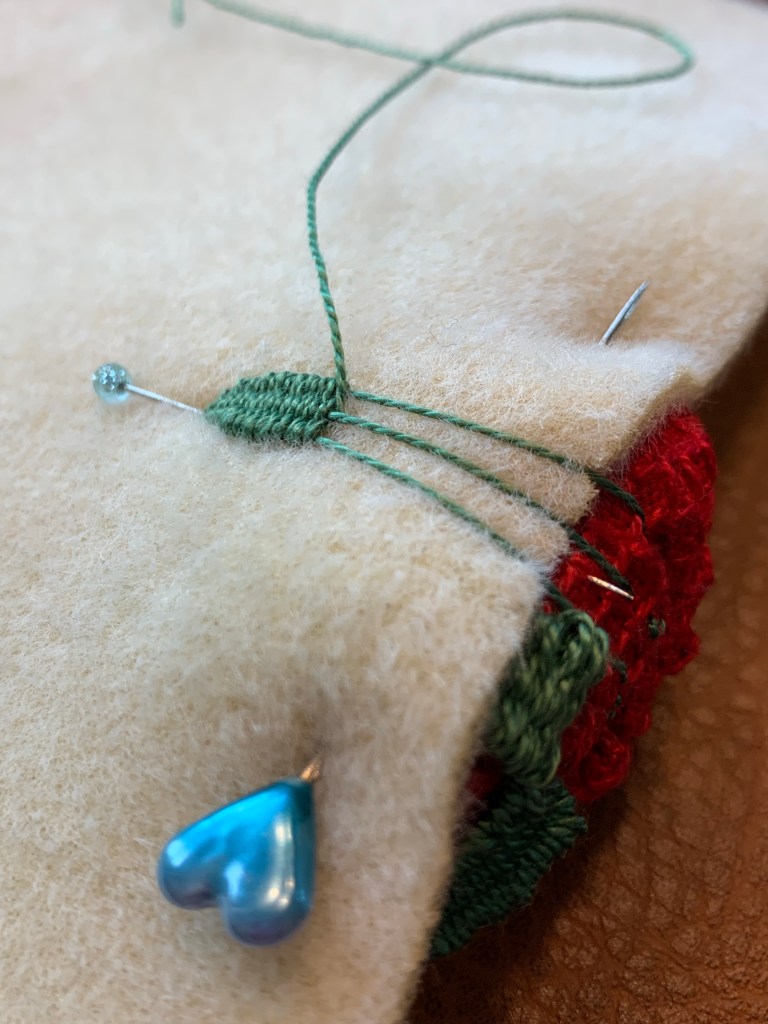
6 woven picot leaves were embroidered on the tops of each strawberry. My finishing diverged slightly from the instructions as provided in the magazine.
I used Mary Corbet’s handy YouTube tutorial to help me with the leaves. It’s been a while since I’ve done some and this tutorial was a great refresher!!
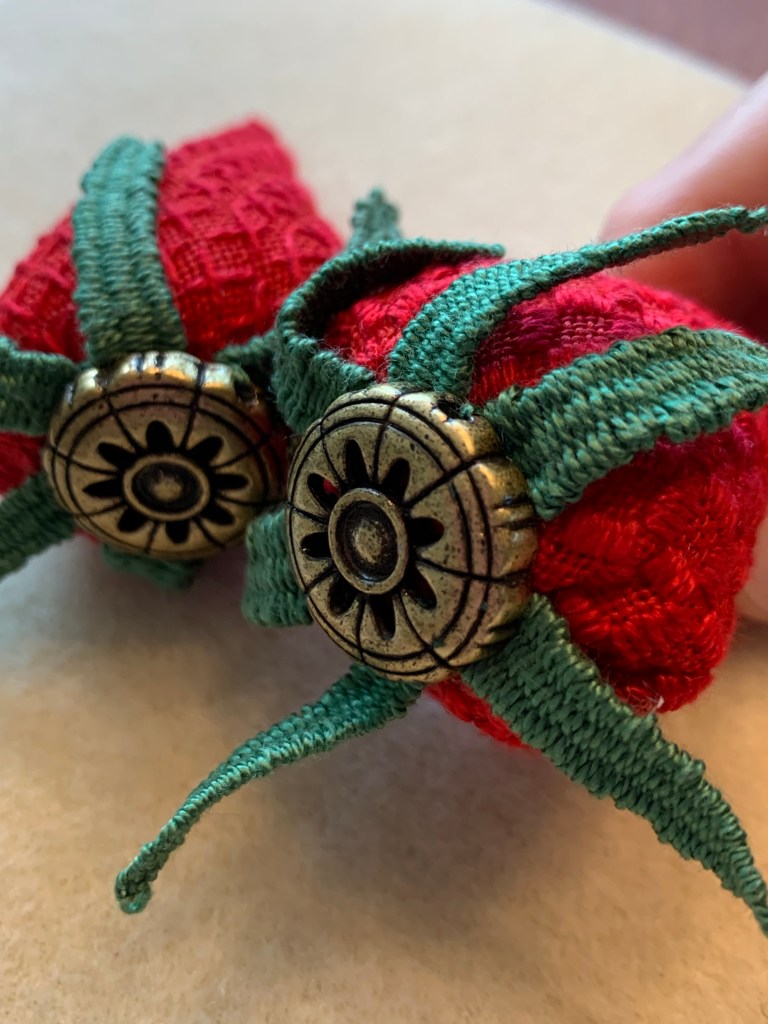
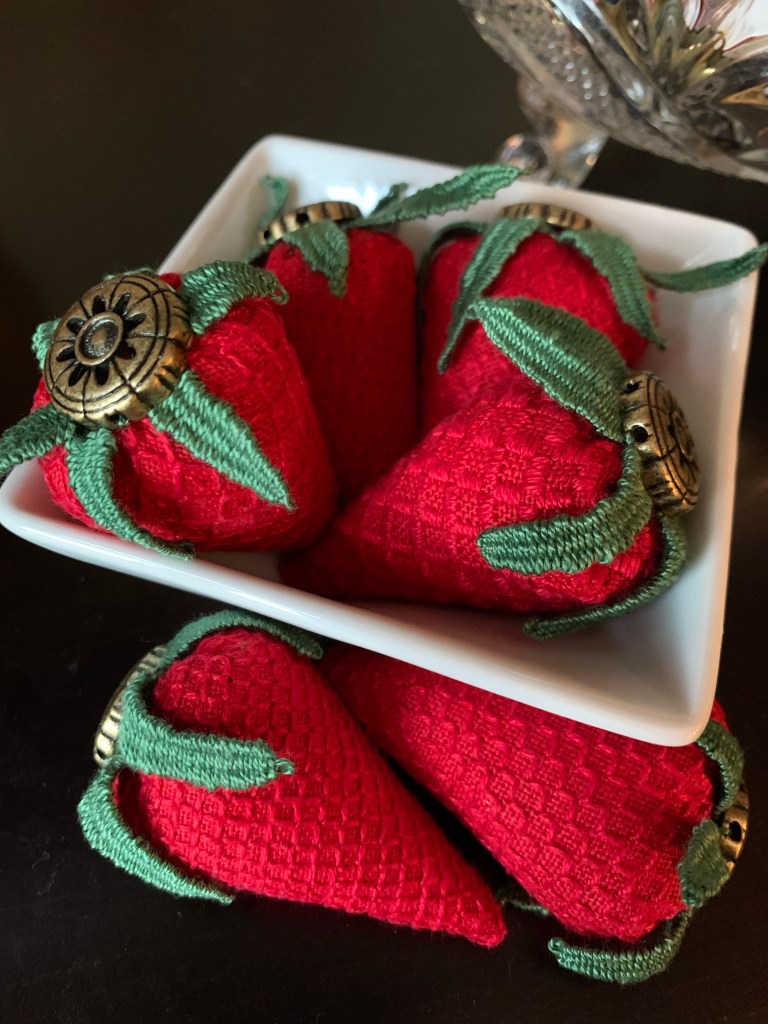
I found the awesome metal caps in my stash (which I purchased years ago with the idea of making emery filled strawberries).
The emery strawberry project never got going so these lovely caps have been languishing until now! I was so happy to find them again and put them to good use.
The leaves were strategically placed in a circle around the gathered opening, using a metal cap as a guide.