This piece was inspired by the patterns designed by Clare Bradshaw for The Steady Thread 2020 and 2021 SALs and modifications (mods) made by members of the Steady Thread facebook group (link below). Ms. Bradshaw has given permission to our guild to use freely her blackwork designs for both of these stitch-a-longs (SALs) for this project.
Patterns from both of the SALs are available here: https://drive.google.com/drive/folders/10DJHgGC0x1n-q3MBjo4rcPUkMSl1gIM7?usp=sharing
If you’d like to learn more about Clare Bradshaw and see more of her designs, visit her website:
If you are on Facebook, you can join this private group: https://www.facebook.com/groups/TheSteadyThreadBlackworkSAL/
If you are not on Facebook, and would like to join the SAL, please email Clare and she’ll set you up: clare@thesteadythread.com
There are many ways to approach this project:
- Stitch along from month to month and watch the bookshelf fill up
- Wait until the end of the project to see what the completed design looks like and go from there:
- Do your own modifications (mods) – move things around, change designs, flowers, fillers – create your own bookshelf!
Finished Size (stitched over 2 threads):
28 count fabric 7” h x 9”w
30 count fabric 6.5”h x 8.5” w
32 count fabric 6” h x 7.75” w
Note: When stitched on 28 count fabric, this piece will fit in an “off-the-shelf” frame from Michaels or Walmart – You’ll need an 8” x 10” frame opening (matted or unmatted).
Stitch count: 96 h x 125 w
Suggested Fabric: 28 count evenweave/lugana, your choice of colour appox 11” x 13” piece
**This pattern is intended to be stitched over 2 with 1 strand of floss (unless otherwise stated)**
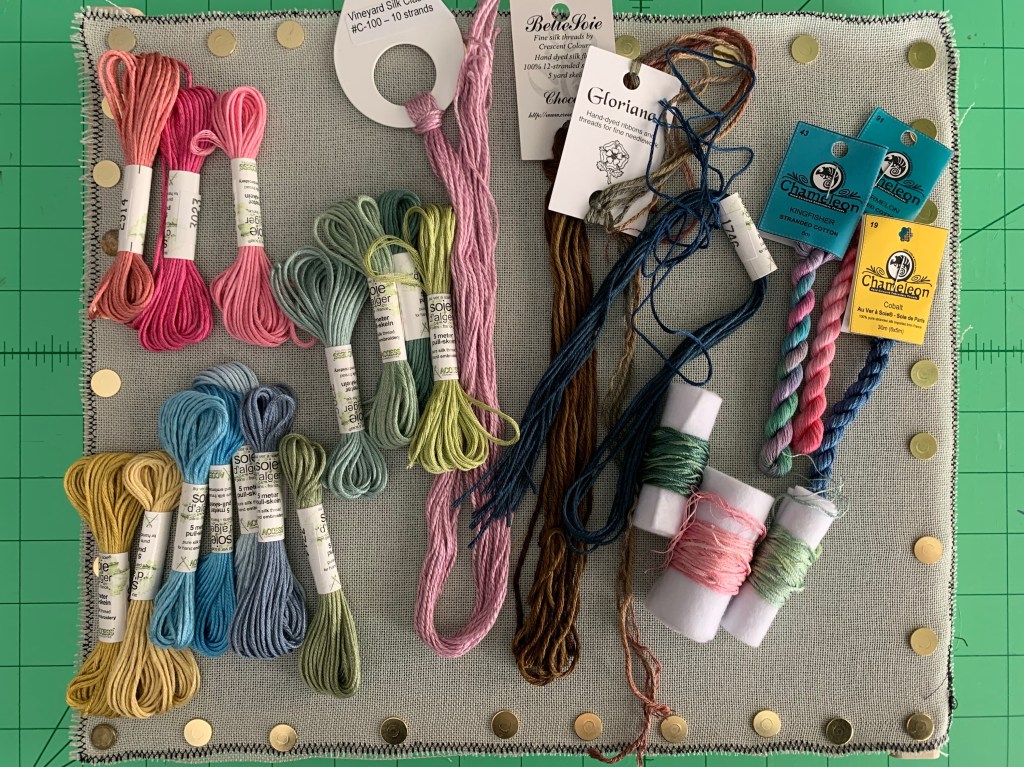
Floss: your choice
Note: This project is intended to be a stash buster. If you need fabric or supplies, please let us know and we can get you set up.
Graph Paper – to chart out your own designs
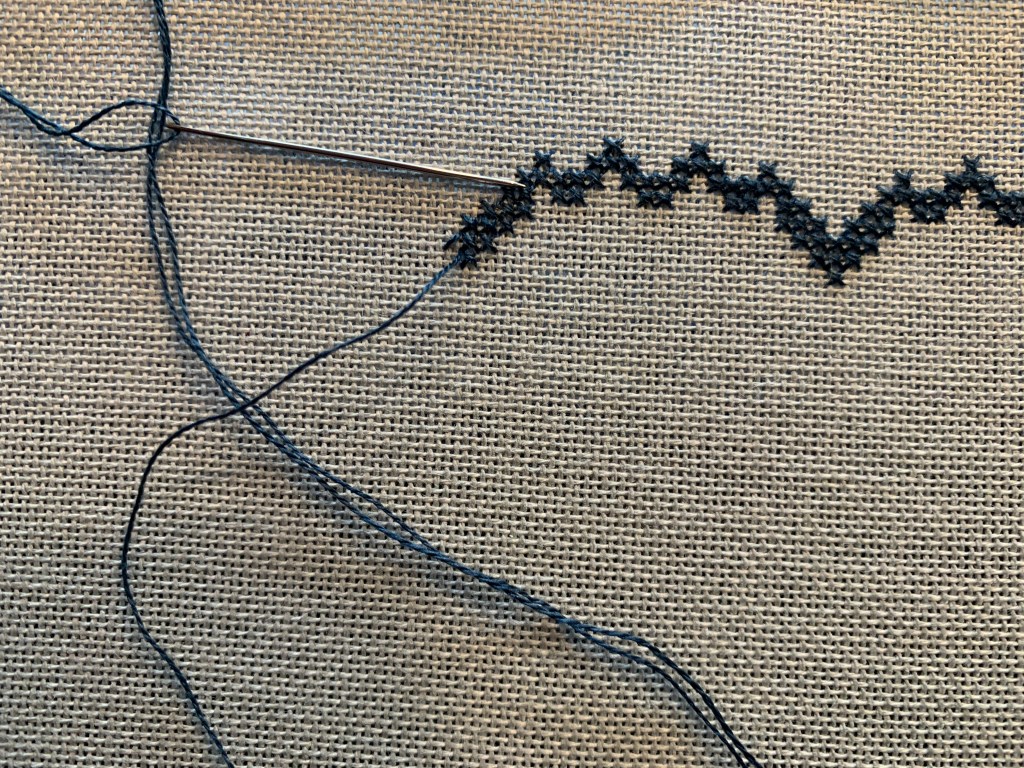
Find the center of your fabric, count up accordingly, and start with the cross stitches on the top shelf. Double check stitch placement.
Step 1: cross stitch – your choice of colours. 1 strand for light coverage, 2 strands for heavier coverage (I used 1 strand).
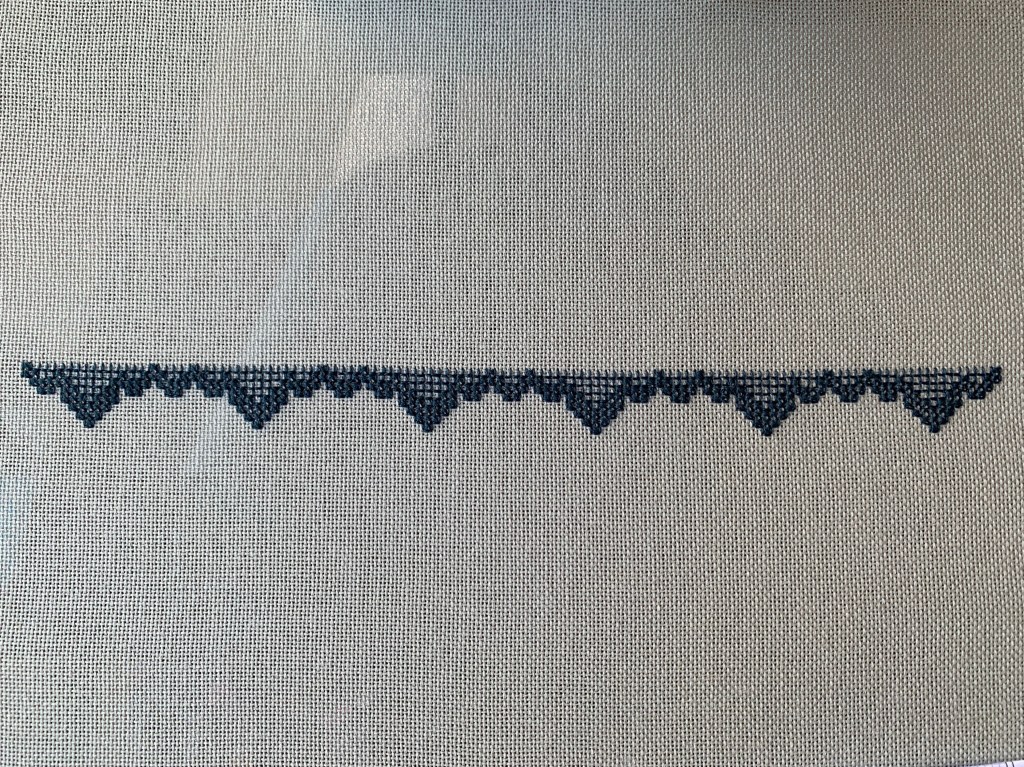
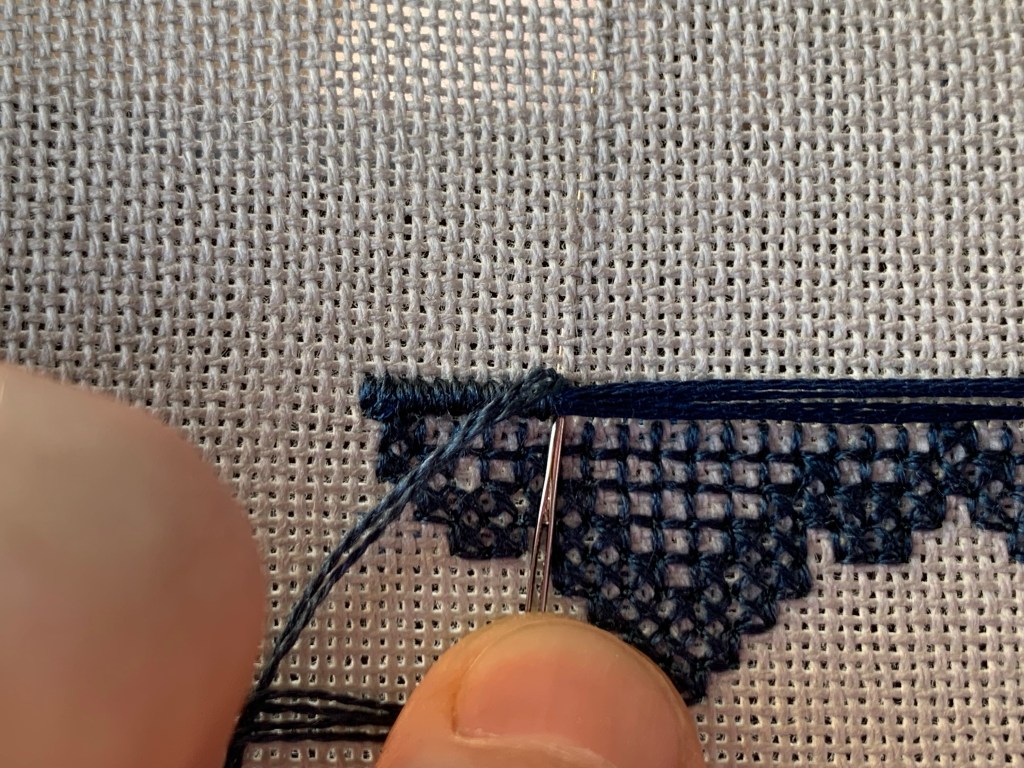
Step 2: Back stitch around the bottom edge of the lattice using one strand of floss. For a more delicate look to the lattice, use Gutermann sewing thread.
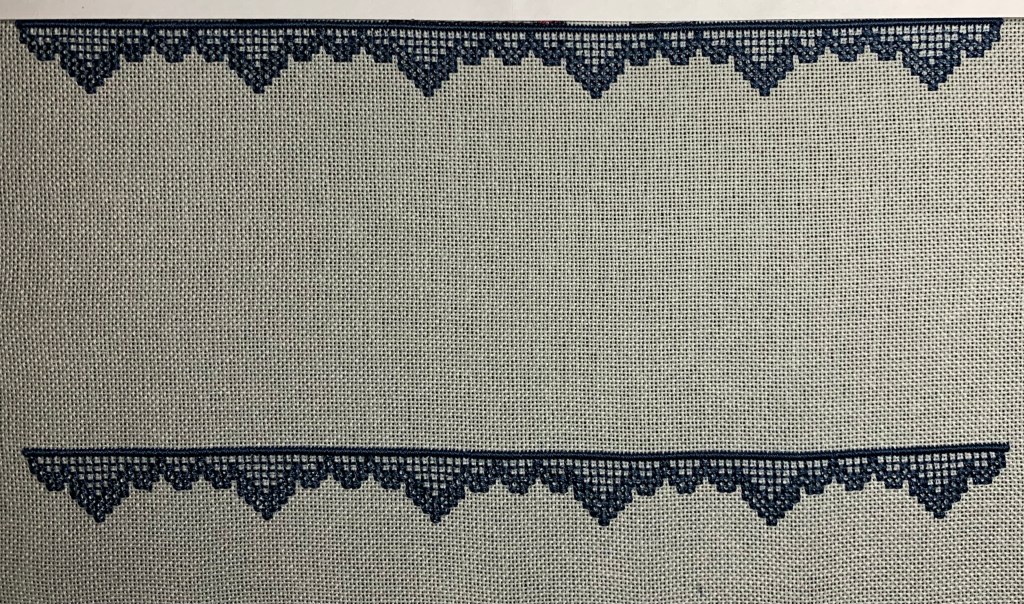
Step 3: Upright Gobelin Stitch – gives a nice rounded, raised edge for the top of the shelf
Yellow lines: Lay 2 rows of 4 strands of floss across the top of the shelf (extending 1 thread beyond the lattice)
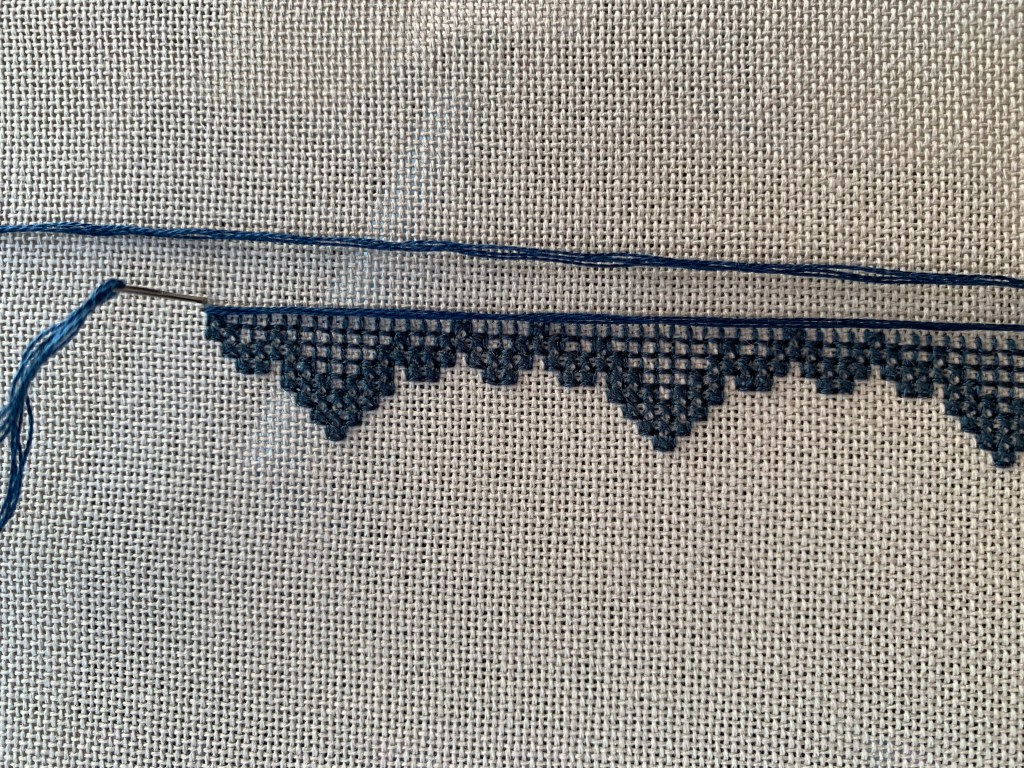
Blue lines: Couch over top with 2 strands of floss in upright gobelin stitch (work stitches from top to bottom) https://youtu.be/EuEJCqwU0pE
Variations to the shelf: For a less ornate, more modern look – you can do one or two rows of the laid strands and gobelin stitch (don’t add the cross stitch decorative edge). You could also make a wider shelf by laying 3 or 4 rows of floss and stitching the gobelin over 3 or 4 rows.
The full file:
Part 2 coming soon…

