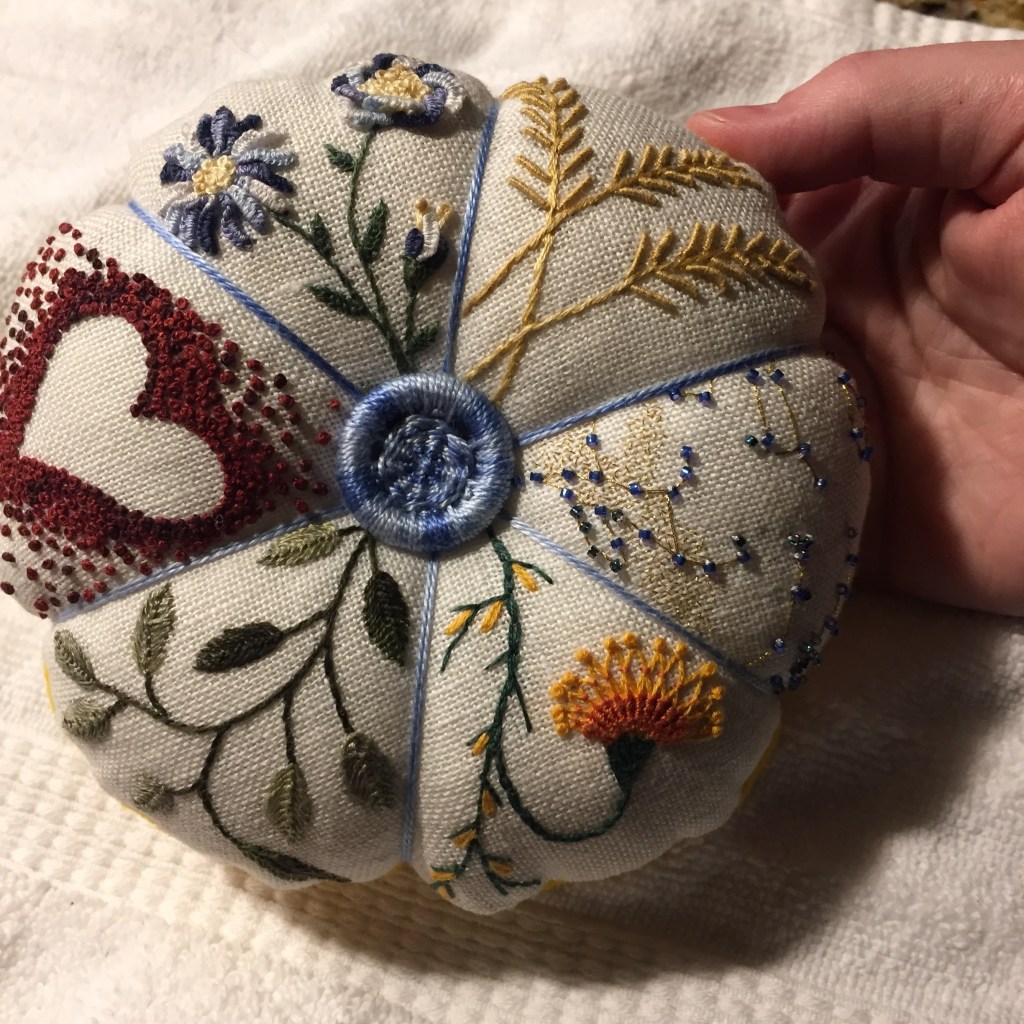
A tisket, a tasket, a lovely embroidered tuffet! Learn how to finish your own tuffet pincushion here! This is a 6 segment pincusion, but you can do the same process with more!
Materials
Your finished tuffet top (or pie) (make sure the top is interfaced)
Backing fabric (wool felt, quilting cotton, etc.)
Crushed walnut shells
Polyfil
Regular button or Dorset button (for the top)
Shank button (for the bottom)
DMC #5 Thread
Large darning needle
Your standard sewing kit
Sewing machine (or access to one)
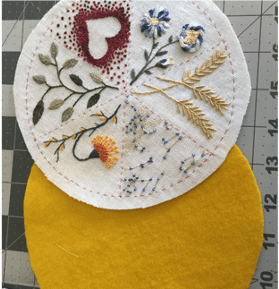
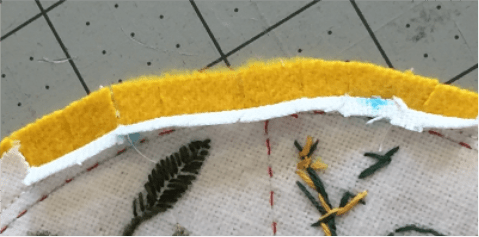
STEP 1: Trim around the top “pie” piece so that you have a minimum ½” seam allowance. TIP: for this tuffet, I’ve basted the circle outline and the “pie” quadrants onto the fabric prior to stitching. I will be using these as guidelines to finish the tuffet.
Cut a piece of fabric for the bottom the same size as the top. I used a piece of wool felt for the bottom of my tuffet.
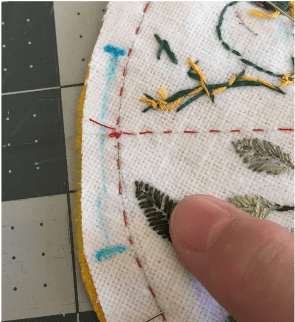
Step 2: Place the two pieces right side together and pin to hold in place.
Mark a 2” opening along one side – make sure that the opening straddles one of the basted lines of the pie pieces.
Mark the center of both the top and bottom pieces.
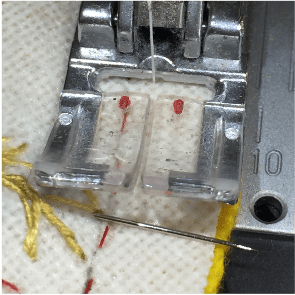
Step 3: Using a sewing machine, sew around the pincushion. Make sure you sew about 2 mm on the outside of the basting stitch. NOTE: This tuffet can be finished by hand as well. Using a small backstitch, stitch around the edge of the pincushion.
Step 4: Trim the edge to approximately 1/4″ from your sewn edge.
Snip the fabric approx. every ½ inch around the unfinished edge of the pincushion – do not snip where the opening is.
Press back the flaps around the opening.
Step 5: Turn right side out. Gently push out the seamed edge with a chop stick or other blunt tool.
Add polyfill or crushed walnut shells (around ½ – ¾ cup). You can do both – add the crushed walnut shells first and make sure they are on the bottom, add polyfill on top.
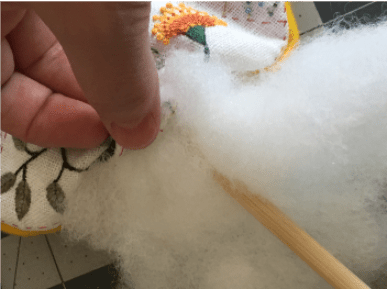
Make sure you stuff the tuffet till it’s quite firm. Squish it around around so that the stuffing are evenly distributed around the pincushion base.
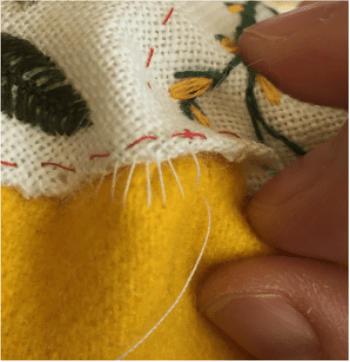
Step 6: Using the ladder stitch – close the hole where you added the stuffing. You can add more stuffing, if you feel that it is not firm enough.
Step 7: Remove basting lines. You can remove them later if you want to use them as a guide (but they are easier to remove now). If you do remove the basting now, make sure you mark where the center of the top is as well as the segment placement around the edge of the circle.
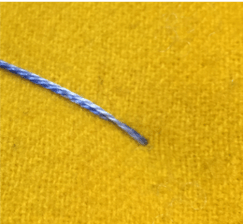
Step 8: Thread a basting needle with a very long piece of DMC #5 – you will be using a double thickness of DMC. Your piece should be at least 1 ½ to 2 arm span widths (depending on how long your arms are).
Thread the needle through the side of the pincushion and up to the top center (where the basting lines meet) – leave a tail (this will be trimmed off later.) Make a couple of small tacking stitches.
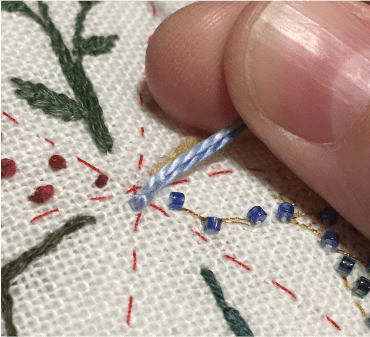
Step 9: Plunge the needle down through the center – and come through the bottom of the pincushion where you made the center mark.
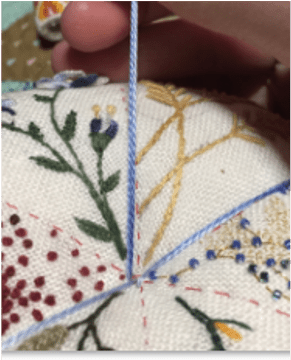
Step 10: Pull your thread all the way through and then bring it around to the top of the pincushion. Plunge through the top of the pincushion in the same spot where you started Go right through again through the same hole as the first wrap. Pull the DMC through all the way and tighten so that the edges of the pincushion pull in.
Position the wrapped thread over top the basting threads.
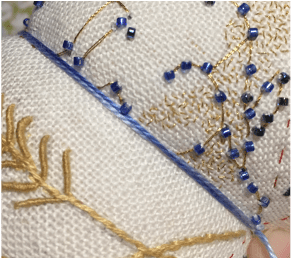
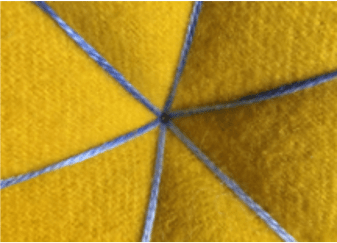
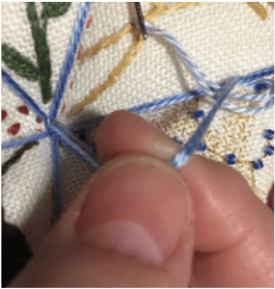
Step 11: Hold the stitch with your thumb and then repeat the process for all 6 sides of the pie segments (you can do the wraps in any order that you like – just remember to keep the tension on the thread as you do each one). You will finish on the top of the pincushion.
Step 12: While holding the thread tight, tie off the thread – make a loop and then pull tight as close to the center where you started (do this twice) and then bury the end of the thread into the pincushion.
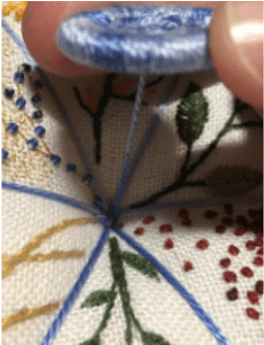
Step 13: If you are using a dorset button that you’ve made, make sure your dorset button has a long tail. If you are using a regular button (shank buttons work great). Thread a darning needle onto the end of the tail (both strands)
Thread a darning needle with a very long, double strand of pearl cotton (you can use the same thread as you did for the wraps).

Step 14: Plunge the needle through the top center of the pincushion, through the hole in the bottom of the pincushion. Thread on the bottom button. Make sure your bottom button is a shank – they fit much better into the divot!
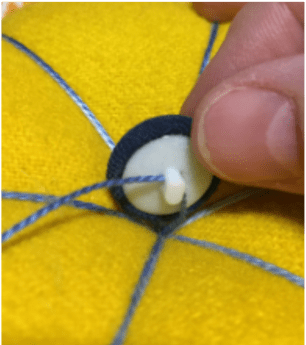
If you end up having a very large hole in the bottom of the pincushion, add some glue (acid free) before you pull in the shank button. This will keep the walnut shells inside where they belong.
Step 15: Plunge the needle upwards, under the top button (pull till just snug – not too tight!) Tie off the thread by wrapping around the button and pulling tight. Do this 2 or 3 times. Plunge the thread into the pincushion and cut the thread.
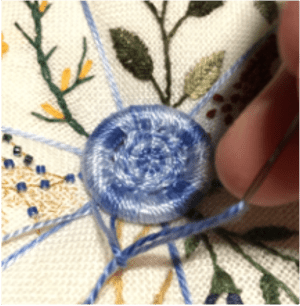
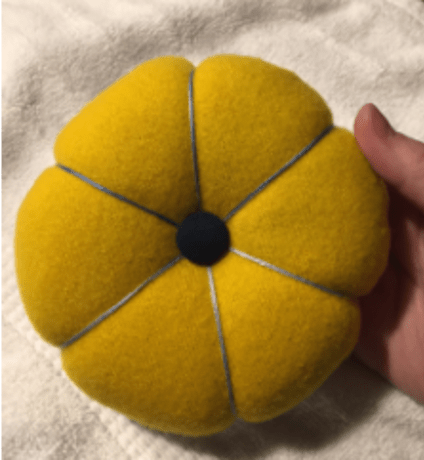
Step 16: Adjust the wrapped threads till they are in the right spot and then squish the pincushion a bit to make it look as even as possible on all 6 sides.
If you haven’t already done so, remove the basting stitches.
TIP: If you find that the sides of the tuffet are puckering and looks uneven, you can adjust the outside seam using the ladder stitch. This will take up extra fabric and give a smooth look.

