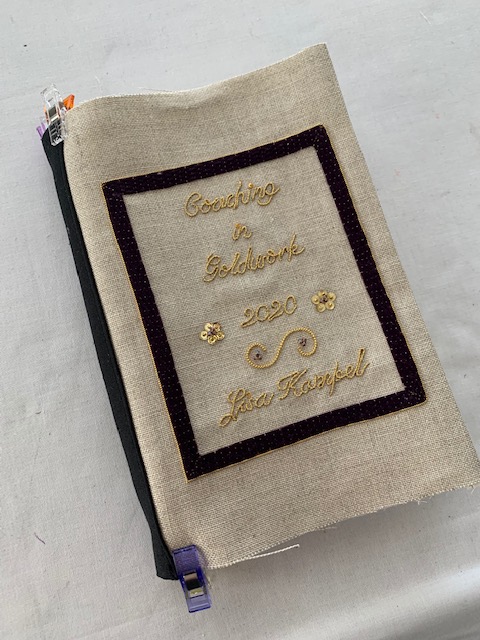
After 7 months, a ten week course on couching, lots of stitching and a good amount of planning, my Goldwork Journal is now complete. I am very happy with how this journal turned out. This is a “learning piece” through and through – from learning about couching (from the course with Sew by Hand (Natalie Dupuis) to figuring out how to make pages, how to sew them together, to designing and stitching the front and back covers, learning how to print on fabric, and finally to attach the covers to the pages of the book.
Step 1 – Planning the size of the front and back covers
I found that the most important part about planning the cover was measuring. What size do I want the covers to be? How far should they extend over the pages? How much space do I want around the front cover design?
Here’s some math…
The pages in my book are approximately 7 1/2″ by 5 1/4″. I wanted my covers to extend beyond the pages approximately 1/4″. I also wanted to add a contrasting spine to my front and back covers.
I ended up leaving about a 1″ to 1 1/4″ frame around the outside of my front cover. Then I added another 1/2″ on top of that for seam allowance.
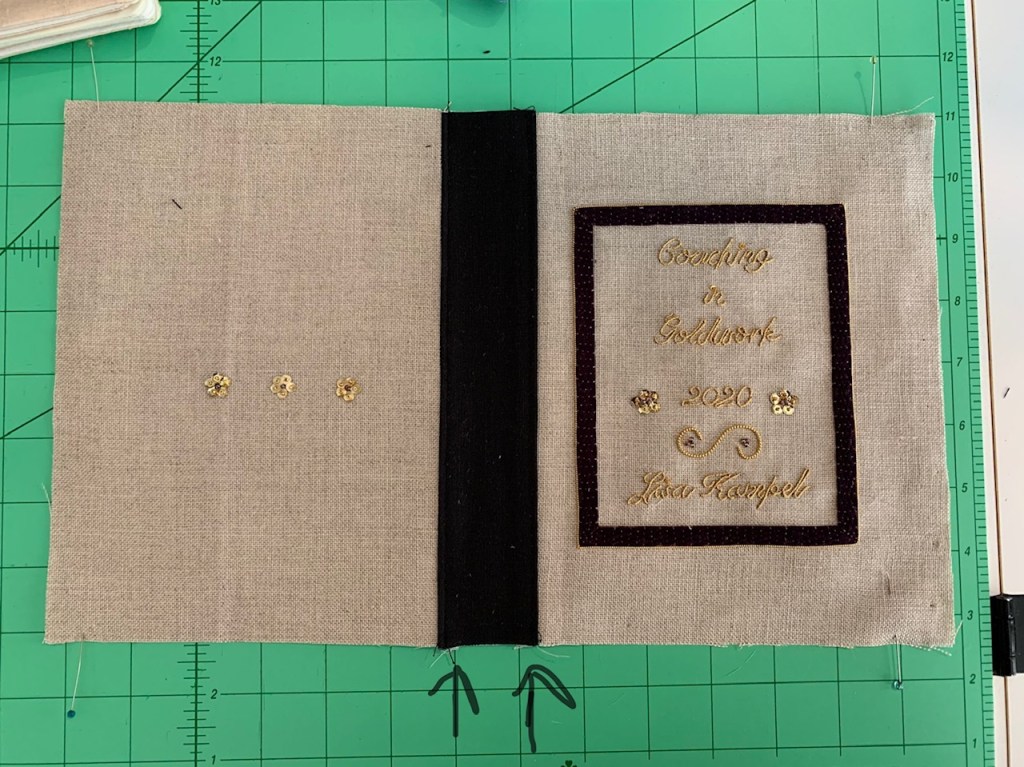
Mark the position where you want the front cover to be attached to the spine. This is a bit fiddly but pin and make sure that, when sewn, your front design is centered, and the spine seam is right at the edge of the inside of your pages.
The height of my front and back covers ended up being 8″ (finished). I cut the spine piece around 3 1/2″ wide by 9″ tall (I trimmed the top and bottom so that it was the same height as the covers and will trim the width later)
TIP: Trim just the top and bottom of the covers to start (don’t trim the sides yet).
Step 2 – Sew the spine to the front outside cover
Pin and sew along your marked edge. If you are not absolutely sure about placement, BASTE first!! It’s alot easier to remove and reposition that way!! I originally sewed a 1/2″ seam, double checked my measurements and then trimmed the seam to 1/4″. Press the seam towards the spine side.
Step 3 – Determine the size of the spine
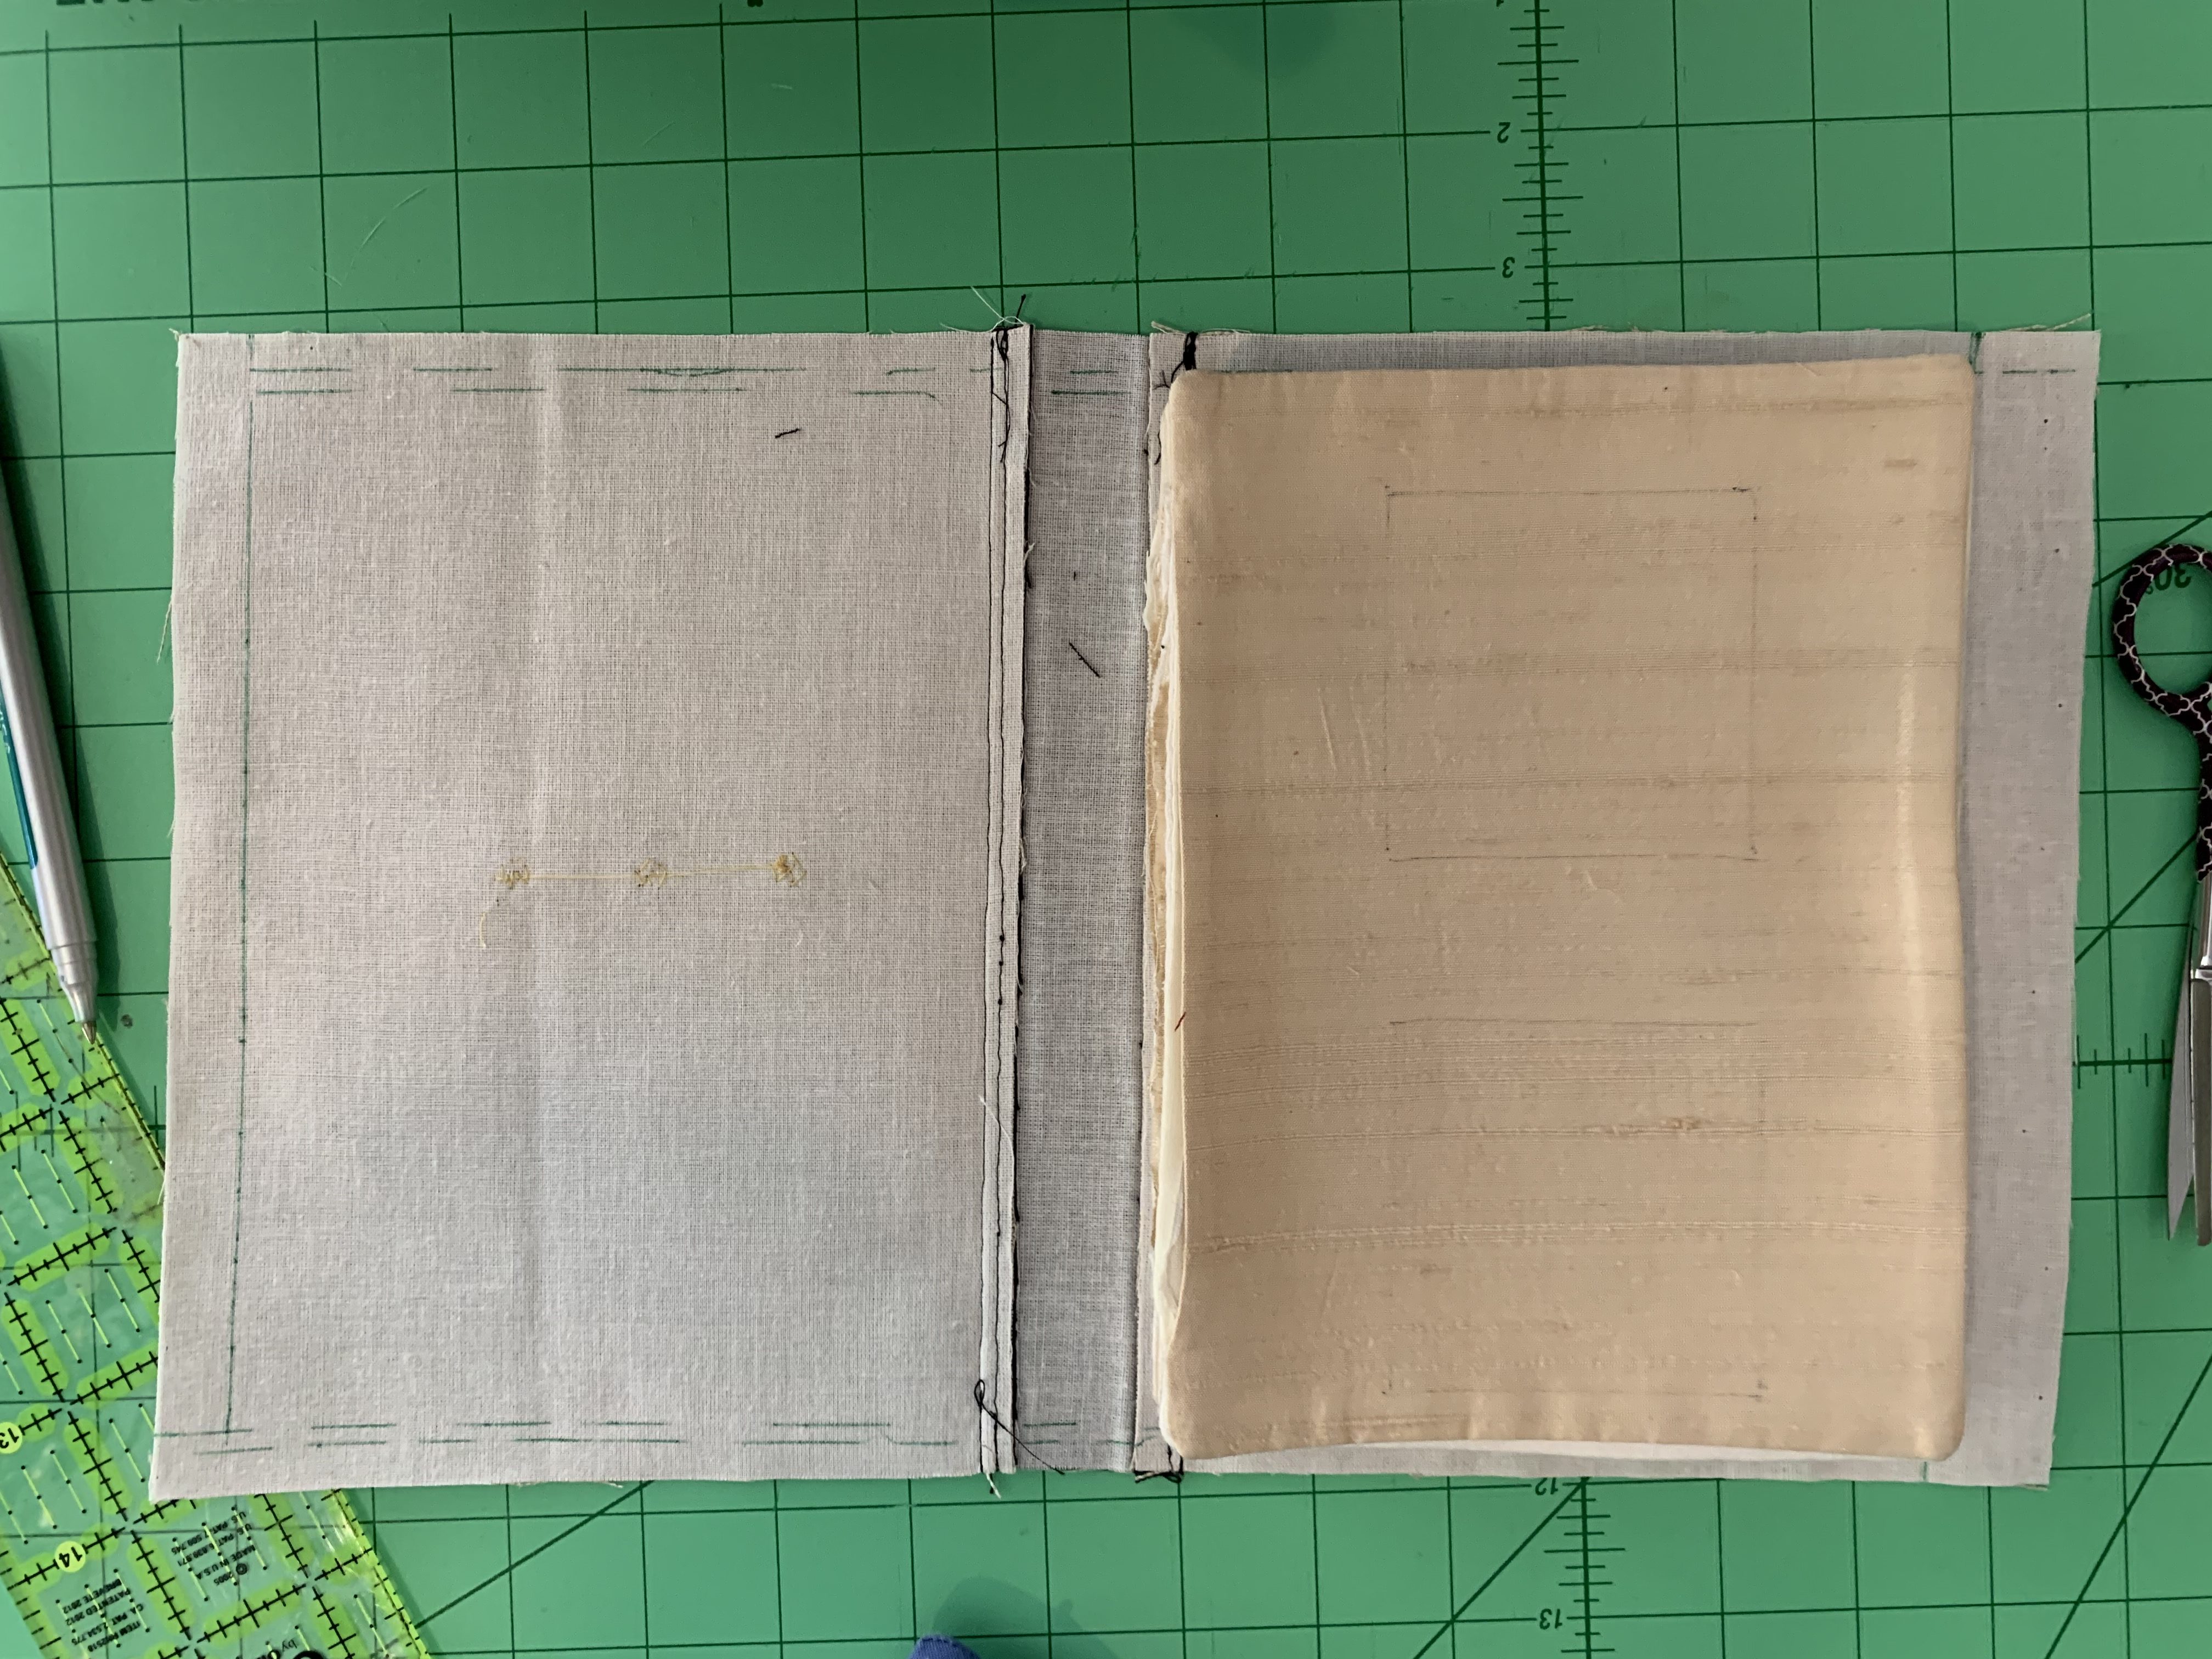
Place your front outside cover face down and then place your pages on top. Make sure the page ends are placed near the seam you just made when attaching the spine to the front outside cover.
Wrap the spine around the inside side of the pages and then mark where the top of the pages end. Add about a 1/8″ to 1/4″ – you’ll need this extra bit when the inside covers are added.
At this point you can trim the spine piece – I added an additional 1/2″ for seam allowance
Math – my spine is approximately 1″ wide – 1″ plus 1/8″ plus 1/2″ (measured from the front spine seam)
Step 4 – Sew the back outside cover to the spine (and front outside cover)
Place the back outside cover on top of the spine (right sides facing together). Pin and then sew your seam at 1/2″. You can baste first if you are not completely sure about the positioning.
Trim to 1/4″ and then press the raw edge towards the spine.
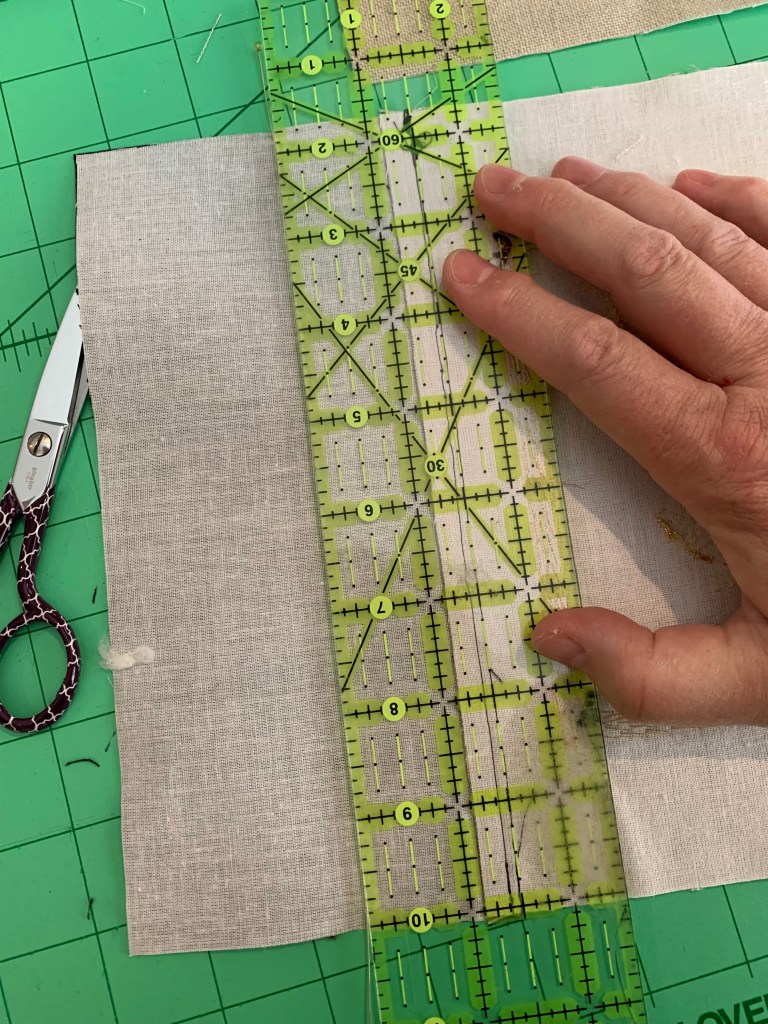
Step 5 – Determine the edges of the cover
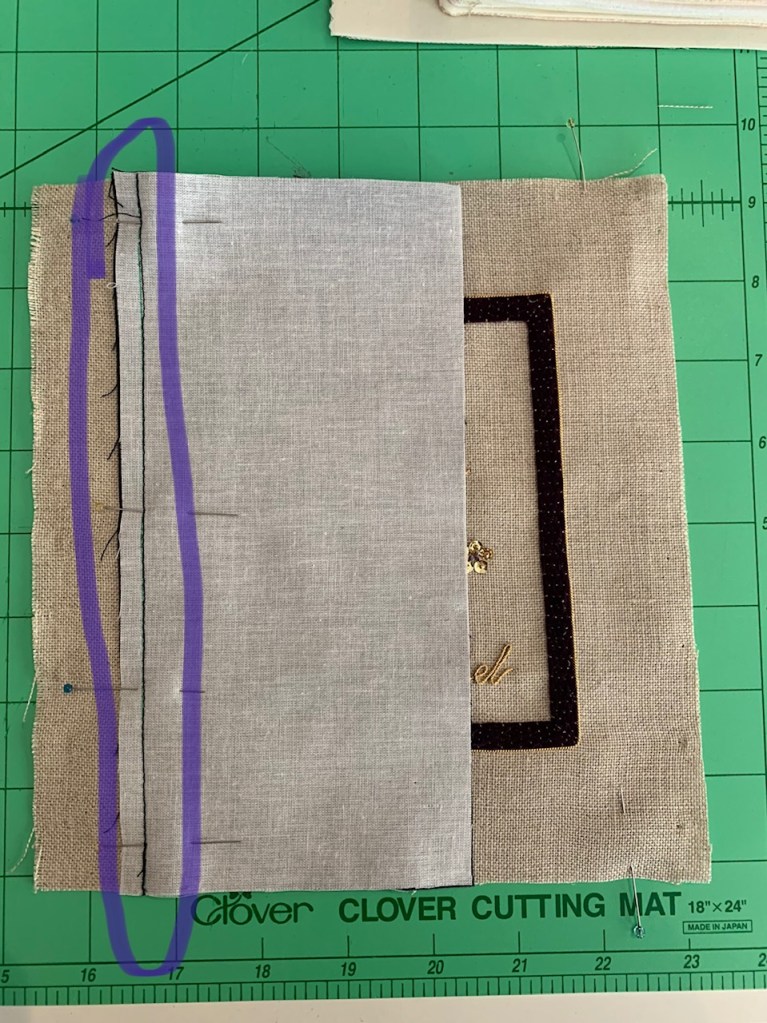
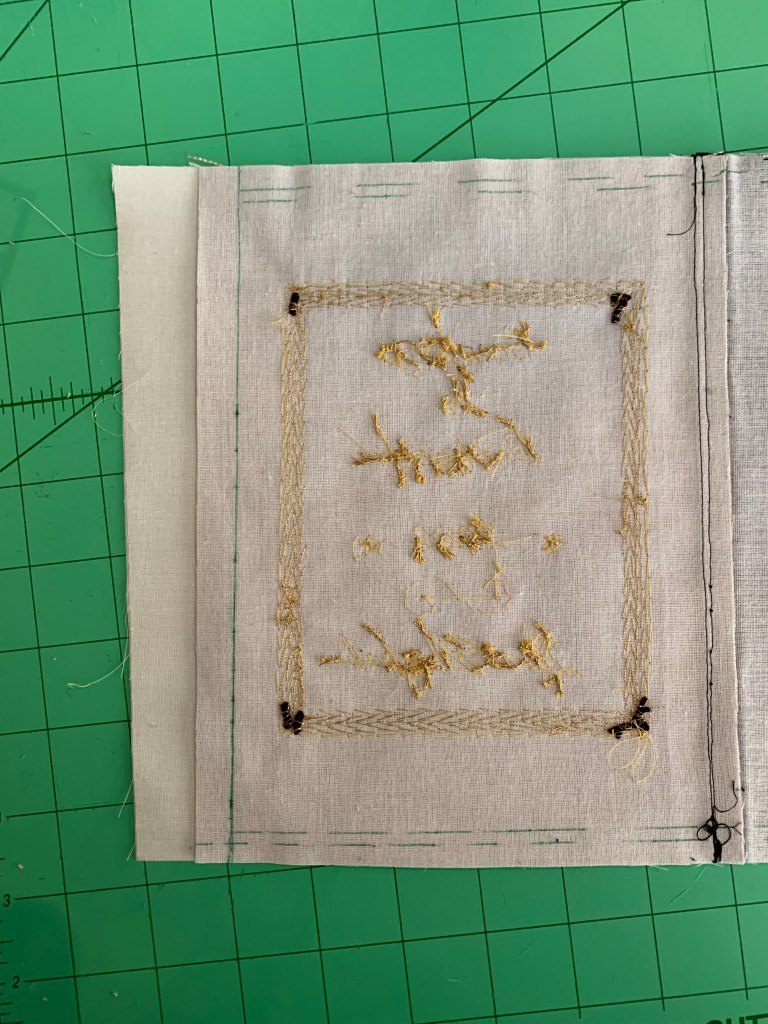
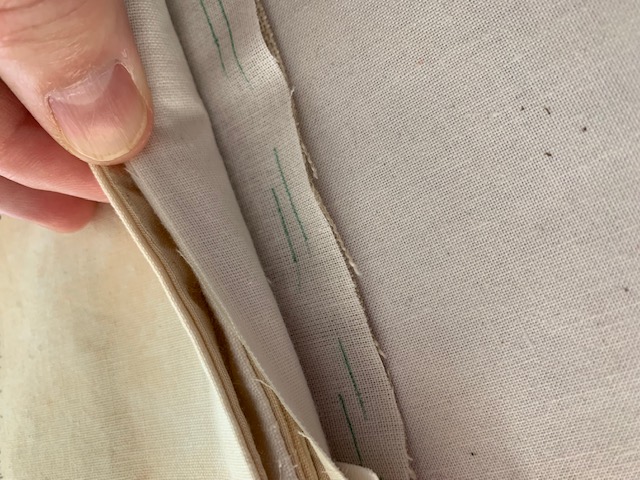
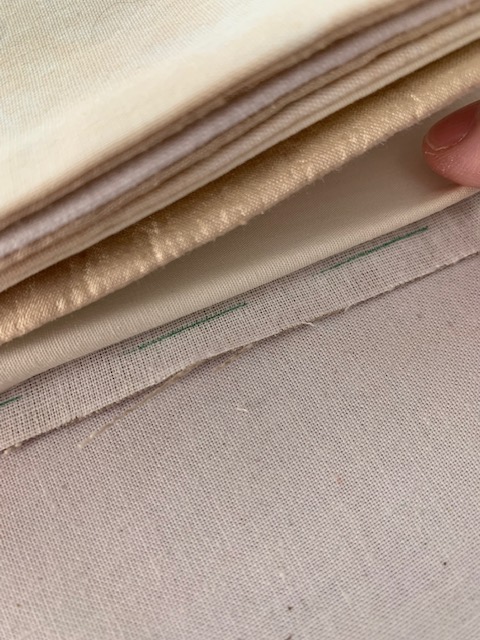
Place your front, back and spine face down and position the inside pages on top. Make sure they are centered to the cover. Mark where you would like the finished edge of the cover to be. I want my cover to extend at least 1/4″ beyond the edge of the pages.
I have marked lines for the finished edges on the outside edge of the cover. It’s marked in green as well. I have trimmed these sides, leaving a VERY large raw edge (a whole inch). These edges will be trimmed later.
TIP: This is a good time to wrap the front outside cover around the pages. You will get a very good preview of what your book will look like when finished. Adjust as necessary and when you have things exactly where you want them, you can sew your final seams (over the basting). You can also trim your raw edges to 1/4″.
Step 6: Top Stitch Spine
Turn over the outside cover to the right side and then top stitch the spine on both sides.
Step 7: Attach the Front Inside Cover
Trim the top and bottom of your inside front cover so that it is the same size as the front outside cover. Do NOT trim the sides yet.
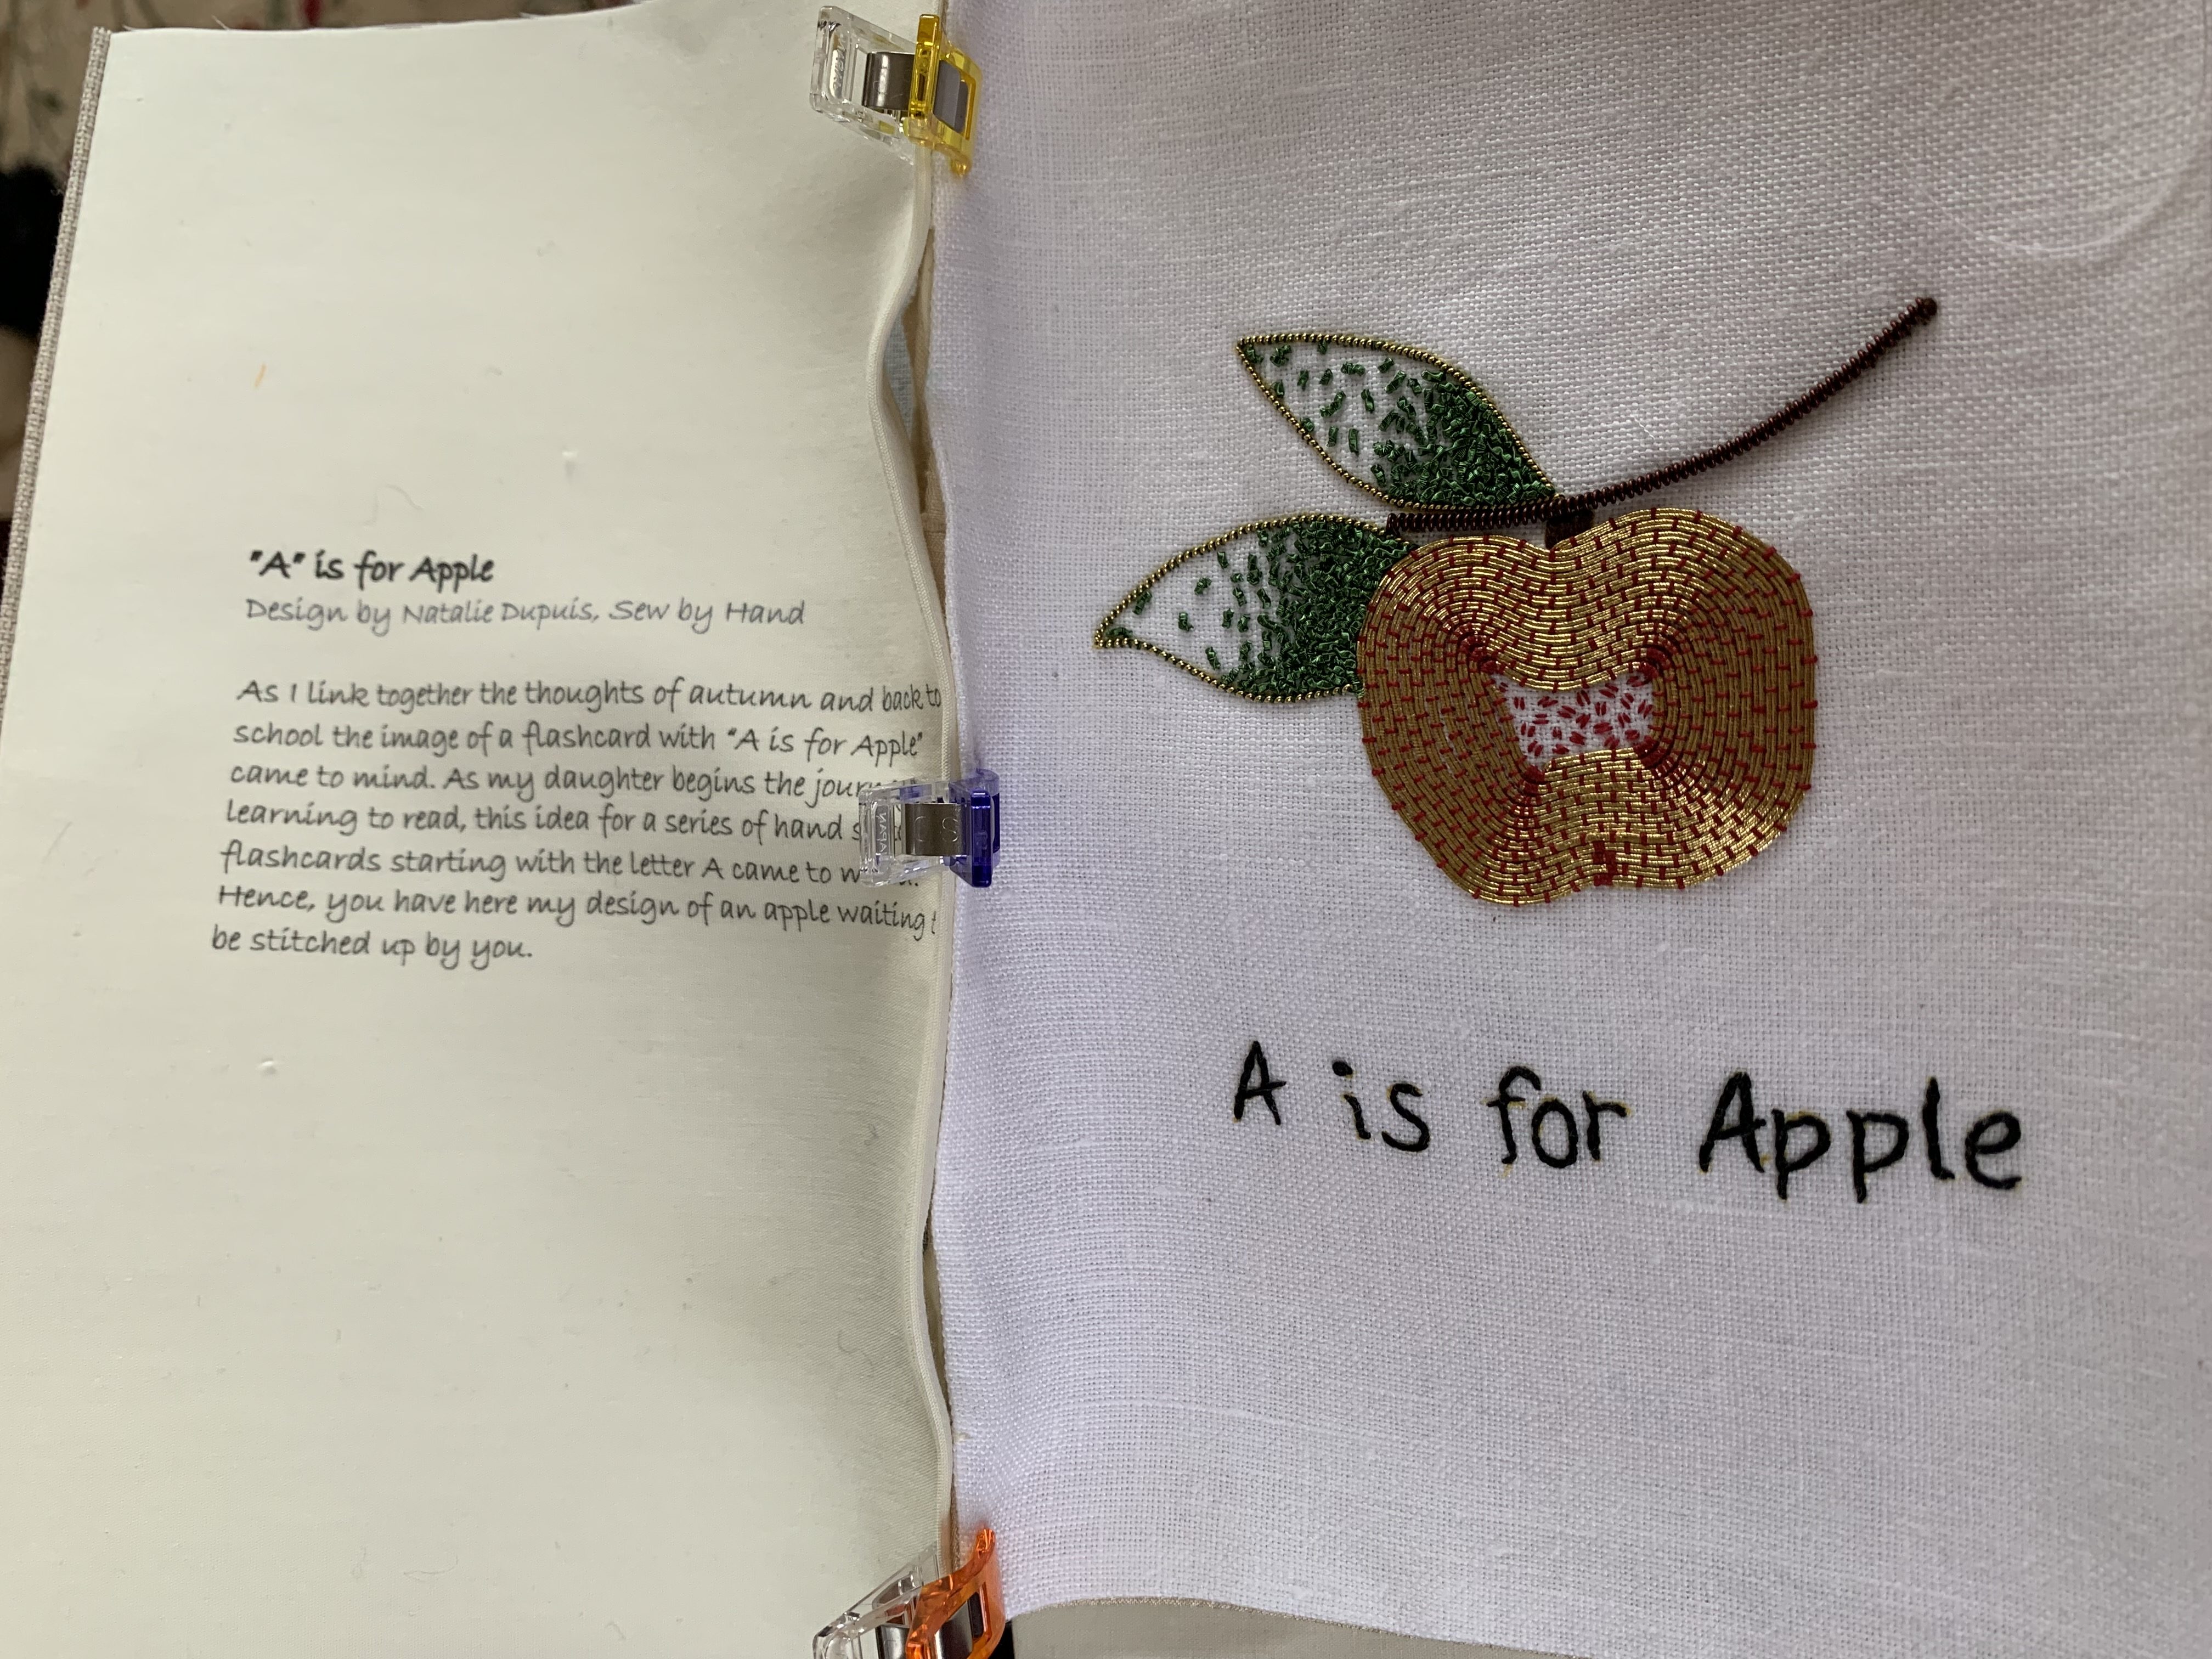
If you have a design on the inside cover, make sure it is centered to the front cover. Pin in place and sew (or baste first) along your marked line (this will be the finished outside edge of the cover). I’ve left a generous amount of raw edge.
Fold the inside page over towards the spine and press the edge. You can now determine the finished edge of the inside cover page.
DO NOT trim yet – just fold over and press for now – this edge will be adjusted later.

Step 8 – Repeat this process with the back inside cover
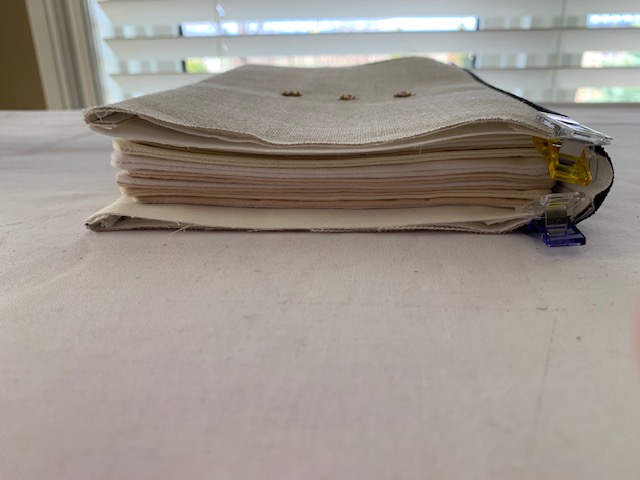
All of the cover pieces are now sewn together. Outside edges are just pressed at this point. Trimming comes later.
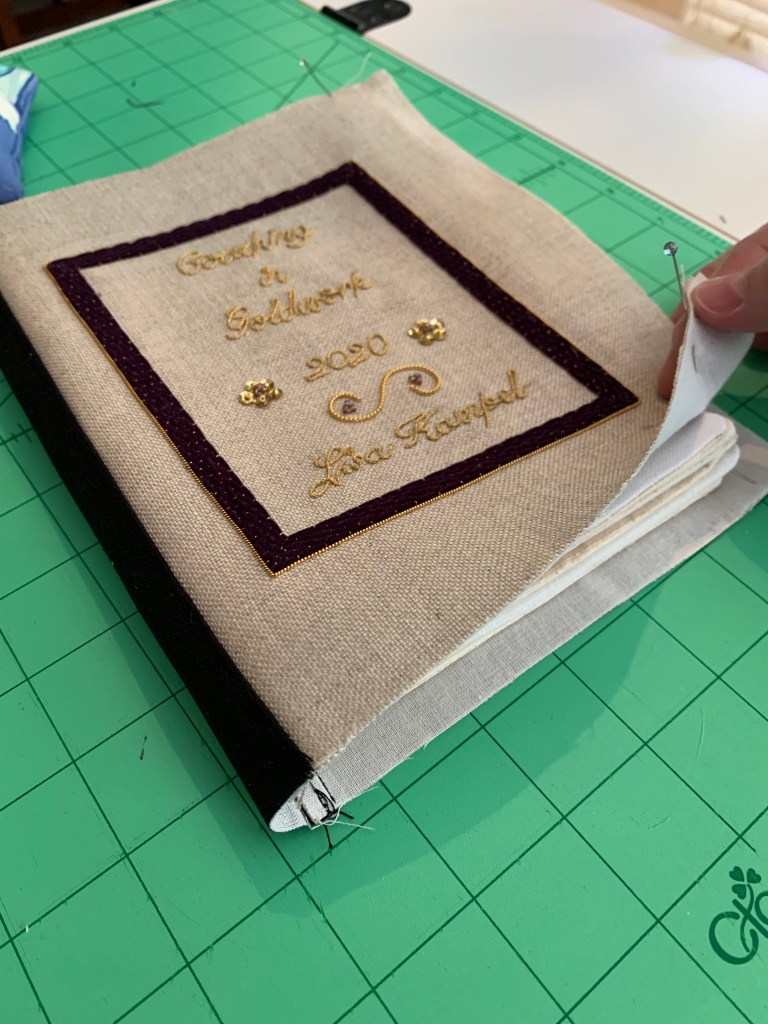
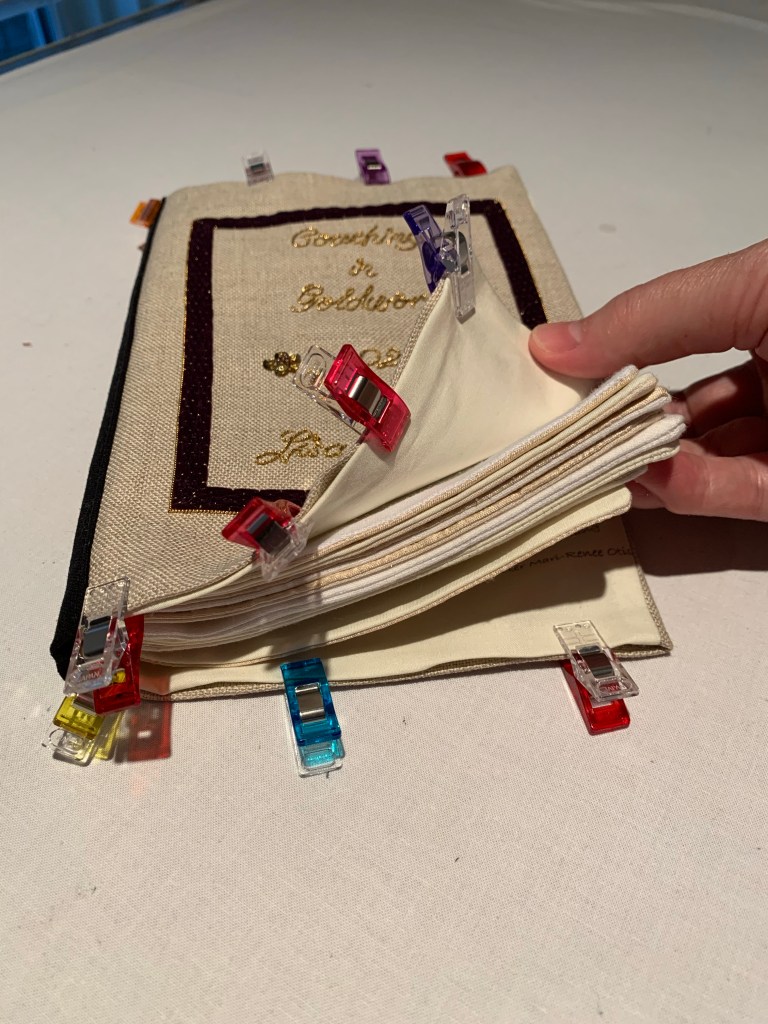
Step 9 – Positioning the pages into the cover
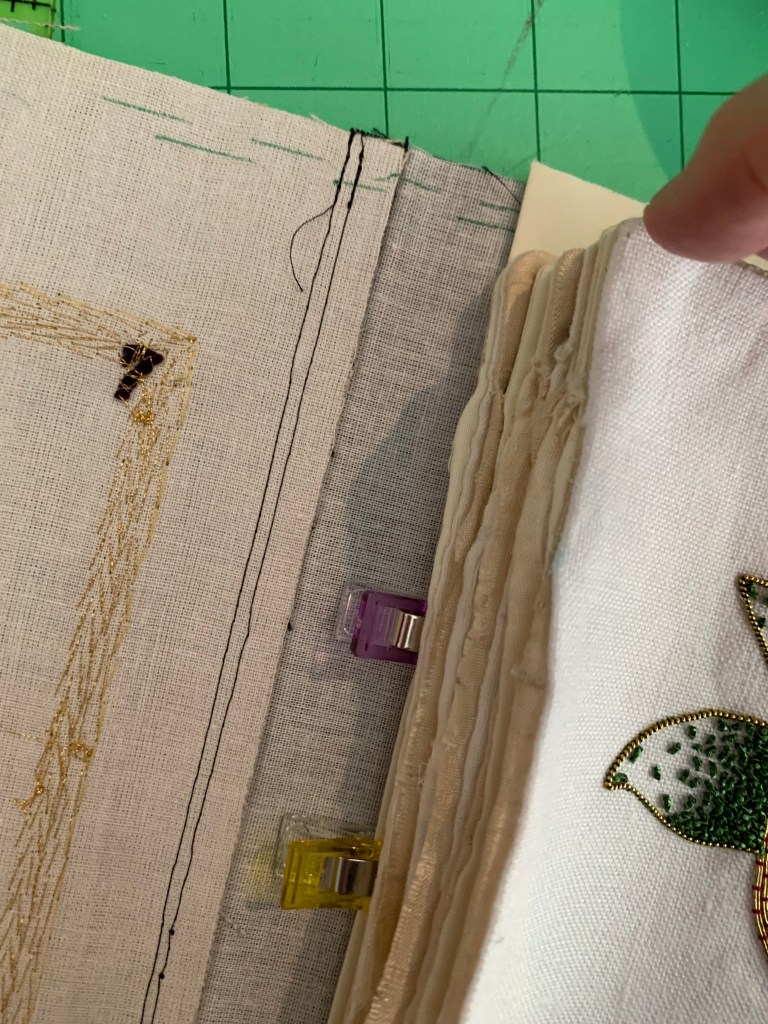
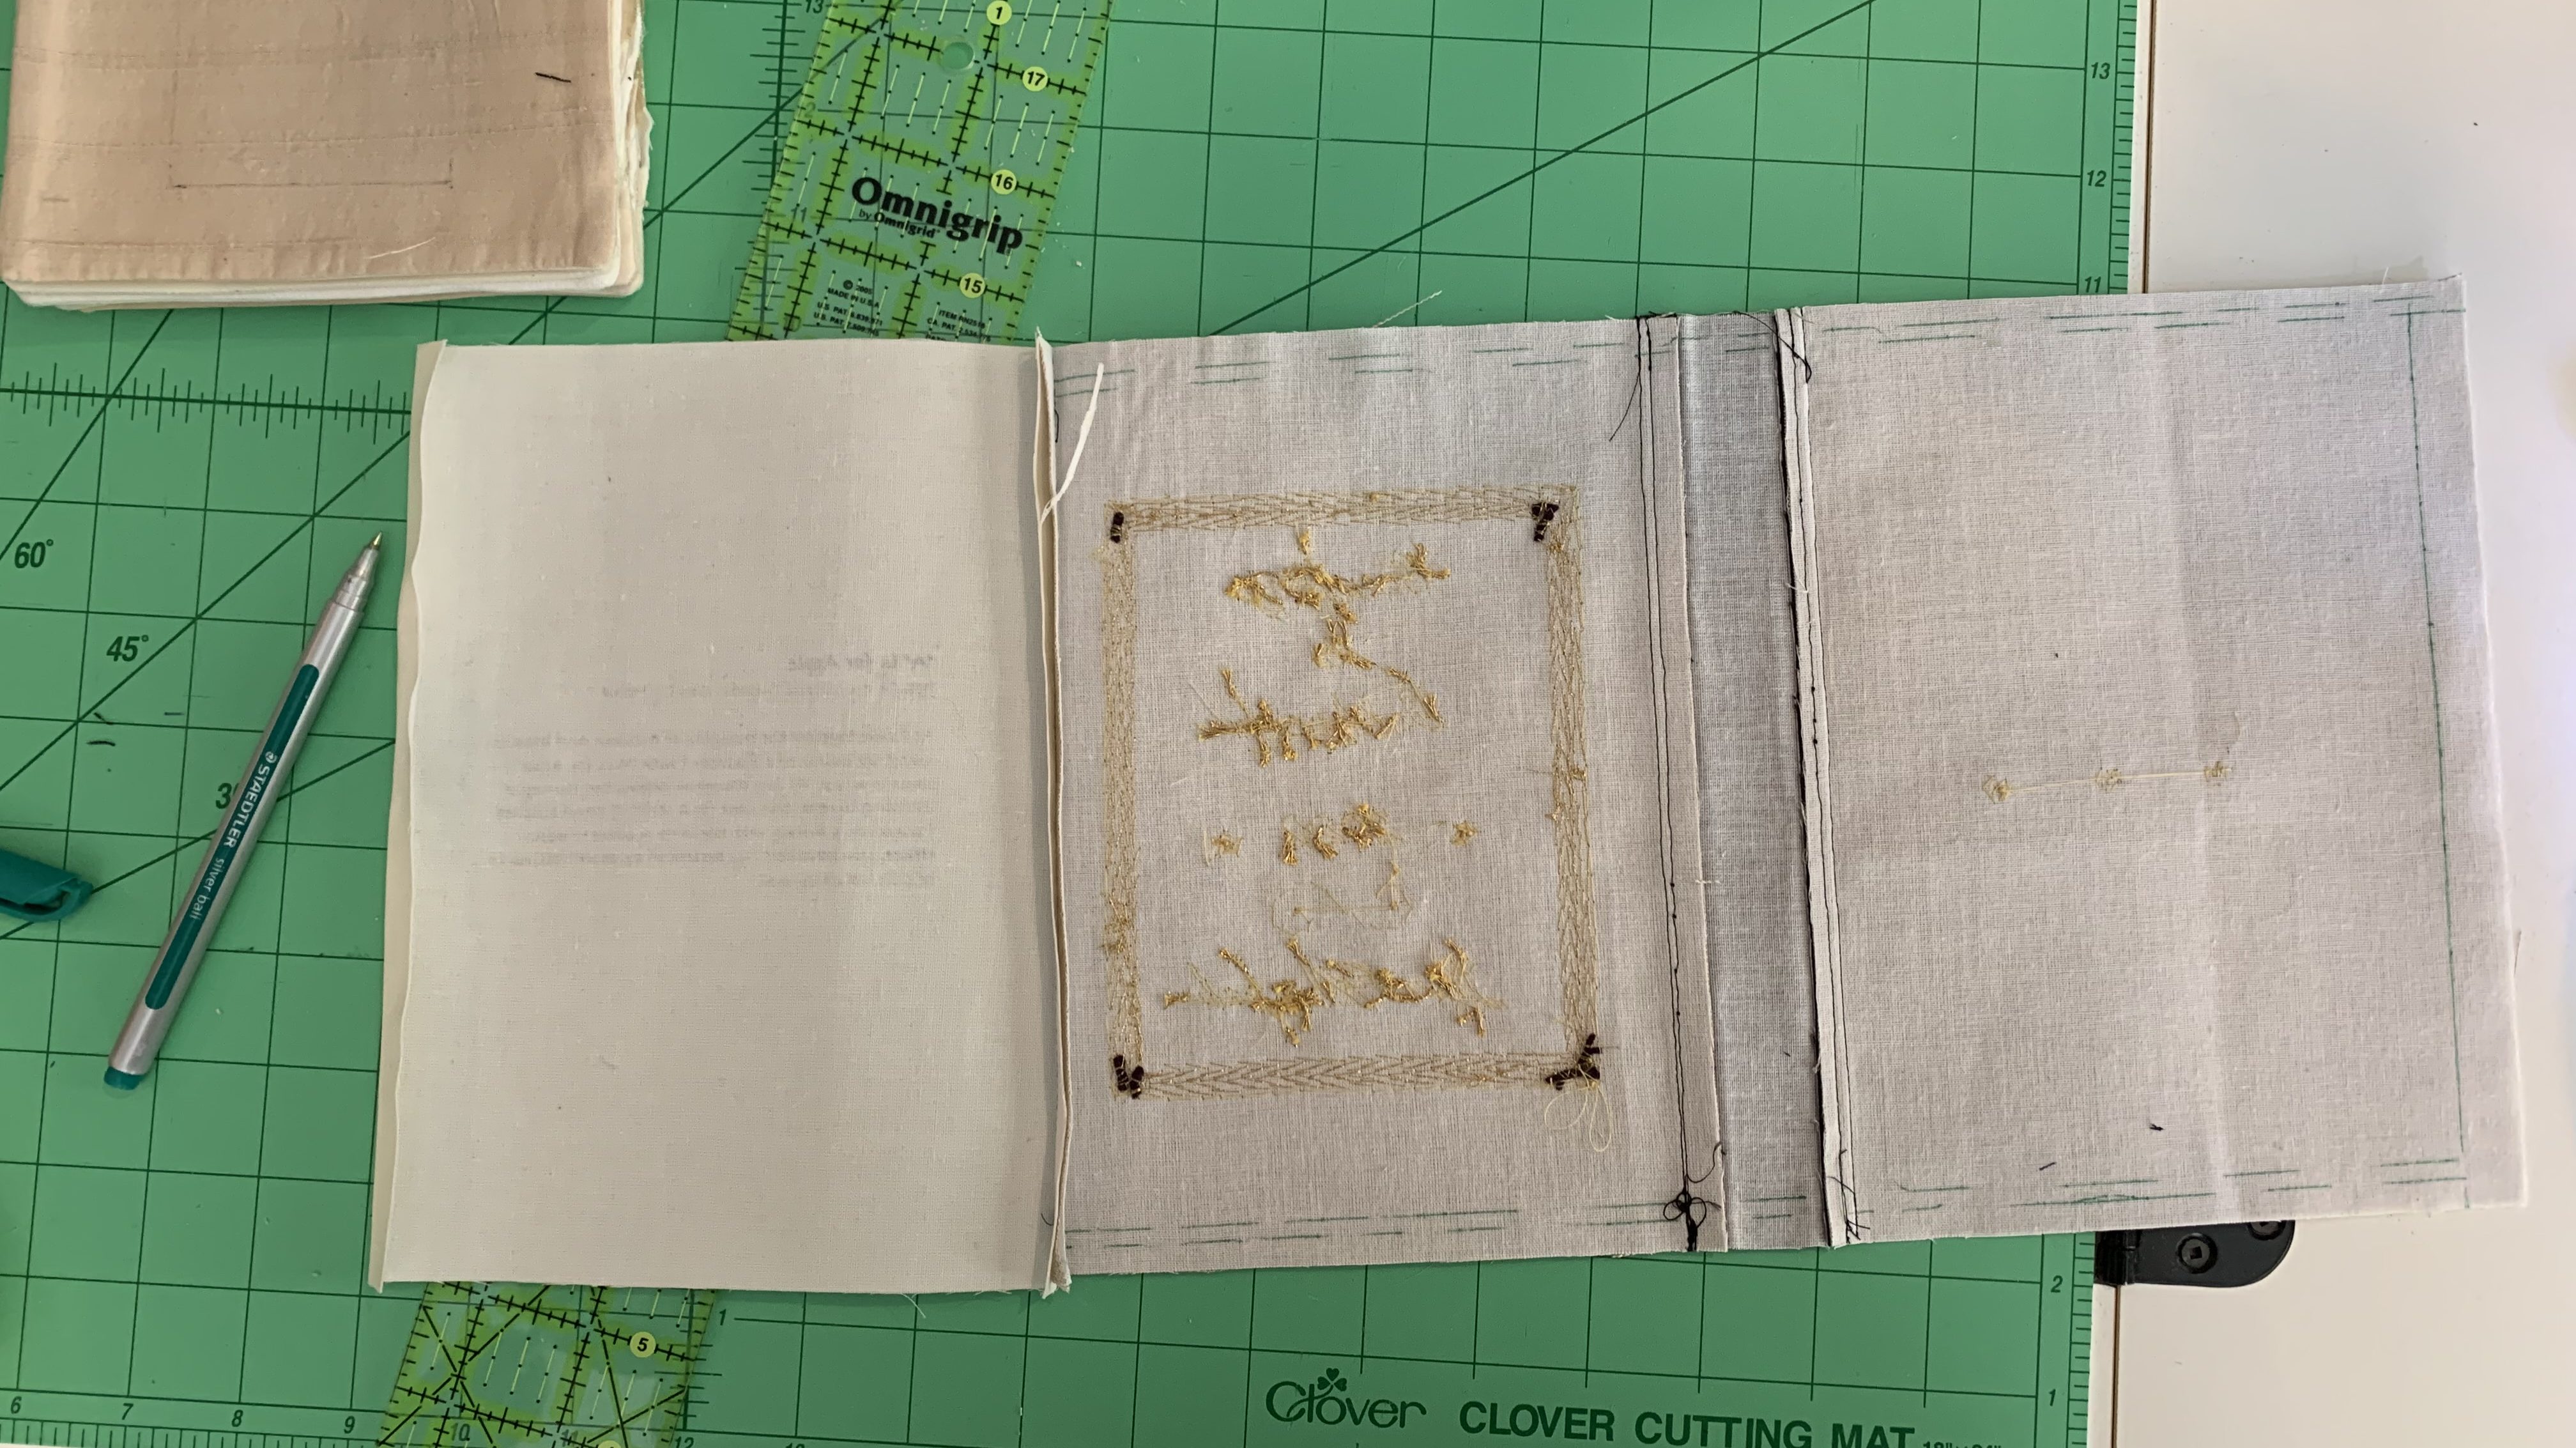
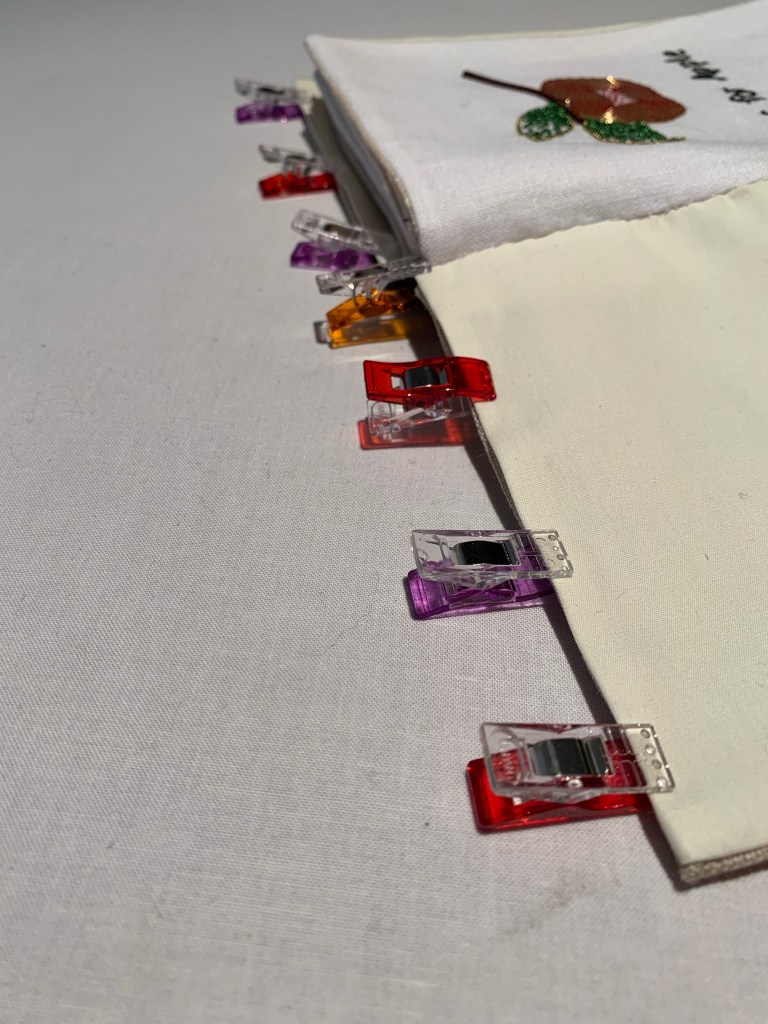
Fold the back inside cover so that the folded edge is against the spine. Place the inside pages on top. Position so that the pages are centered and are in proximity to the guidelines that have been previously drawn (green lines).
Hold in place using quilt clips (or pins).
You can see here how much extra has been folded inwards to shorten the page width 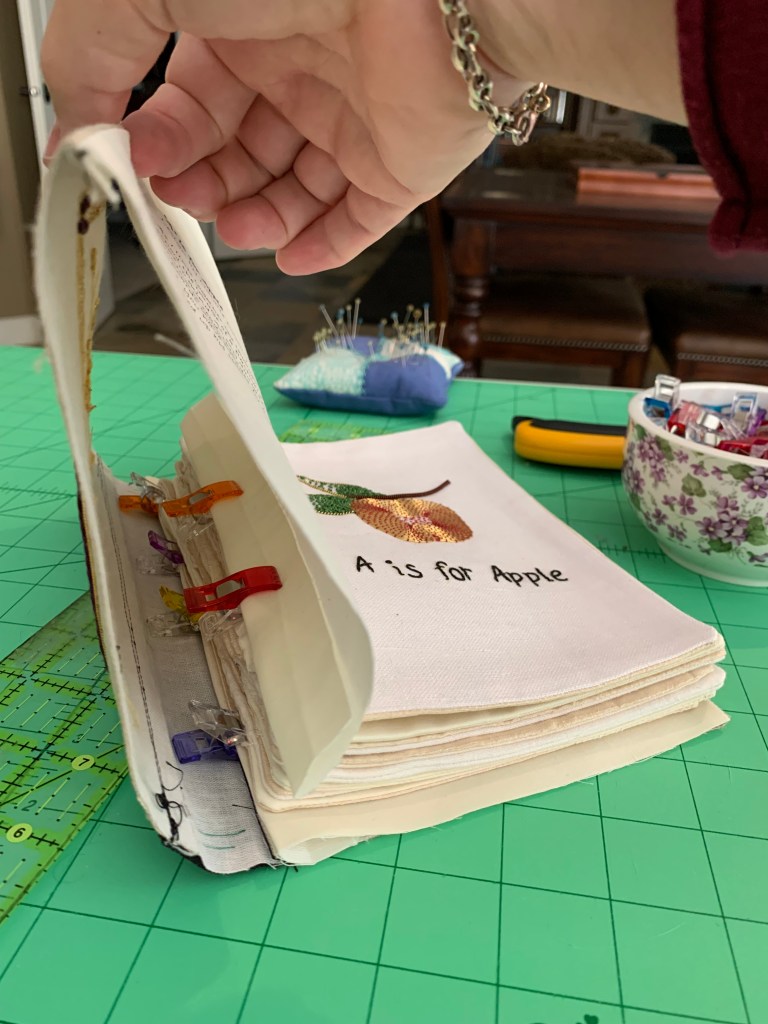
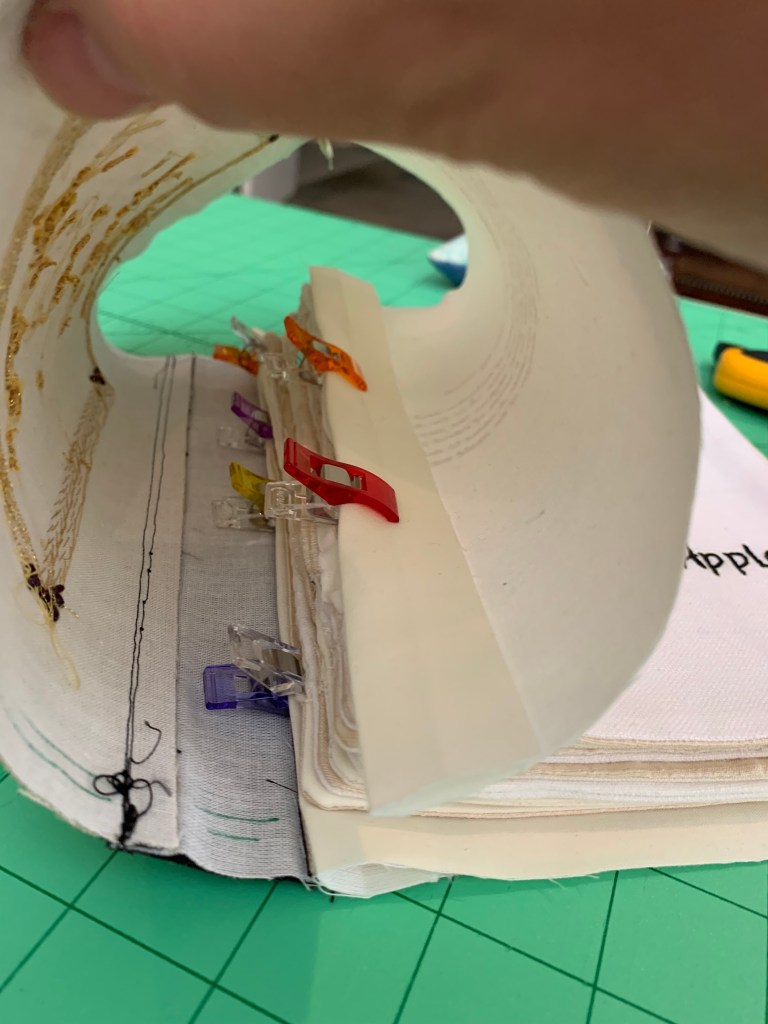
Another good view of the clipped together pages
Fold over the front cover and do the same with the inside cover page. You will get a good sense now of where your edges should be. Adjust the folded edge of the inside back cover – I have adjusted the page about 1/2″ outward. The edge should match up pretty closely with the spine seam.
Remove the clips/pins from the front page.
Step 10 – Using a ladder stitch – sew the back inside cover to the last page.
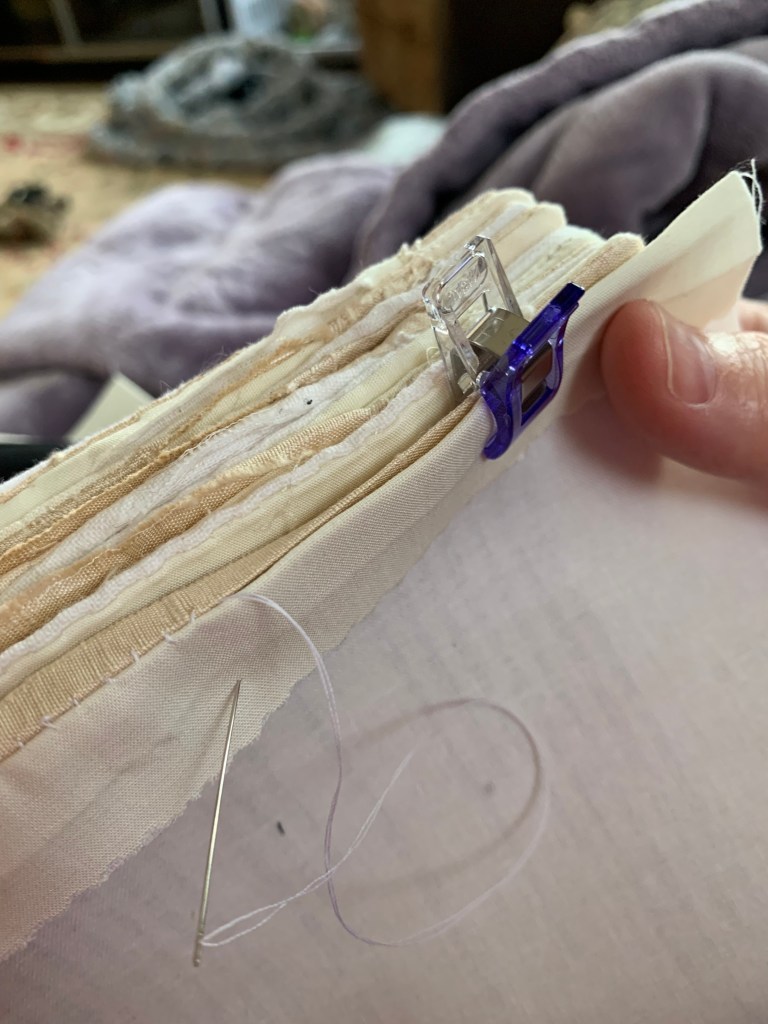
Work your stitches from the center to the inside page edge. Use the quilt clips to hold in place.
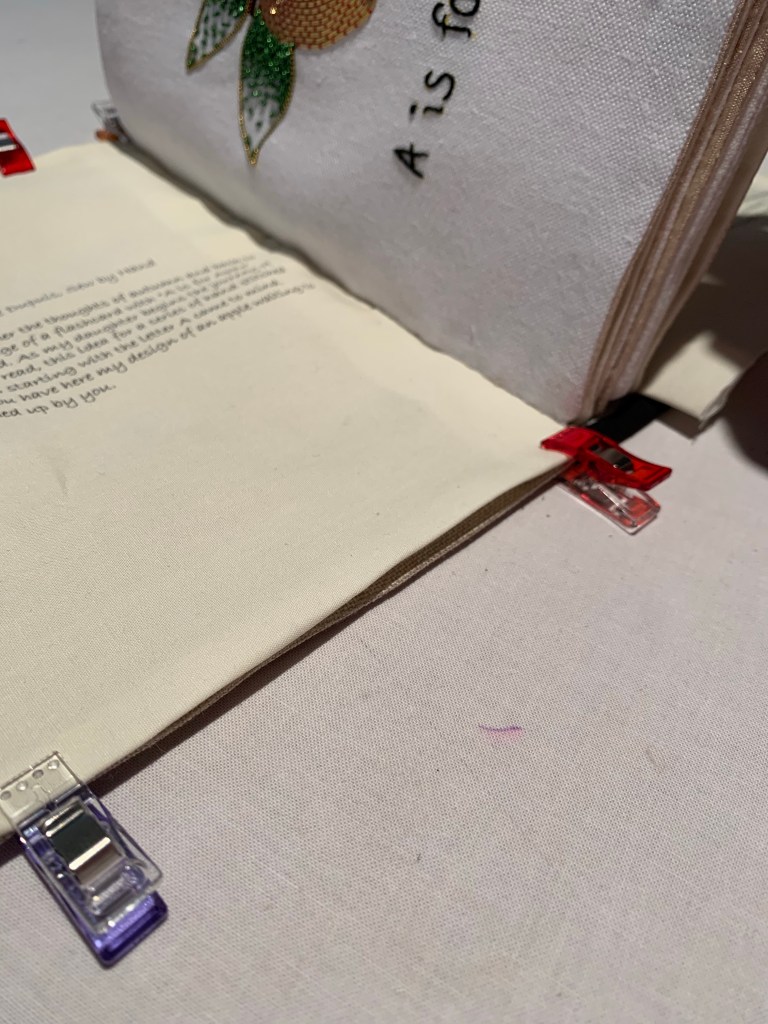
Step 11: Repeat the Process with the front inside cover and front inside page
Clip or pin the inside front cover to the first inside page.
TIP: Now is the time to adjust the width of the front inside cover. Make sure that the page is short enough so that it doesn’t bunch up. The cover and the pages should move easily at this point.
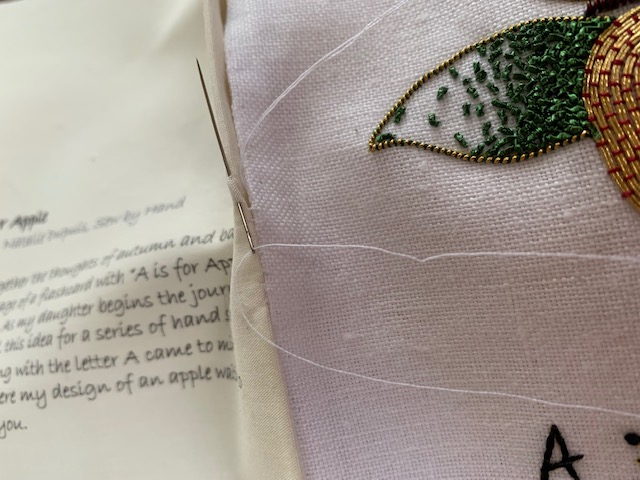
When everything is positioned properly, Stitch the pieces together starting from the center, use the ladder stitch to attach the pages together.
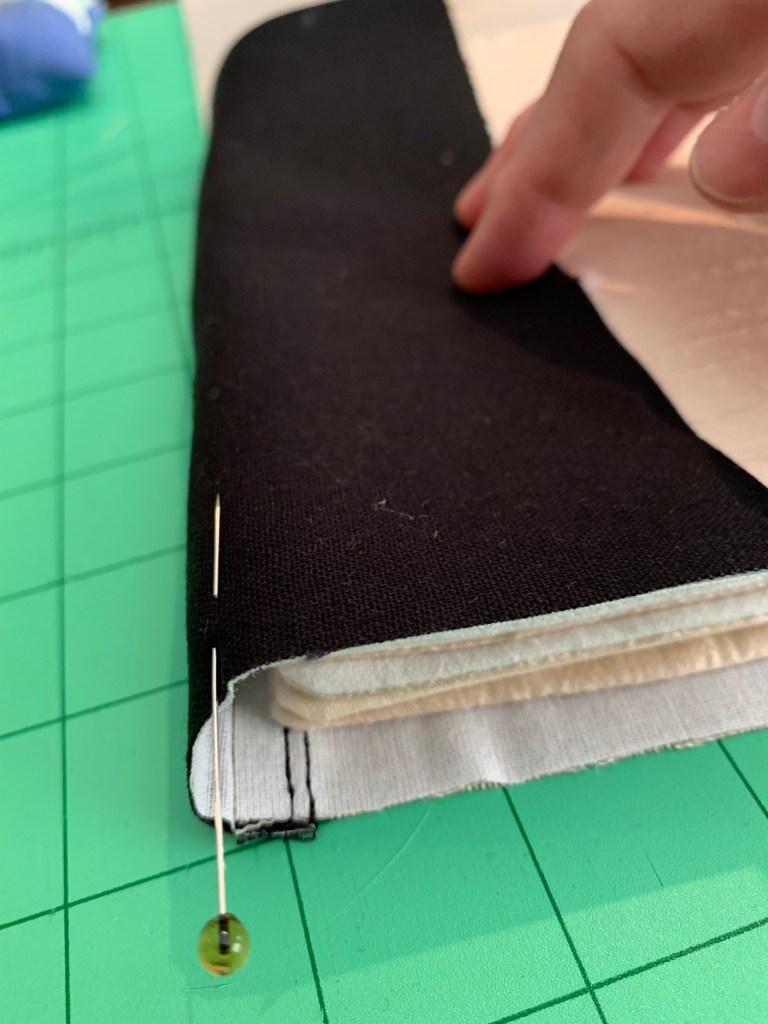
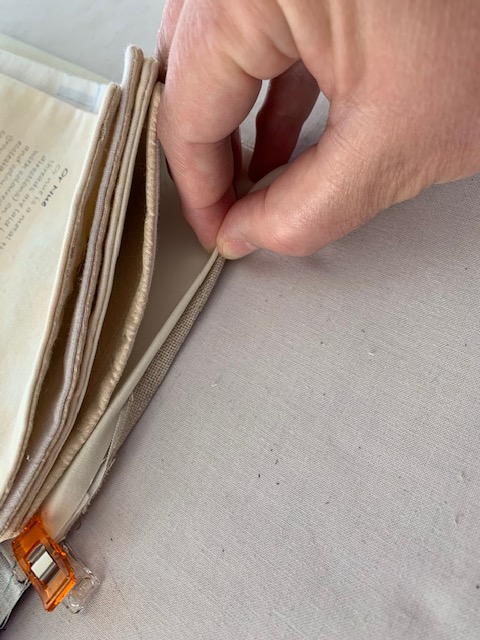
Step 12 – Finishing the top and bottom seams
We are almost done! The next step is to position the pages and the cover so that you can adust and finish the edges of the top and bottom cover.
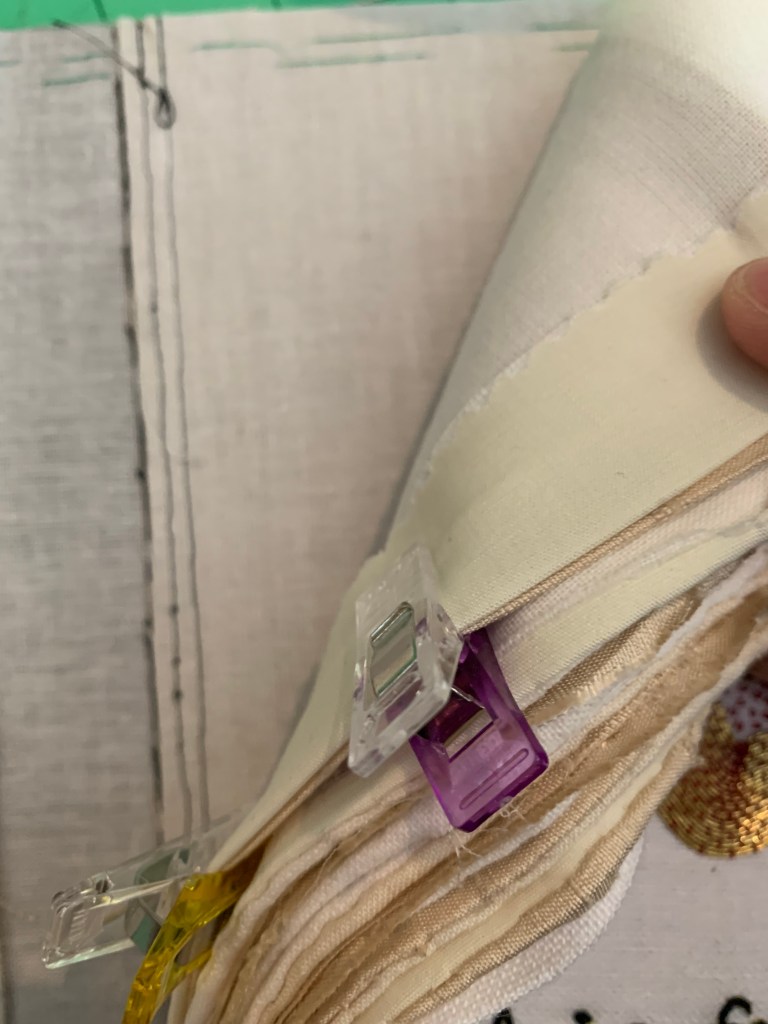
I’ve used quilt clips to hold the pages together right near the spine.

Using the guidelines that you drew previously (green lines), folder over and press the top and bottom seams. Hold together with quilt clips.

Finish the top and bottom edges in the same manner as you did when attaching the pages to the inside cover. Starting from the spine, stitch outwards, using the ladder stitch – from one side to the next. Make sure you stitch down the raw edge of the spine.
FAQ
What type of fabric was used for the cover and spine?
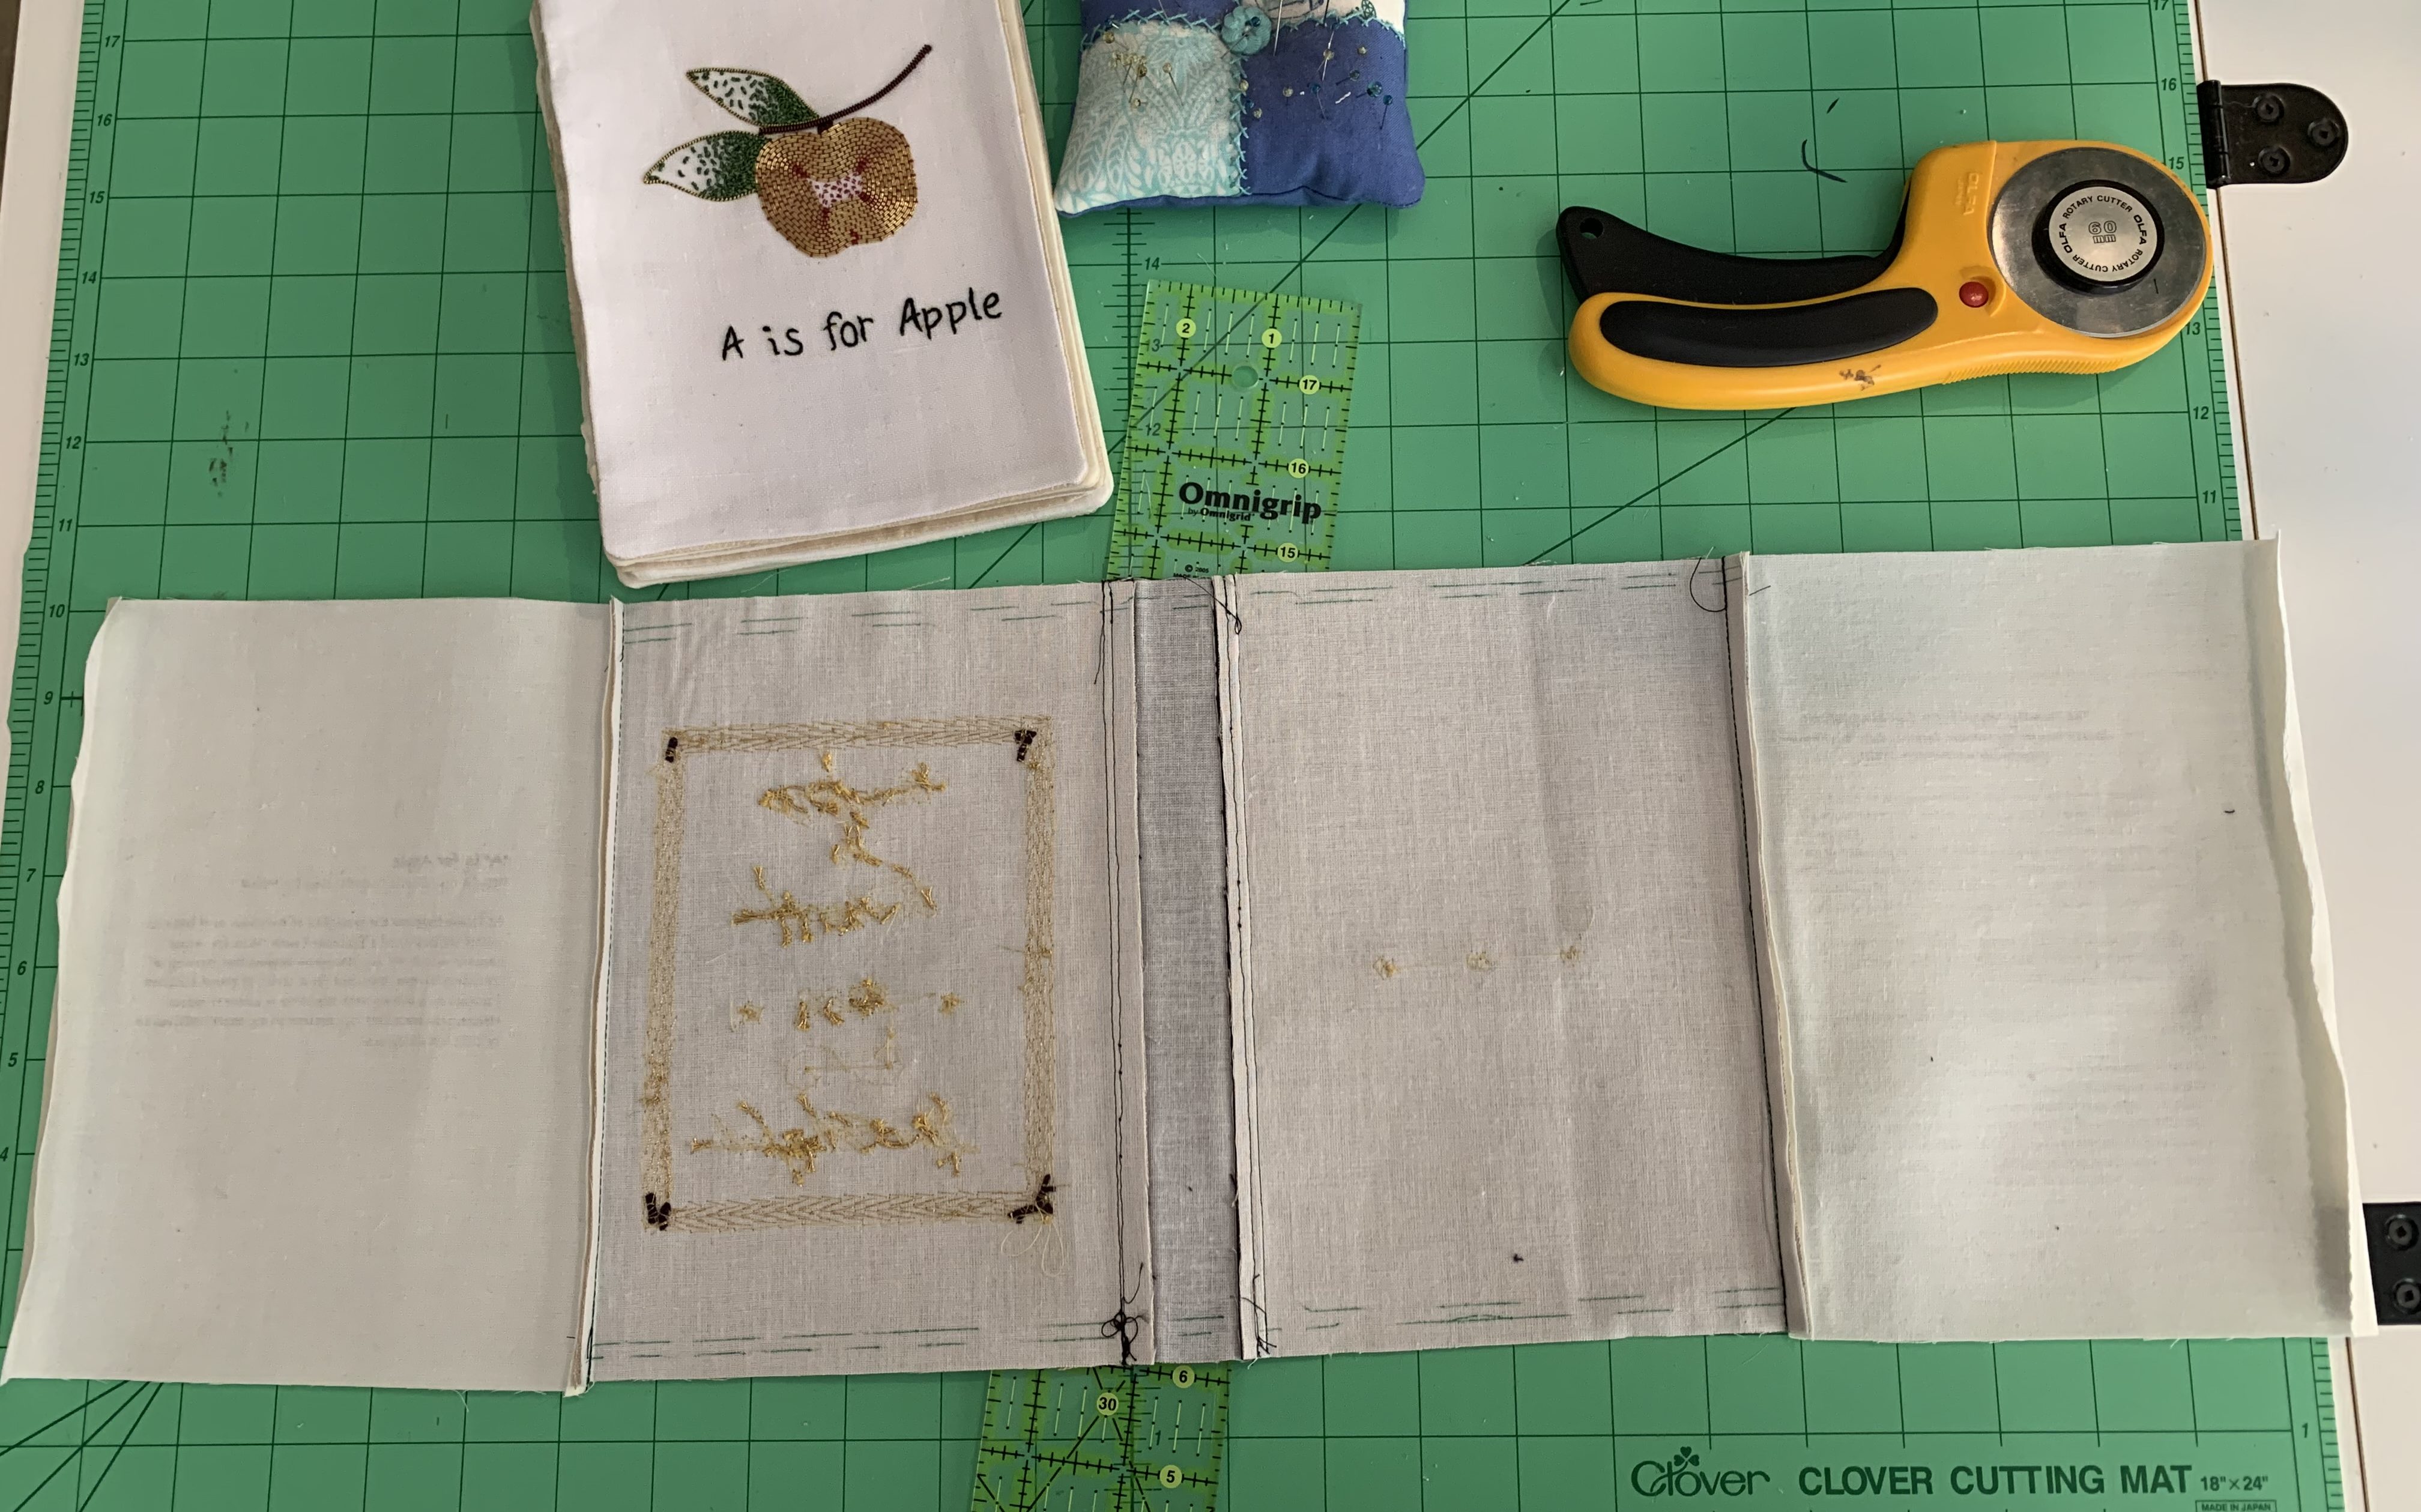
I used a piece of 32 count linen from my stash for the front and back cover pieces. For the spine, I used a piece of essex linen (cotton/linen blend). All of the pieces have been reinforced with interfacing (SF 101).
What fabrics did you use for the pages in the journal?
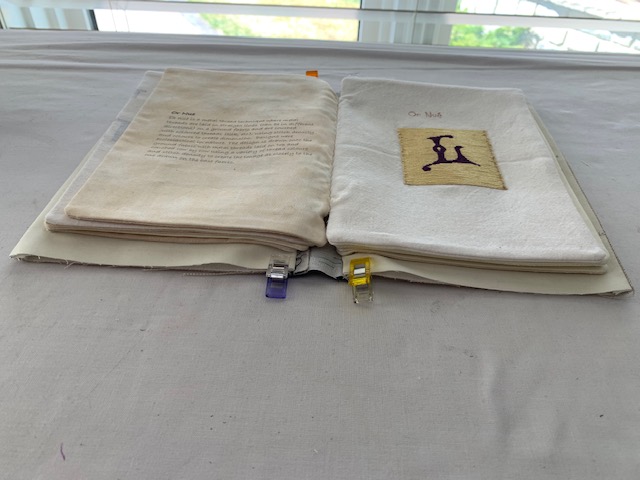
As this was a learning project, I wanted to experiment with as many different fabrics as possible. Pages are made from silk dupioni, cotton quilting fabric, calico, antique cotton sugar sack fabric and linen. All of the pages have been reinforced with interfacing (SF101).
Can you assemble the journal completely by hand?
Yes, absolutely! It would take longer to finish completely by hand, it can definitely be done. I used a sewing machine to finish the inside pages and some of the seams the outside cover of the journal, but found it much easier to attach the cover and finish the top and bottom seams by hand.


A gorgeous record of your work!
LikeLike
Thanks Ann!
LikeLike