Over the past few weeks much stitching has been done while sipping the morning java – delicious coffee and a bright, sunny situation have made my mornings most enjoyable… and productive! I’ve managed to finish the layouts and edging on almost all of the pages for the journal!
A big finish is coming soon – I can just feel it! The majority of the layouts and pages are done. Remarkably there are just two page layouts left that need to be finished. These last two pages are just “missing something” and I haven’t quite figured out what that is yet! So, I think there’s still a wee bit of stitching to do… but more on that later…
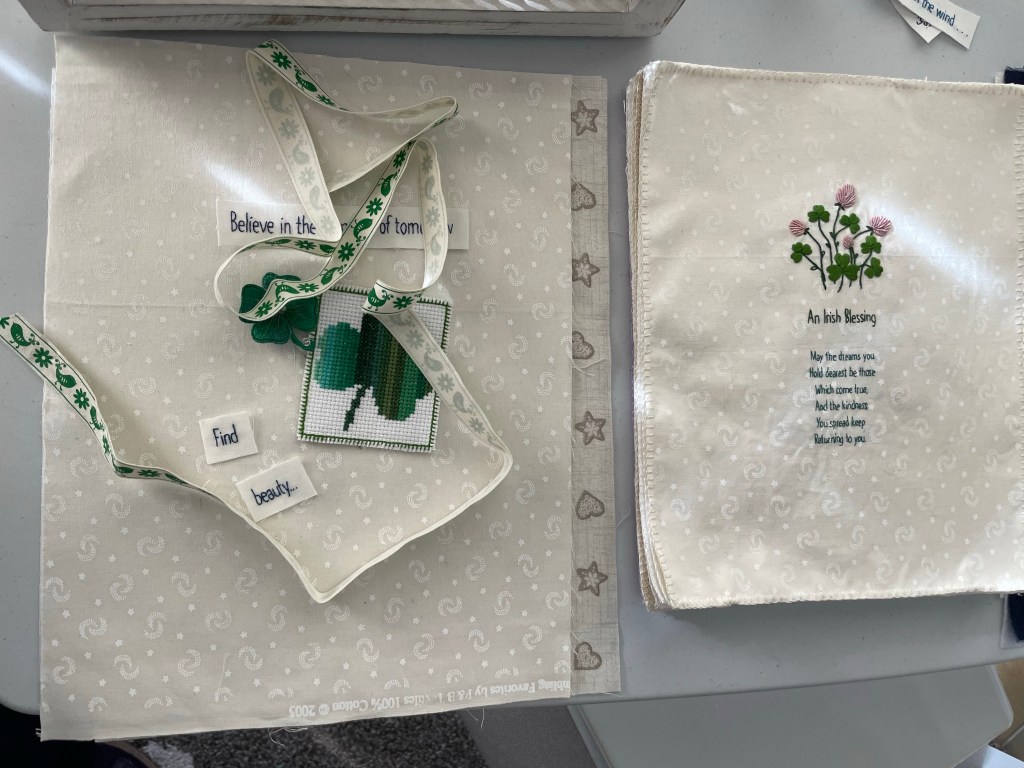
Journal assembly has now moved on to joining the pages together into spreads. It is very exciting to see the journal finally coming together.
Fray check is my best friend.
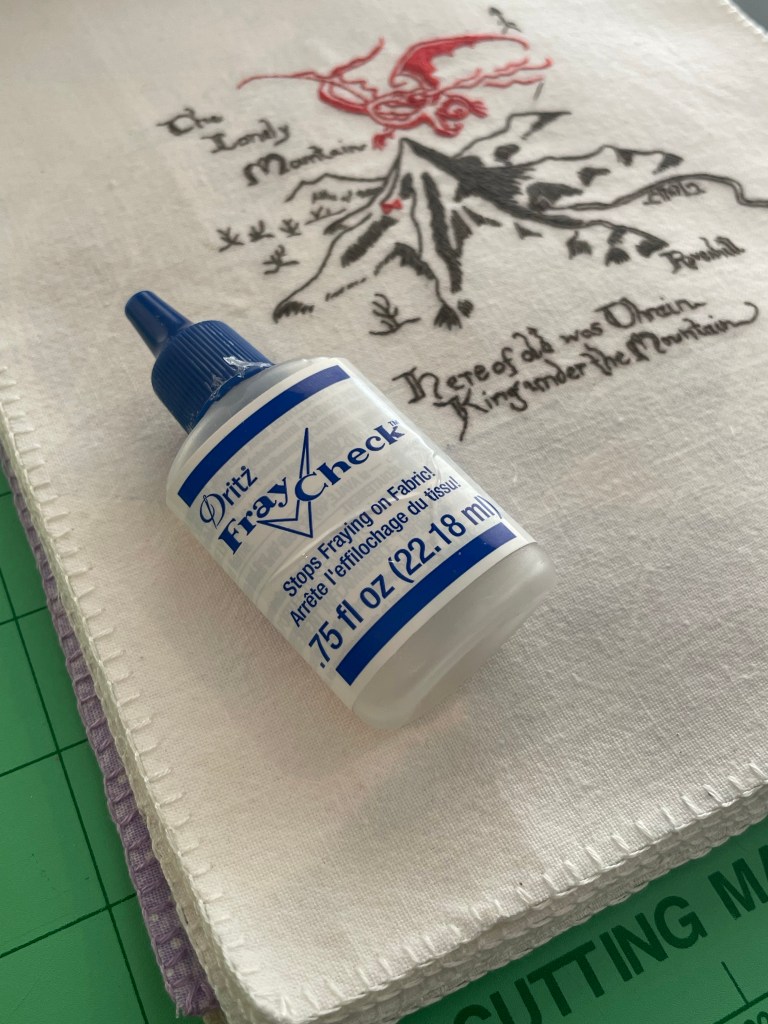
Before stitching the page spreads together, I have been dabbing Fray Check on every corner on each page. My buttonhole stitching is acceptable, but the Fray Check will ensure that the corners are a little stronger. Page corners tend to get a bit more wear from being handled and I want my journal to last a long while!
Joining Pages with Whip Stitch
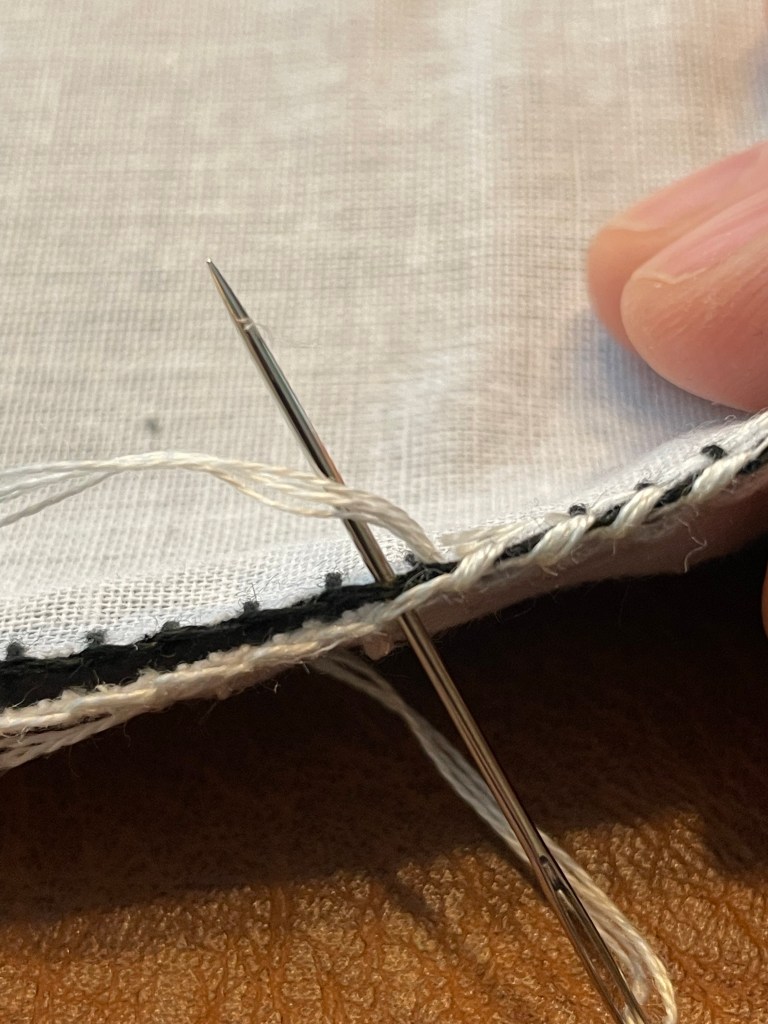
I am using 4 strands of DMC floss (in 3865) to whip stitch the pages together. This should give a little extra support to the spine of the journal.
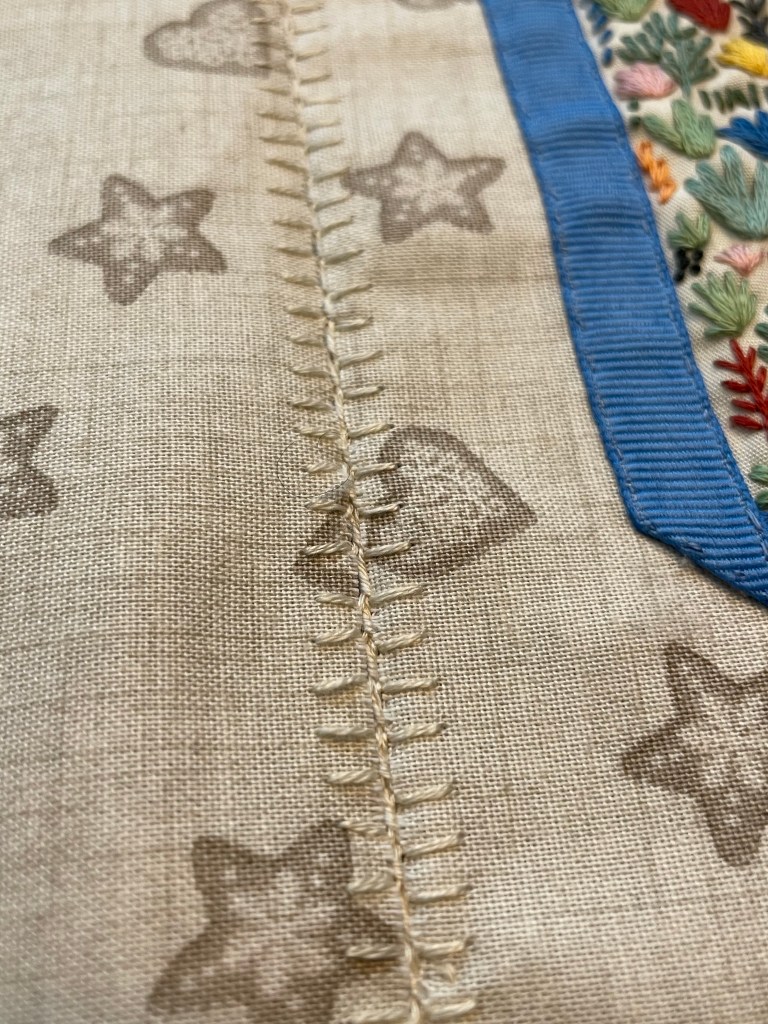
Yep … pages need to be the same size!
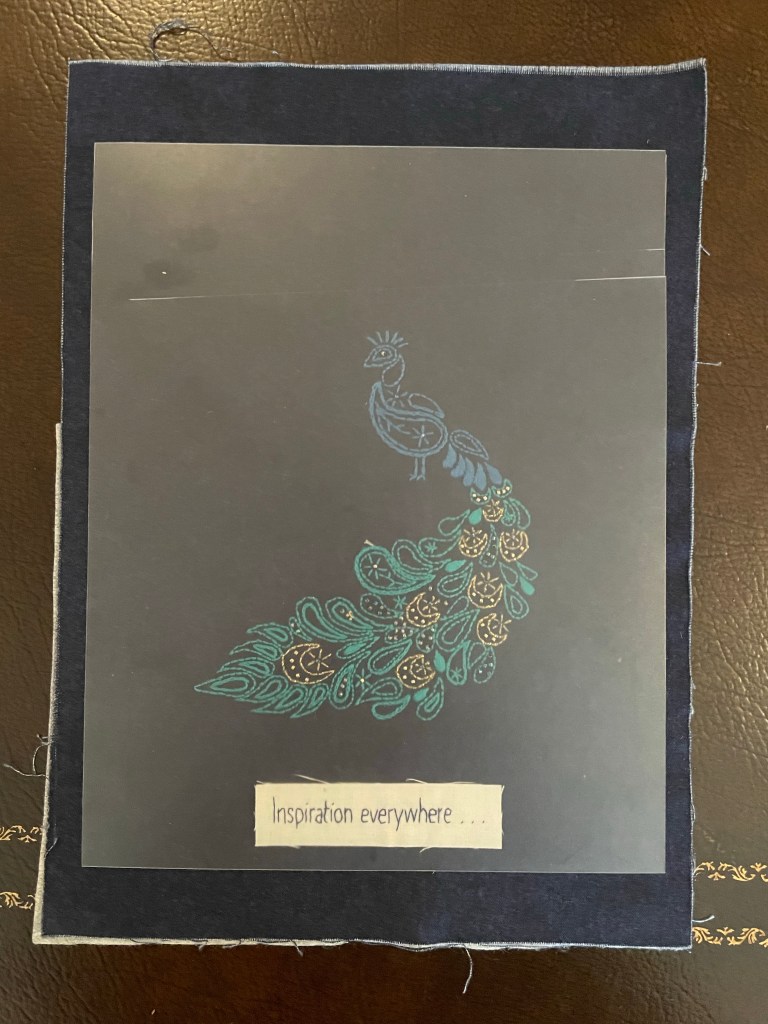
I haven’t really talked much on page size and the importance of page size accuracy. A very long time ago, I had to make a decision on what size I wanted my pages to be for this journal. The decision was made very early on in the journal making process. All of my finished pages were to be (and are) 8” wide by 10” tall.
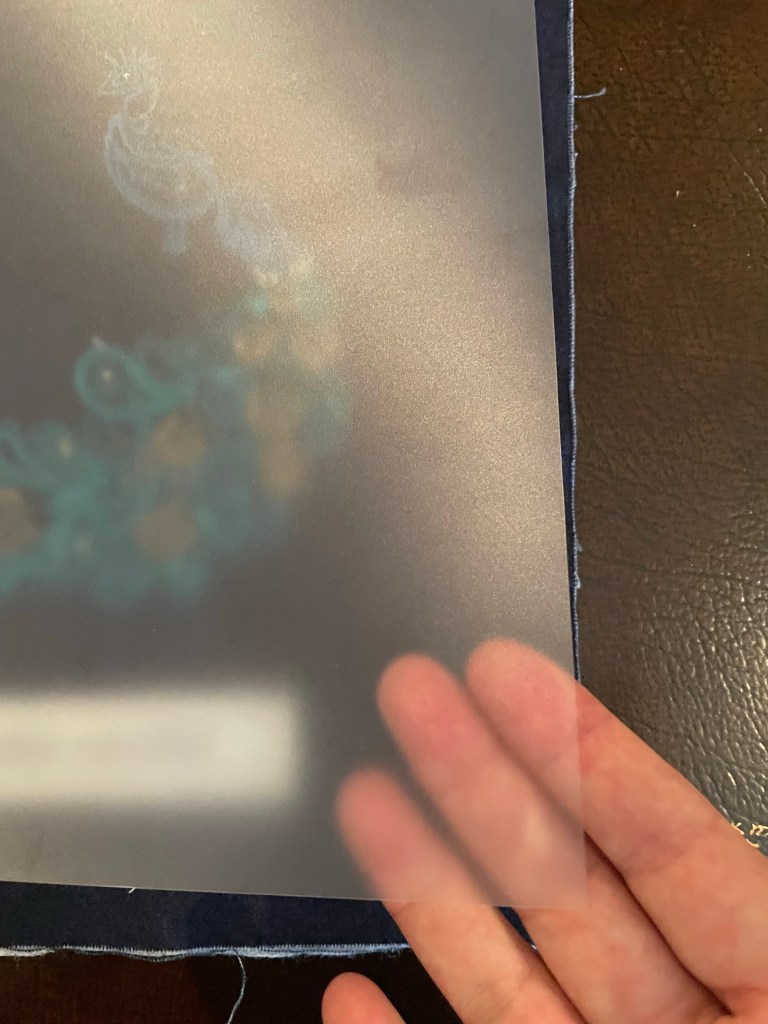
I made a page template out of heavy plastic template material and have used it extensively as I planned each embroidery design and page layout. I have also used it as a trimming guide to ensure that each page is exactly the same size.
Not too big… or too small … My decision was driven by my desire to be able to print designs on fabric using my ink jet printer. Thus the maximum size of the pages could be 8 1/2″ by 11″ (a standard page of paper) that would fit in my printer. Allowances had to be made for raw edges, fraying, tack marks of pieces mounted to stretcher bars and the trimming that would have to come when each page was finished. The fabric pieces also had to be large enough so that they could be placed in an embroidery hoop.
What material did I use for my template? From my quilting stash I had a few sheets of the Dritz 3115 Plastic Heavy Duty Template sheets. I’ve used these before for different quilting projects (they are great for paper piecing). You can cut them with a rotary blade and can mark them up with a permanent marker! A great tool for any crafter! I’ve had these sheets for years and probably picked them up at the local Michael’s store. Amazon has them too…
https://www.amazon.ca/Dritz-Quilting-Heavy-Template-Plastic/dp/B0085L2XUQ?th=1

