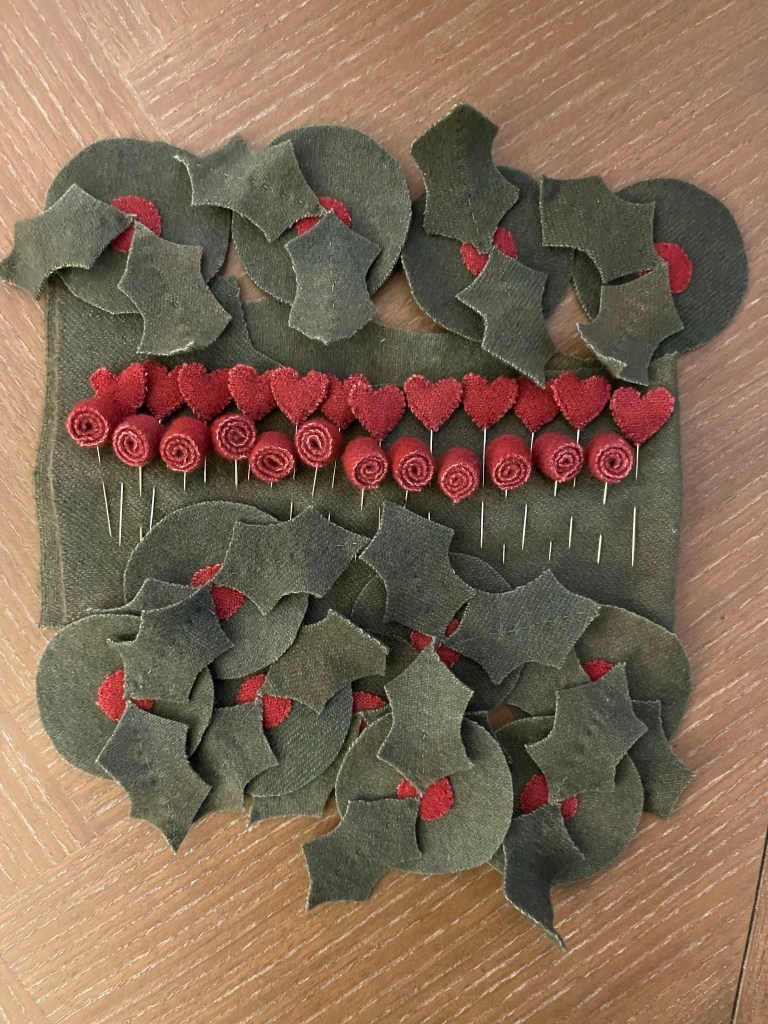
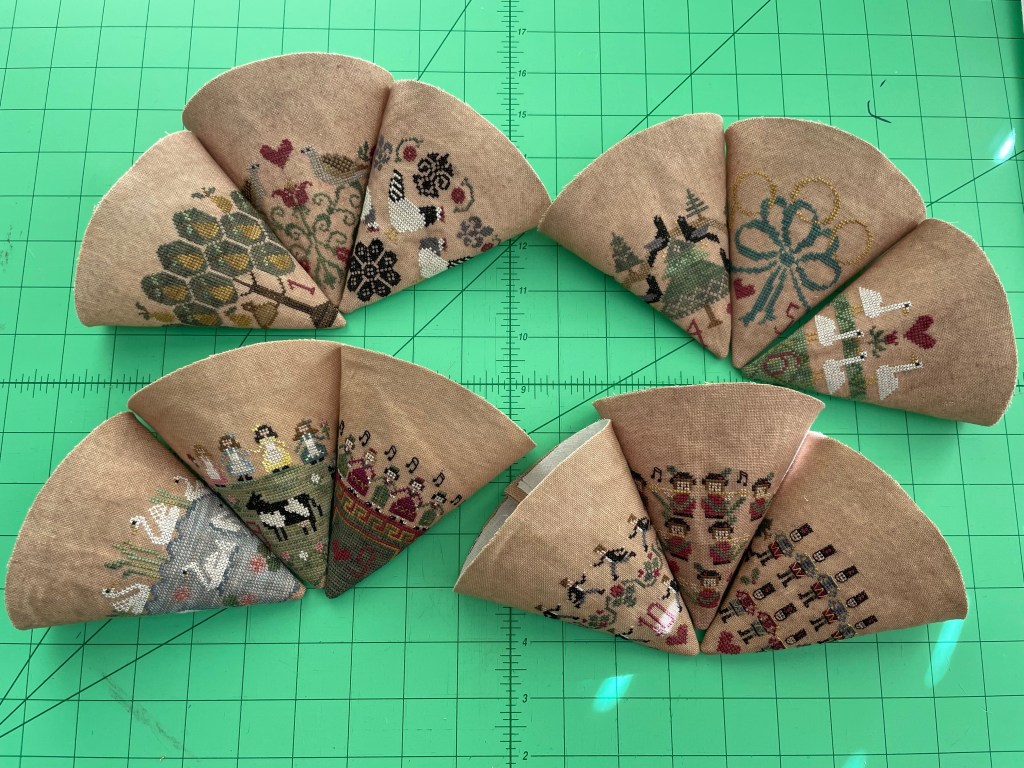
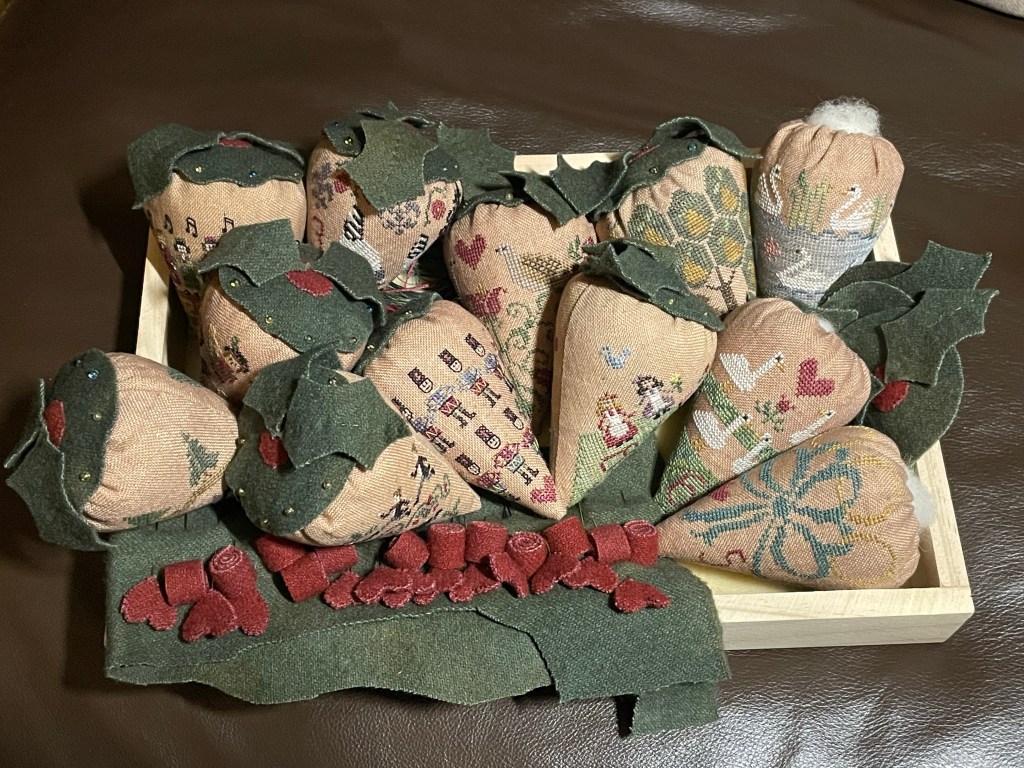
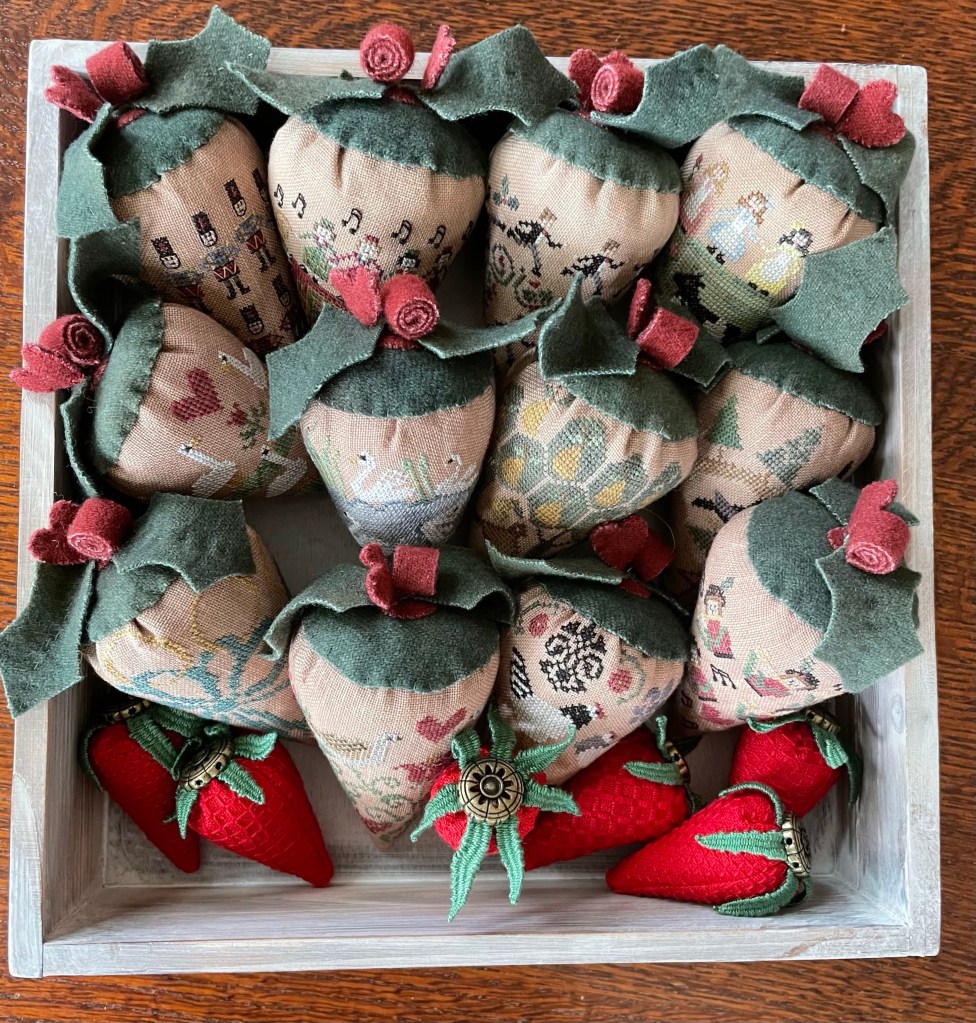
Well finally, finally, finally the Erica Michael’s 12 days of Christmas Strawberries are done. I am giddy with relief! I love all of her strawberry designs but this was definitely not one of my favourite stitching projects. BUT I am glad they are done and they are just delightful!!
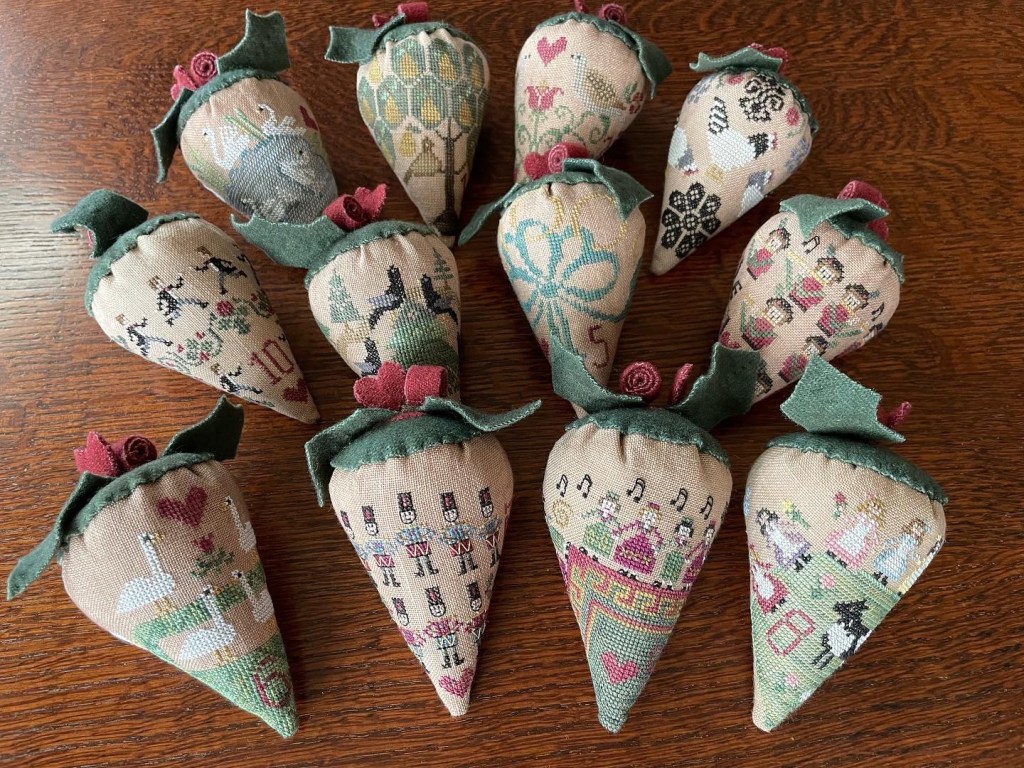
It has been a bit of a slug getting through the stitching but I am so happy how they turned out.
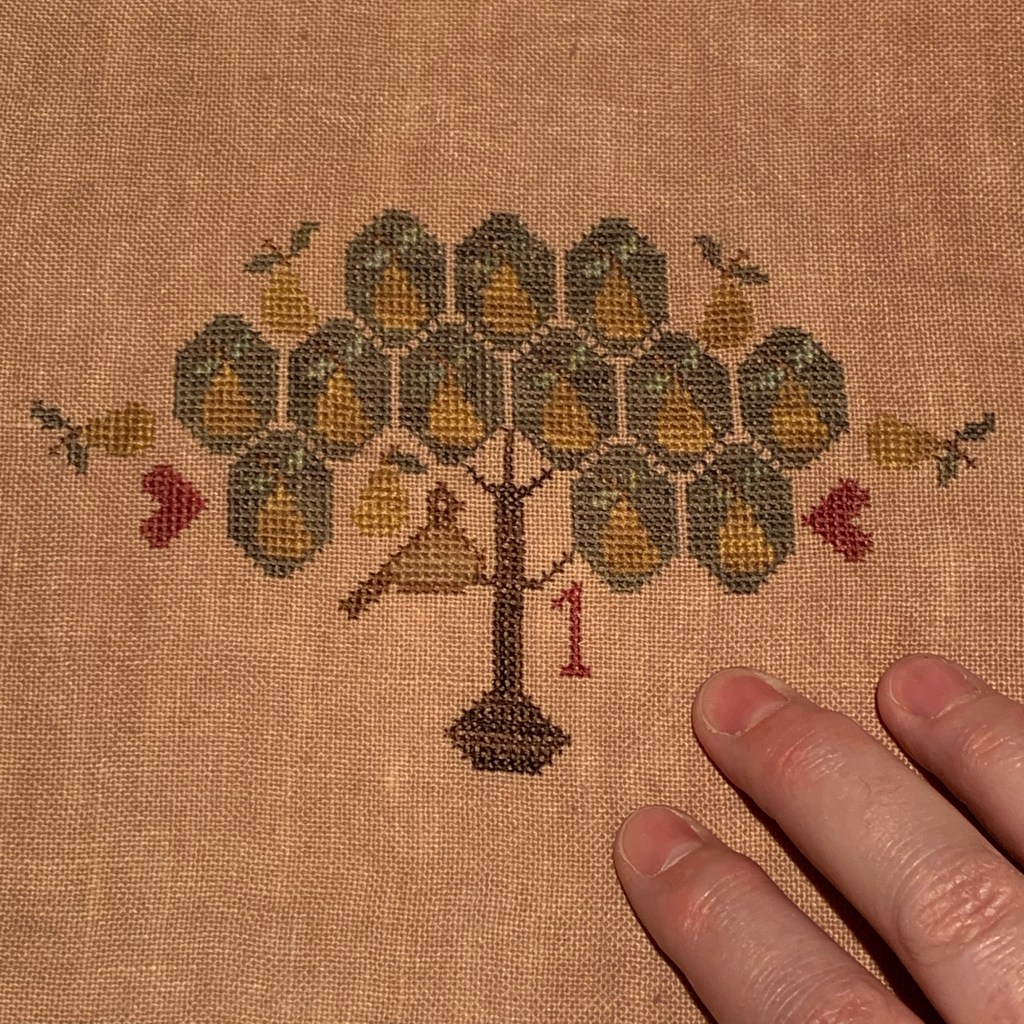
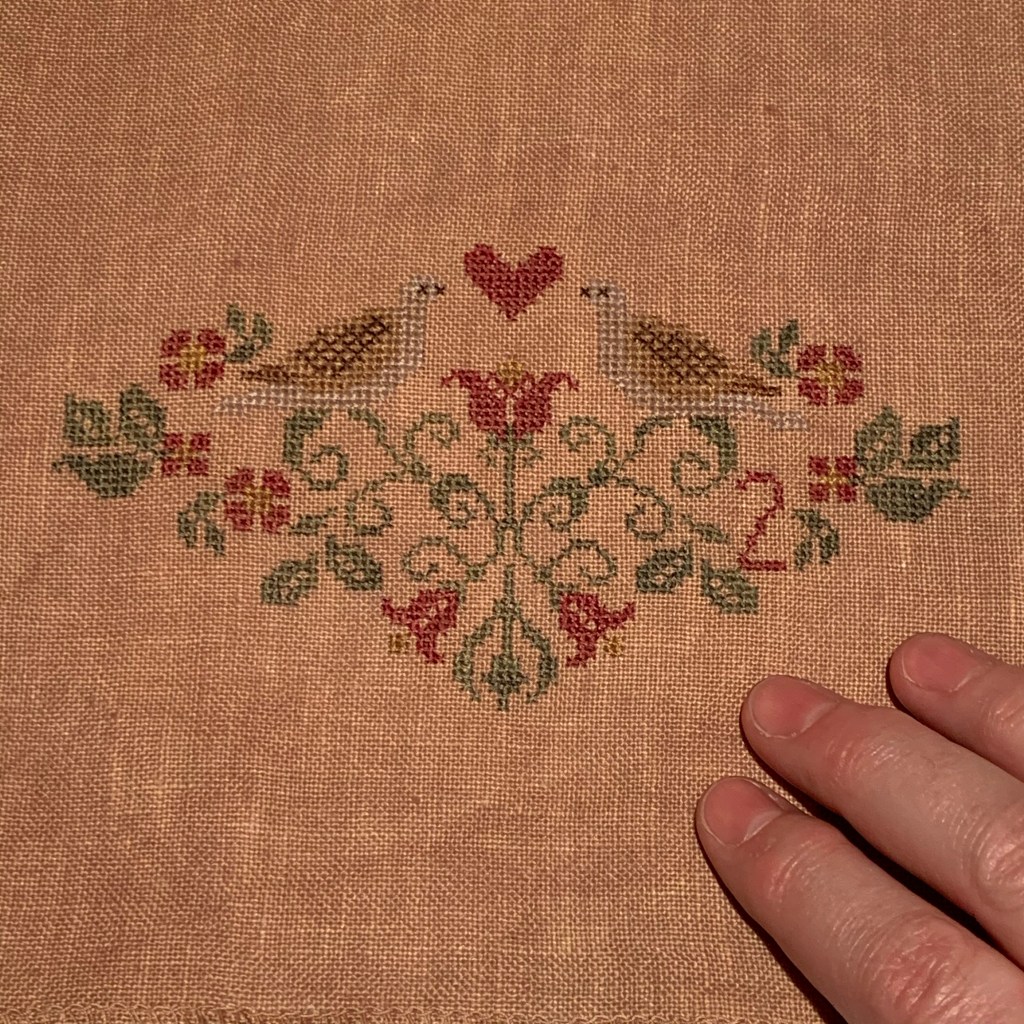
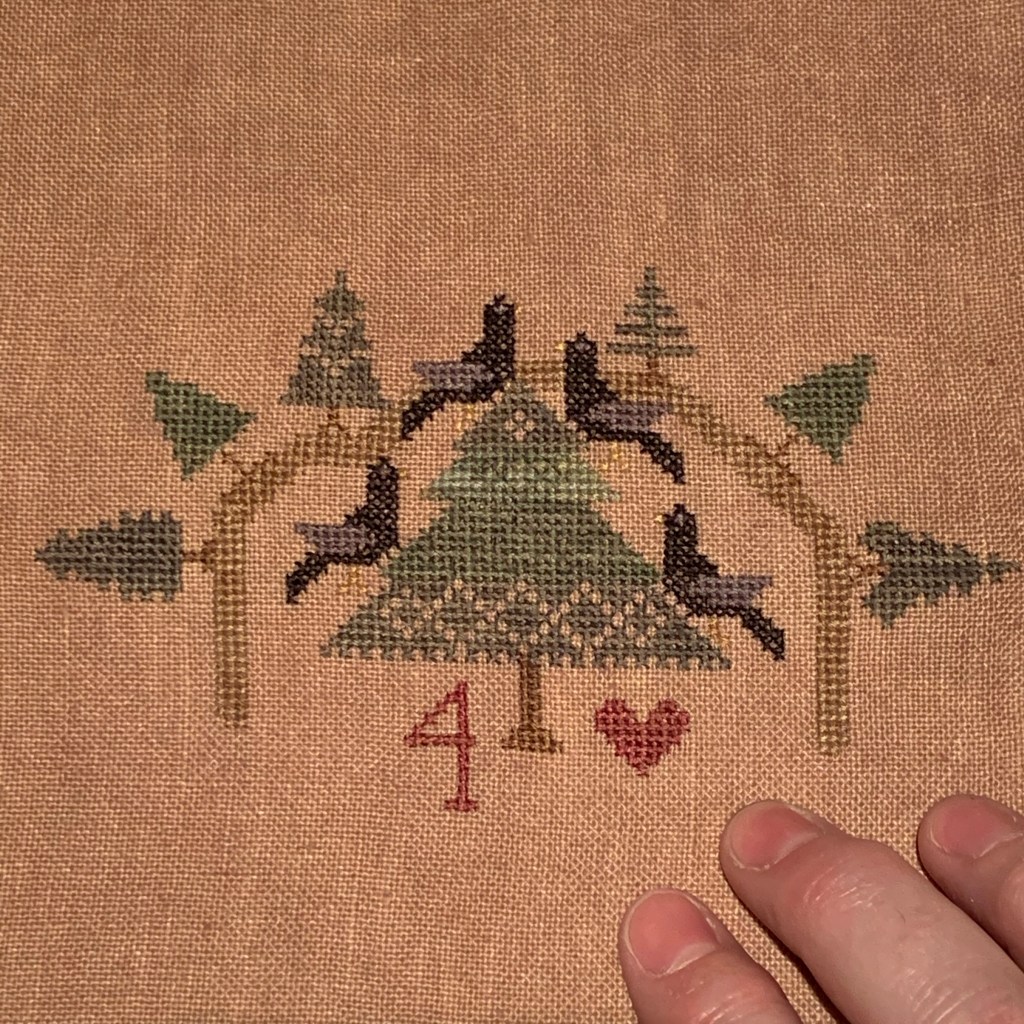
I managed to get through the first two strawberries with no issue. But strawberry 3 caused me all sorts of problems. Sigh…
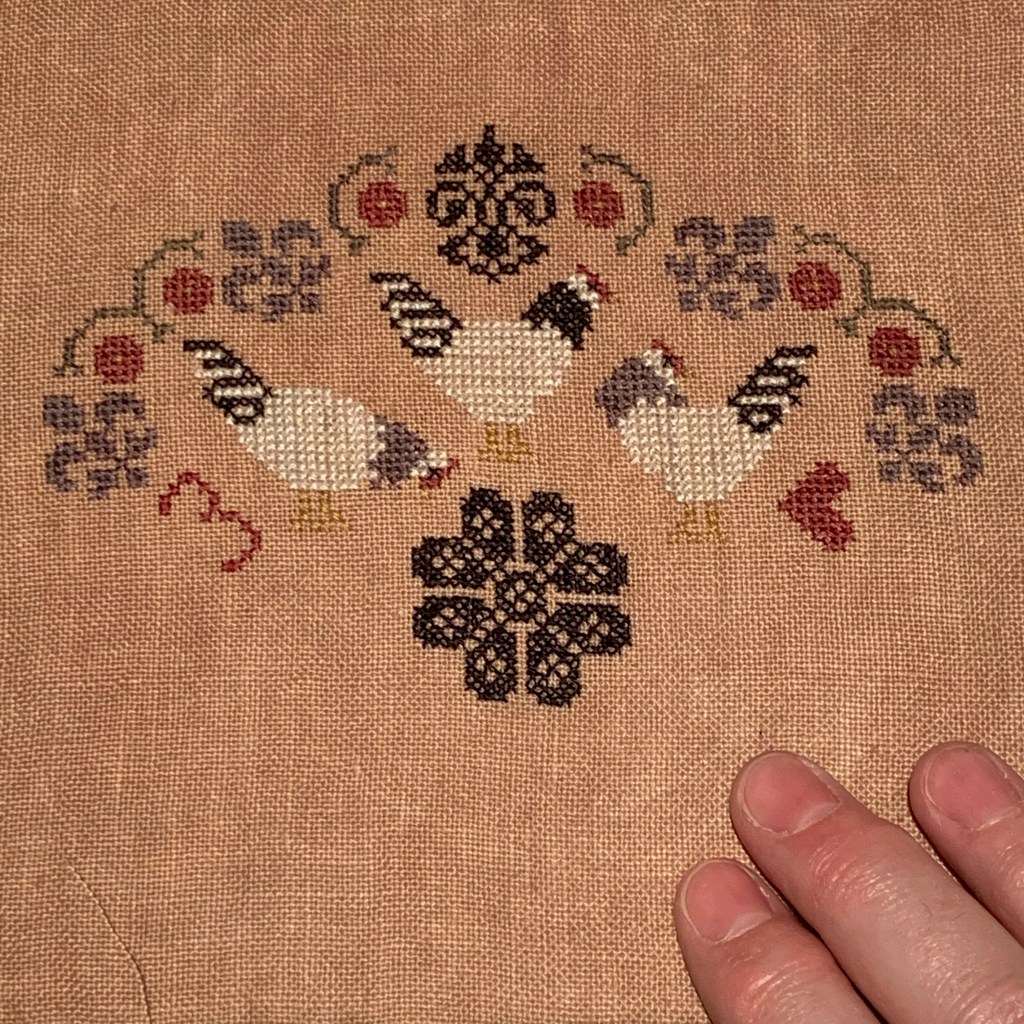
There was a very important piece of information in the instructions which I missed. This caught up to me when I started strawberry 3 (French hens).
Erica’s instructions clearly state that the thread color key changes for each strawberry.
Well I missed it starting with strawberry 3 – so my French hens have their own colour way. I continued to have issues with the symbol changes as I stitched the rest of the berries.
Now I really tried to make sure I matched the right thread to the right symbol for each berry but alas I’m human. My brain would have preferred to have consistent symbols from one strawberry to the next.
It’s all turned out well in the end. You’d never know that a few of my strawberries have their own colour ways and it’s always good to change things up sometimes! I’ve learned to embrace my stitchy mistakes!!
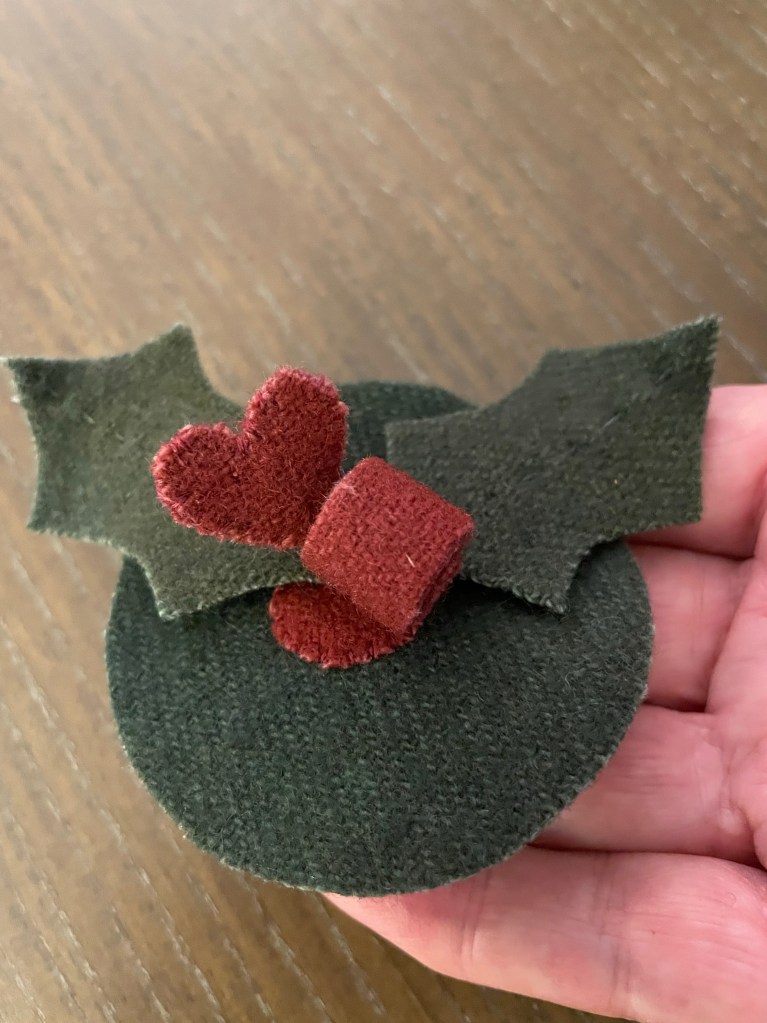
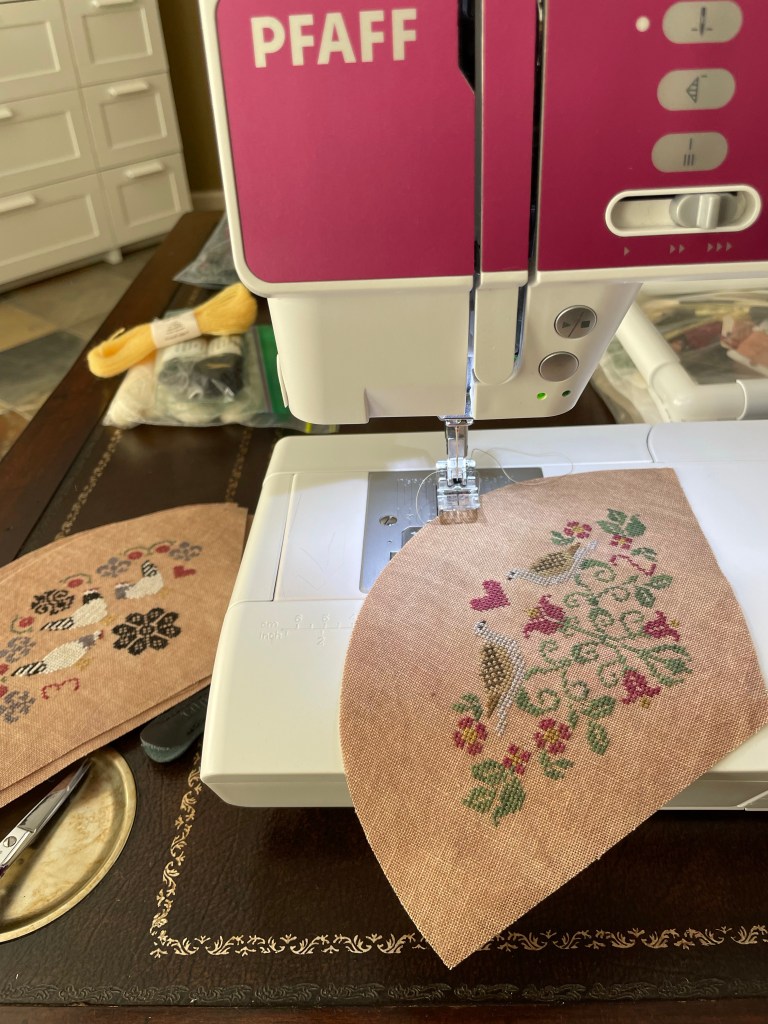
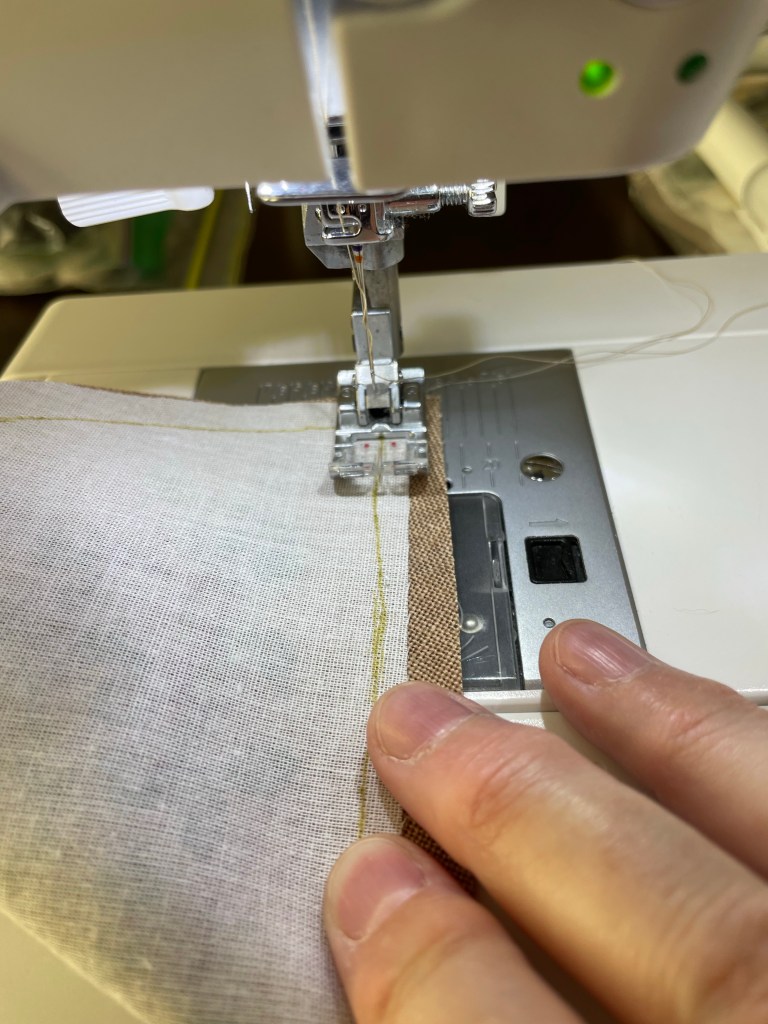
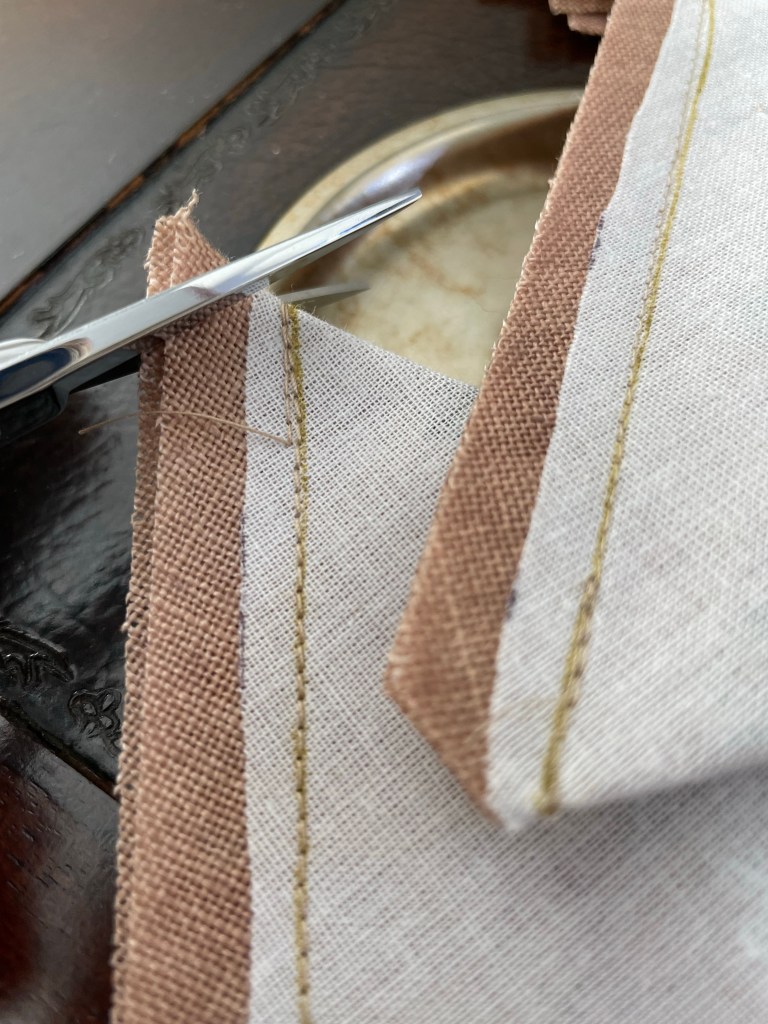
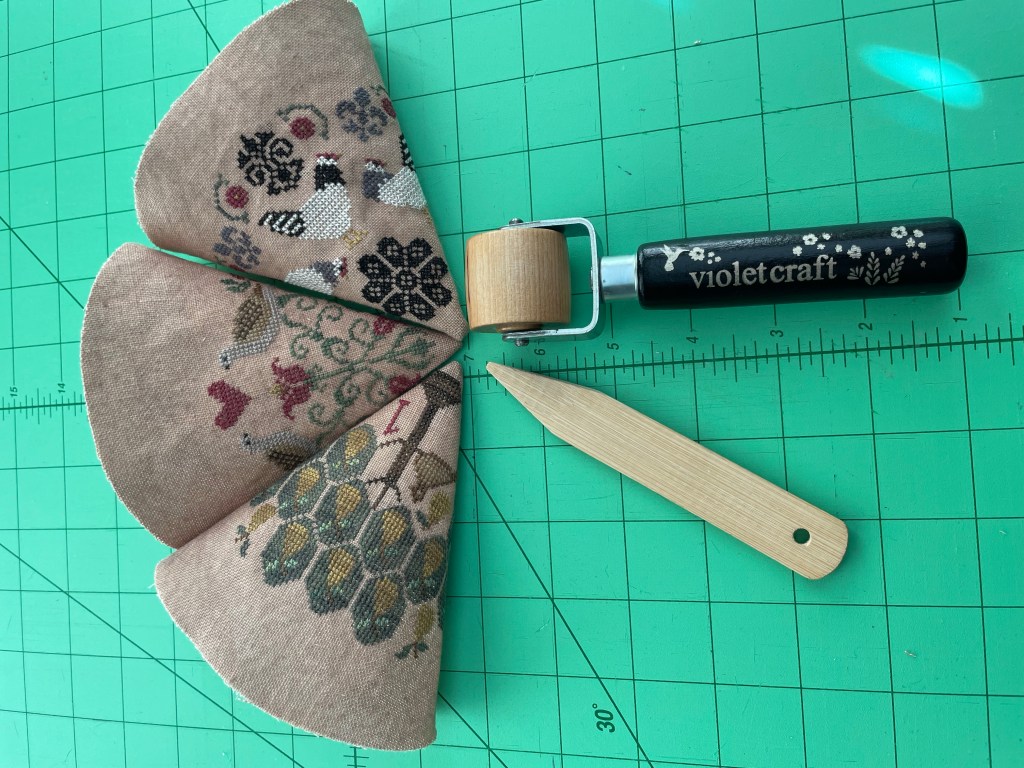
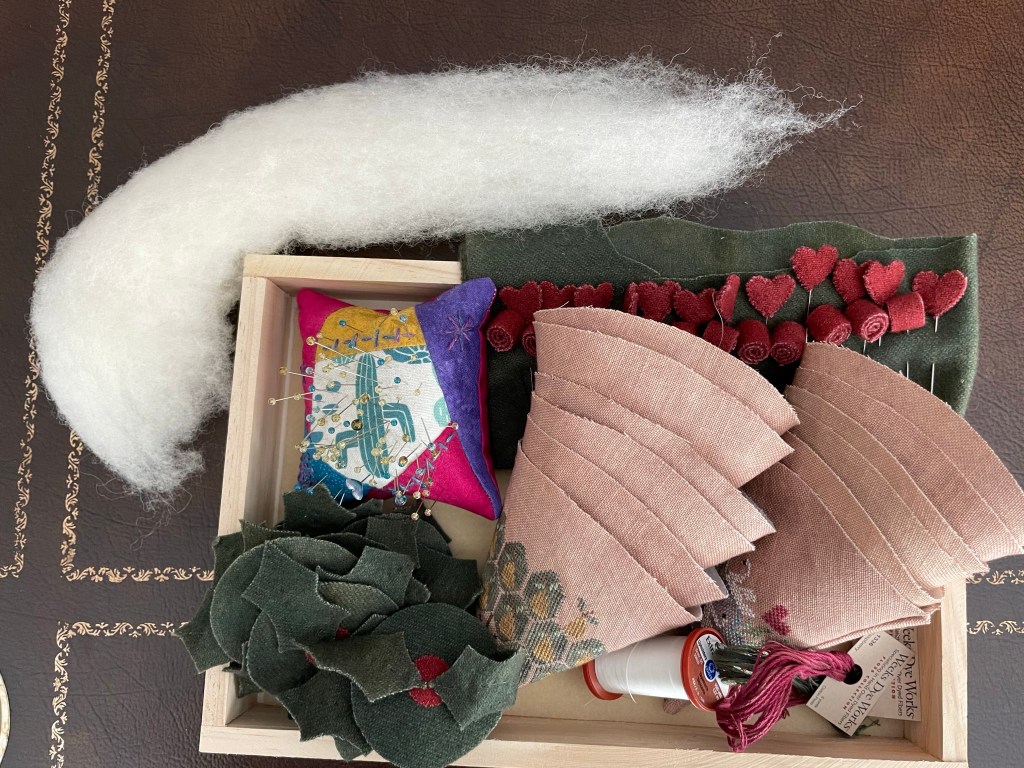
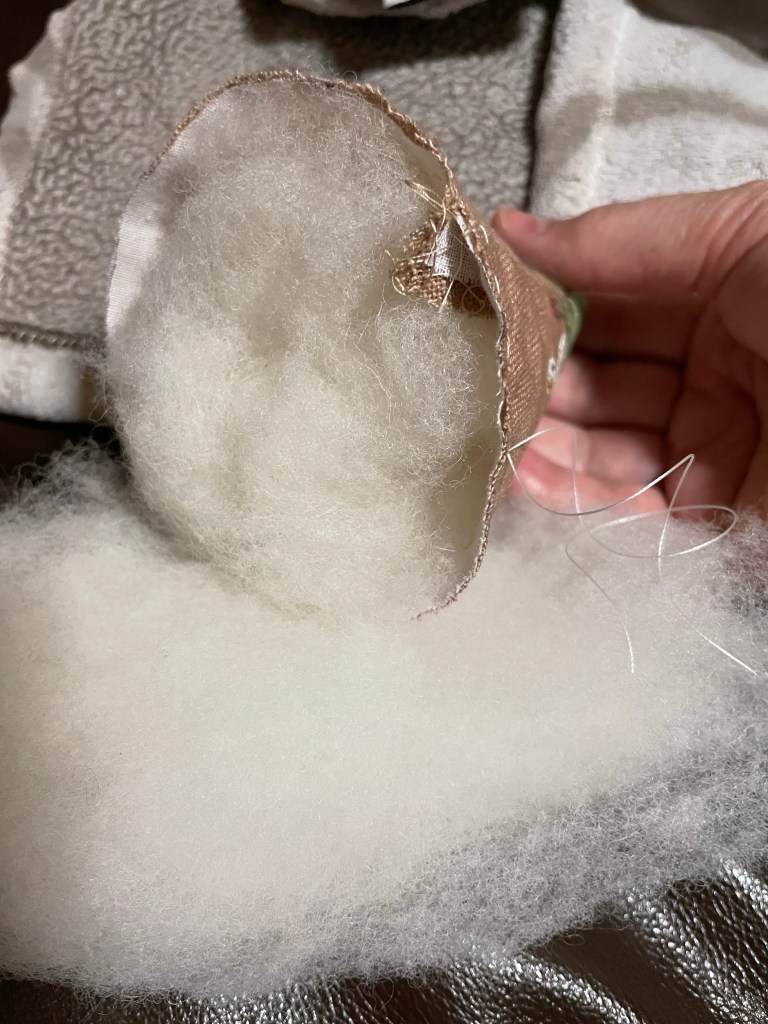
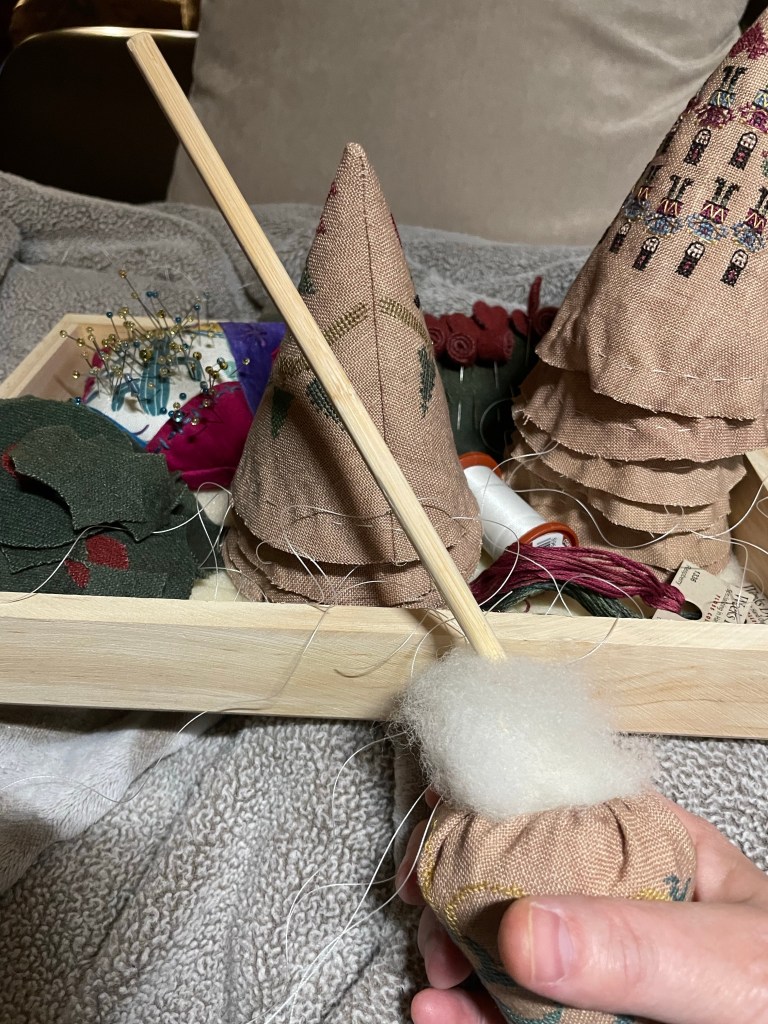
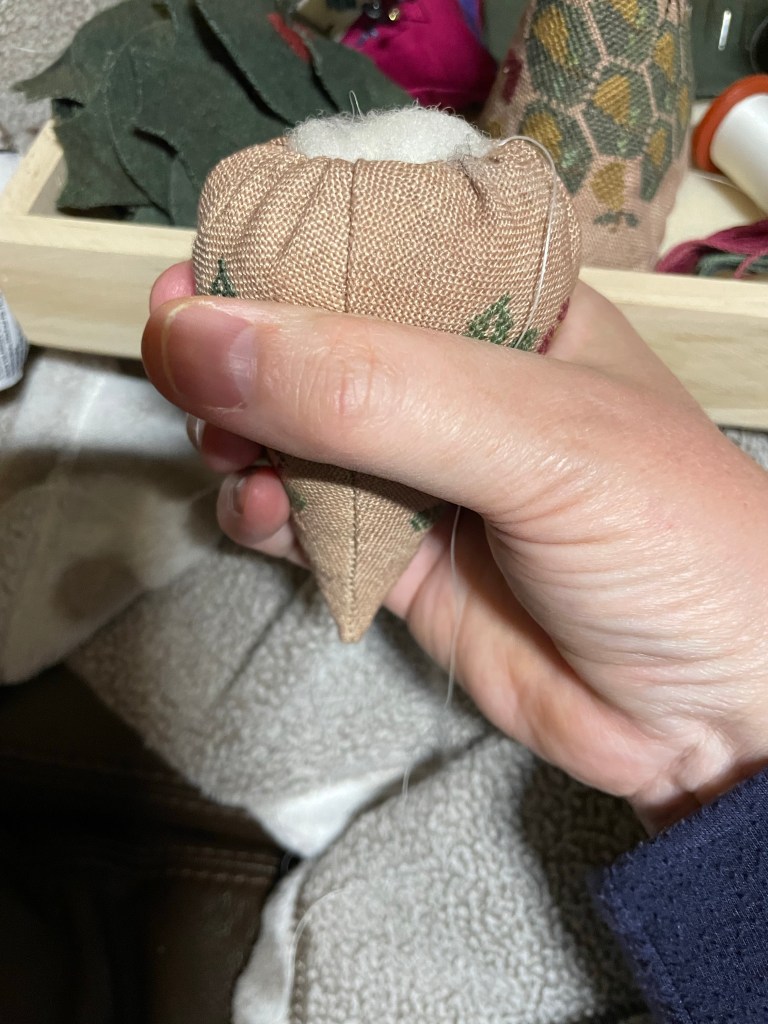
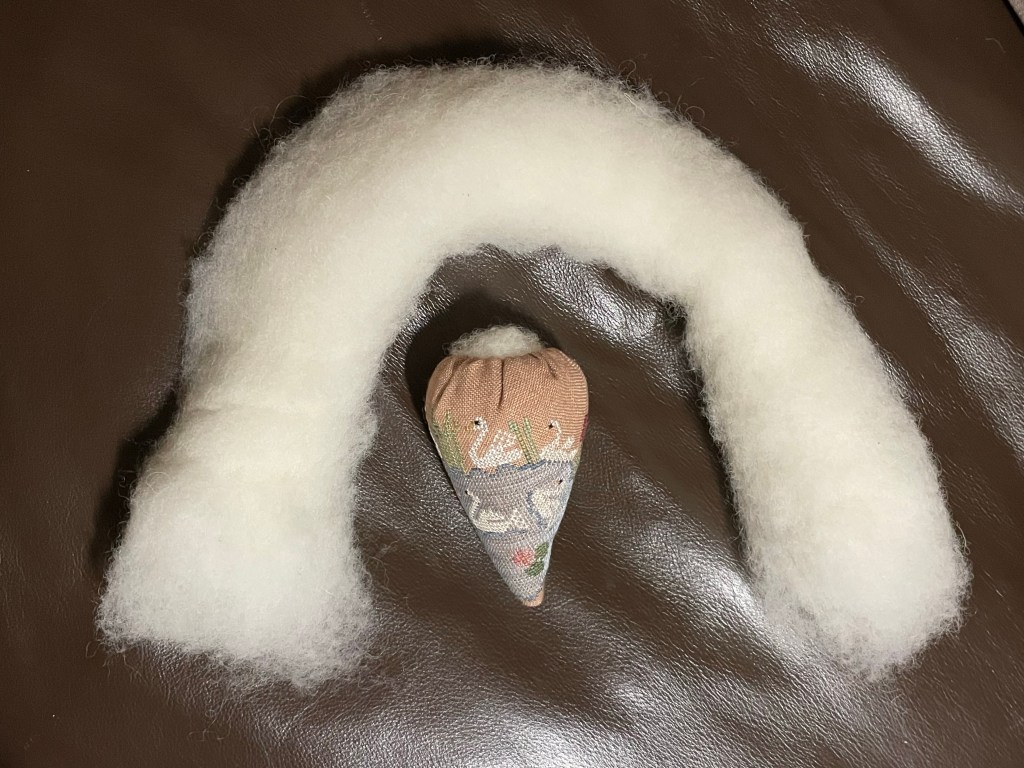
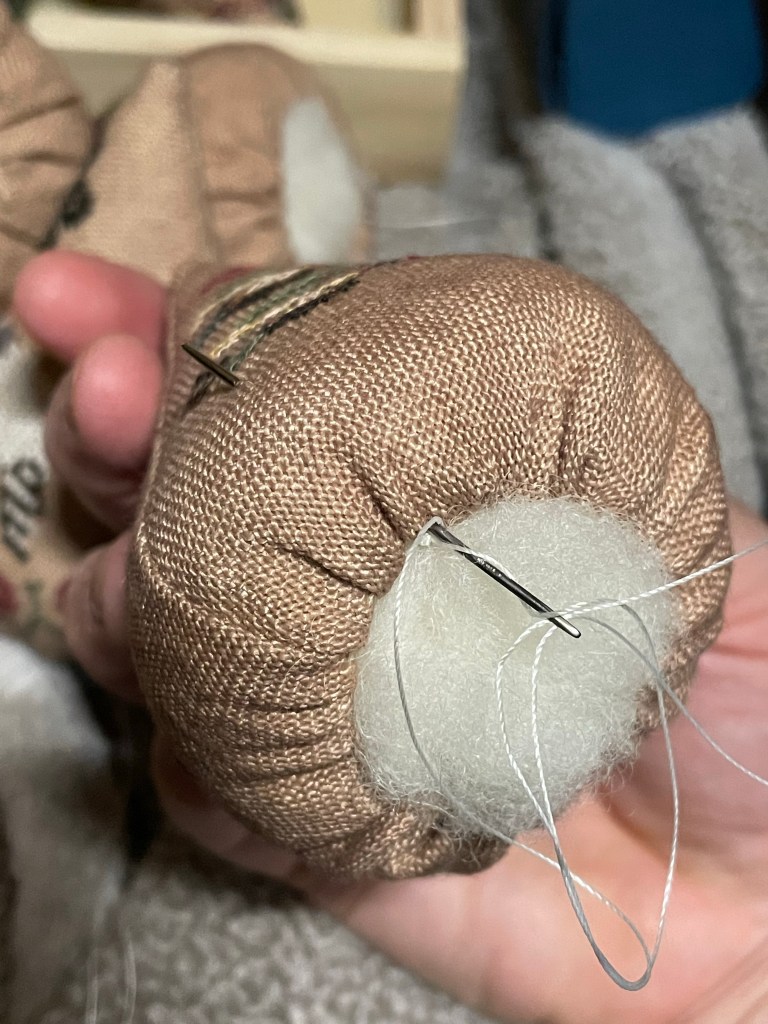
I followed Erica’s strawberry assembly instructions and they are excellent! Here’s the link to her instructions:
https://ericamichaels.com/assembling-berries/
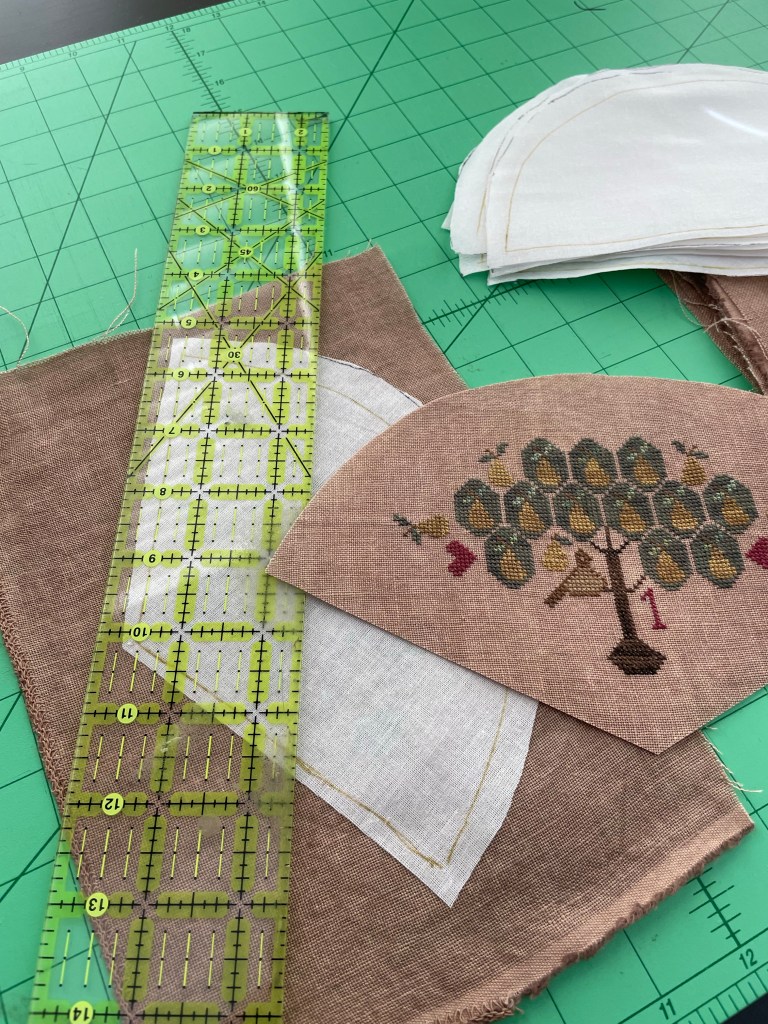
The most challenging part of assembling the strawberries is placement of the interfacing so that the sides of the strawberries meet when they are sewn together. Other than that, they are easy and fun to make!!


Will I stitch more of her berries? – you bet I will! Do I have more patterns in my stash? You bet I do! at least 2 or 3 more! Which I will be starting as soon as supplies arrive!!


