Why a squirrel??
Because they are cute and quirky… and they have fuzzzy tails! I’ve always been a fan of forest creatures, especially squirrels. We are kindred spirits – especially when it comes to embroidery! I’m always looking out for a new technique, project, design to try out!
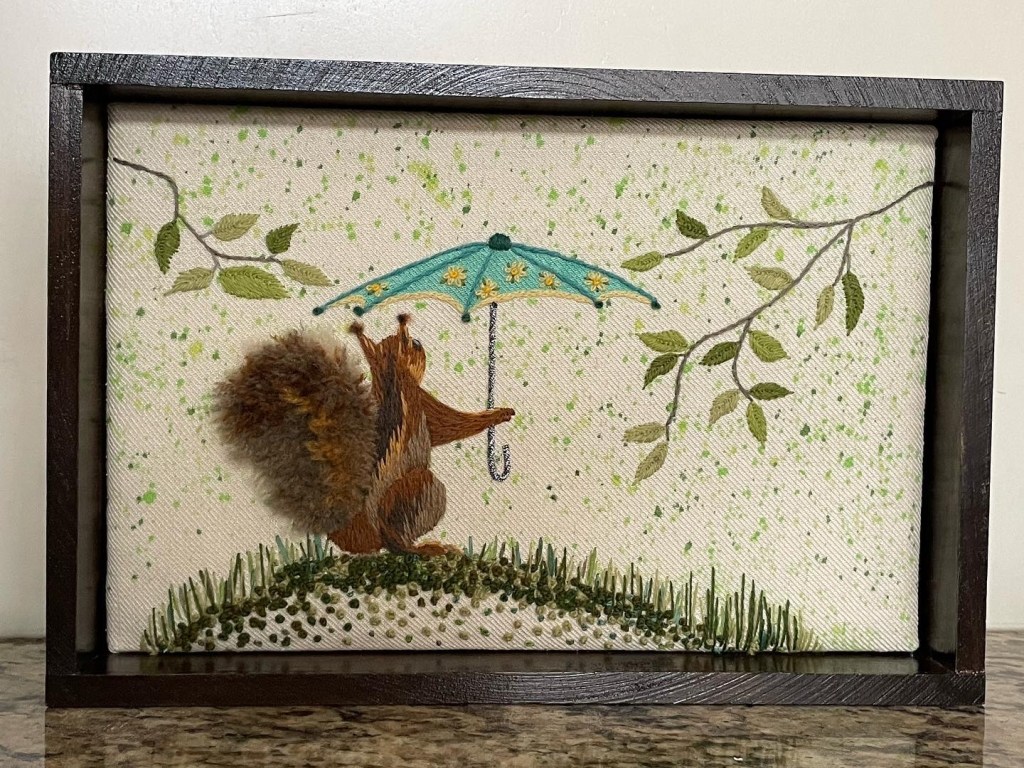
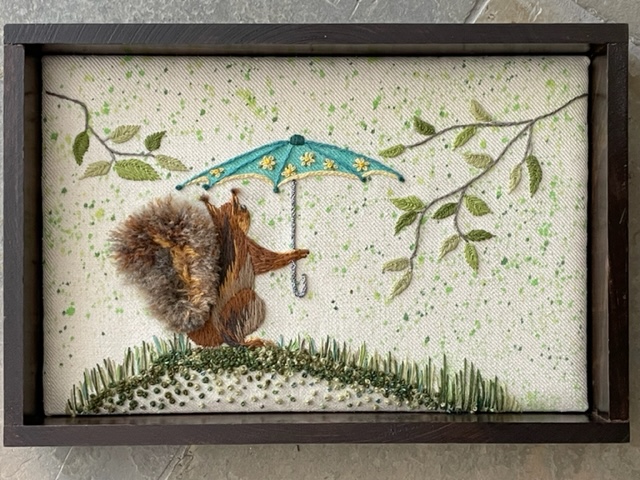
This year, I was given an opportunity to stitch my own squirrel as part of an EAC Virtual Threads group project. A challenge that I could not resist!
The unofficial mascot of EAC Virtual Threads is the squirrel – how apropos! There will be “A Scurry of Squirrels” at this year’s EAC Seminar in May. Virtual Threads has entered into the Group Project Awards category – be prepared to see many fuzzy squirrel friends in the Member’s Show this year. My little squirrel will be there!
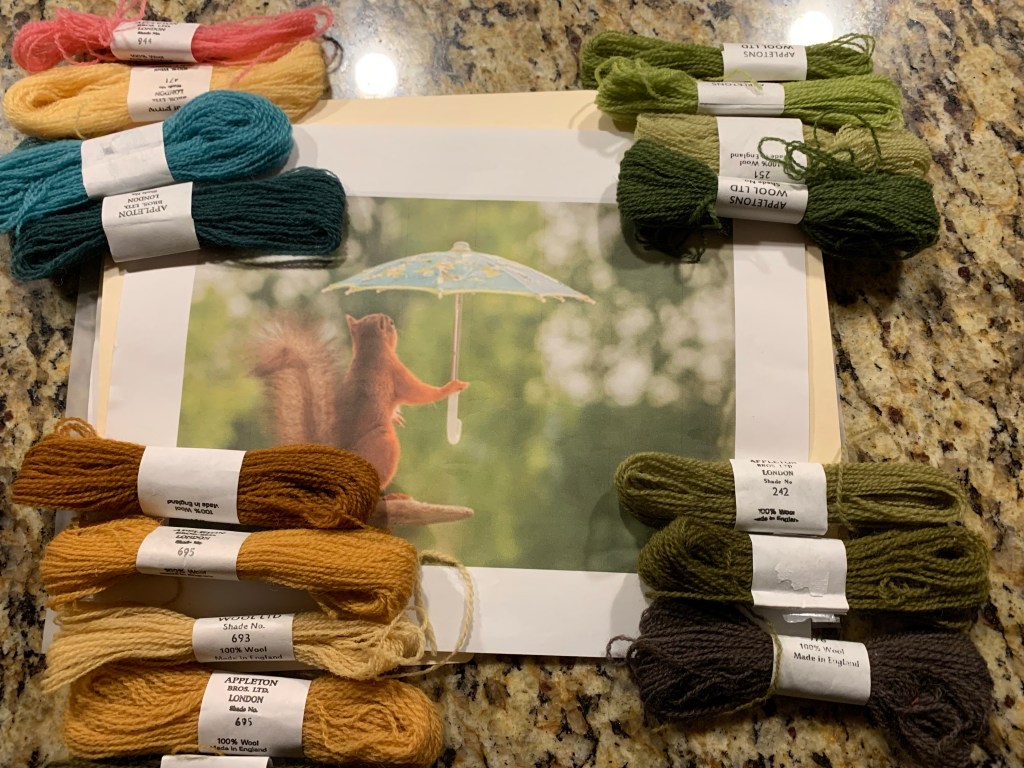
Geert Weggen, photographer – my inspiration
I’ve long been a fan of Geert Weggen’s photographic work with red squirrels. He gives the squirrels that he photographs humanistic features which are delightfully whimsical.
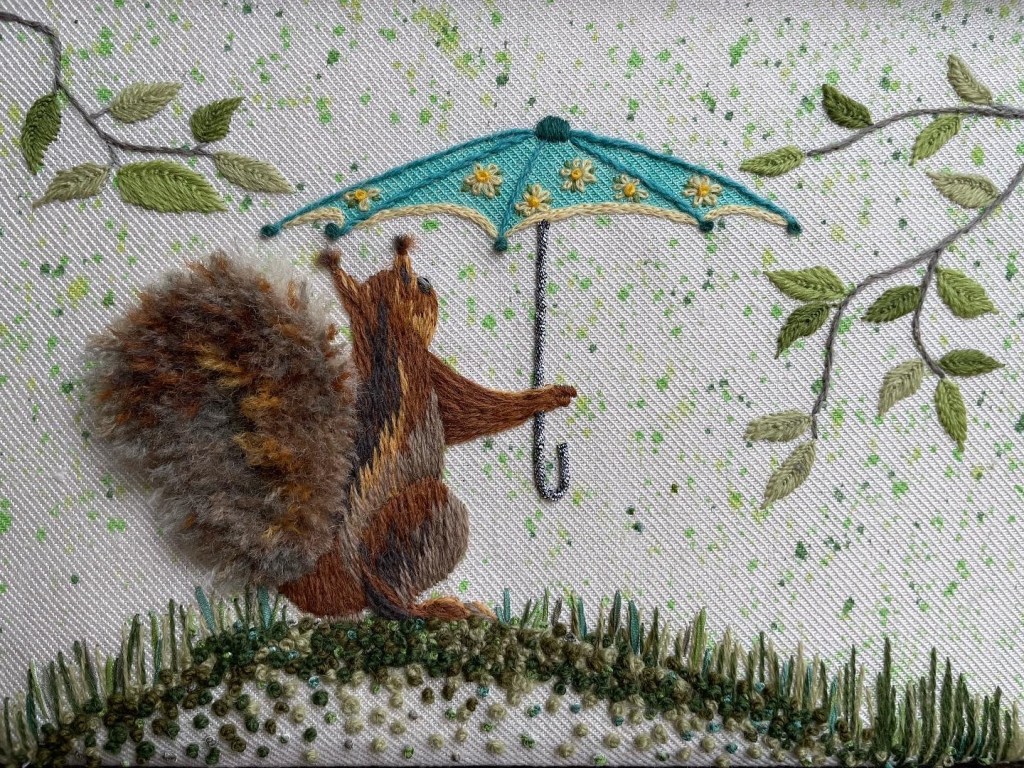
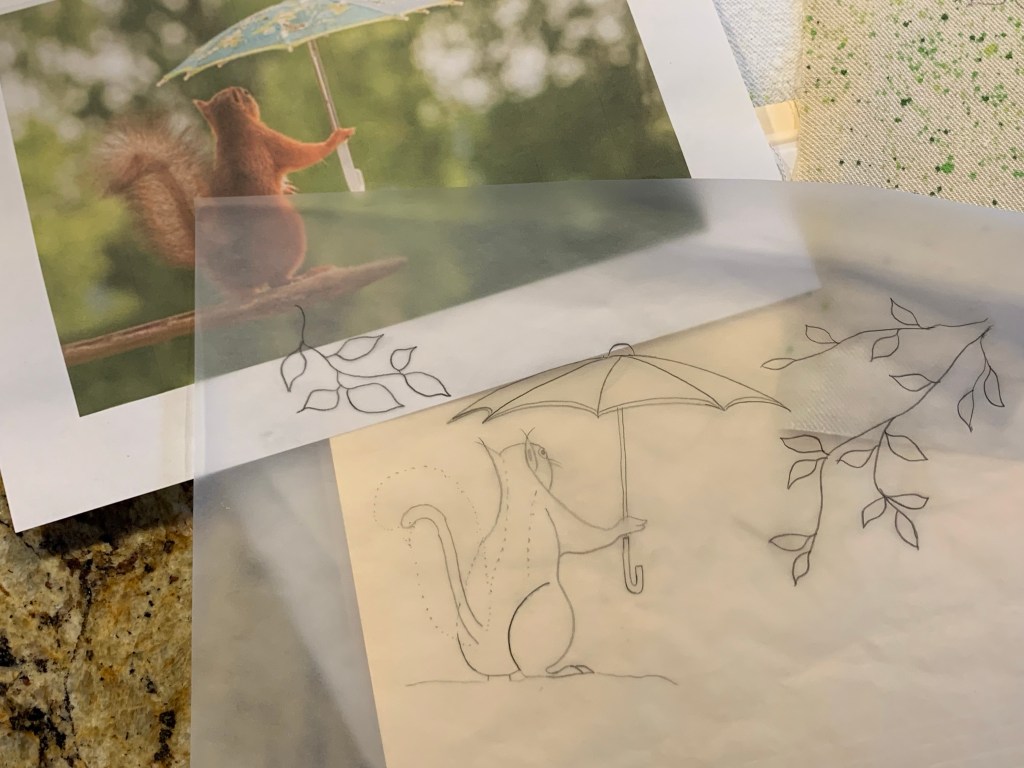
There was one picture that I fell in love with and I wanted to try to create an embroidery based on his image – “Waiting for Rain”
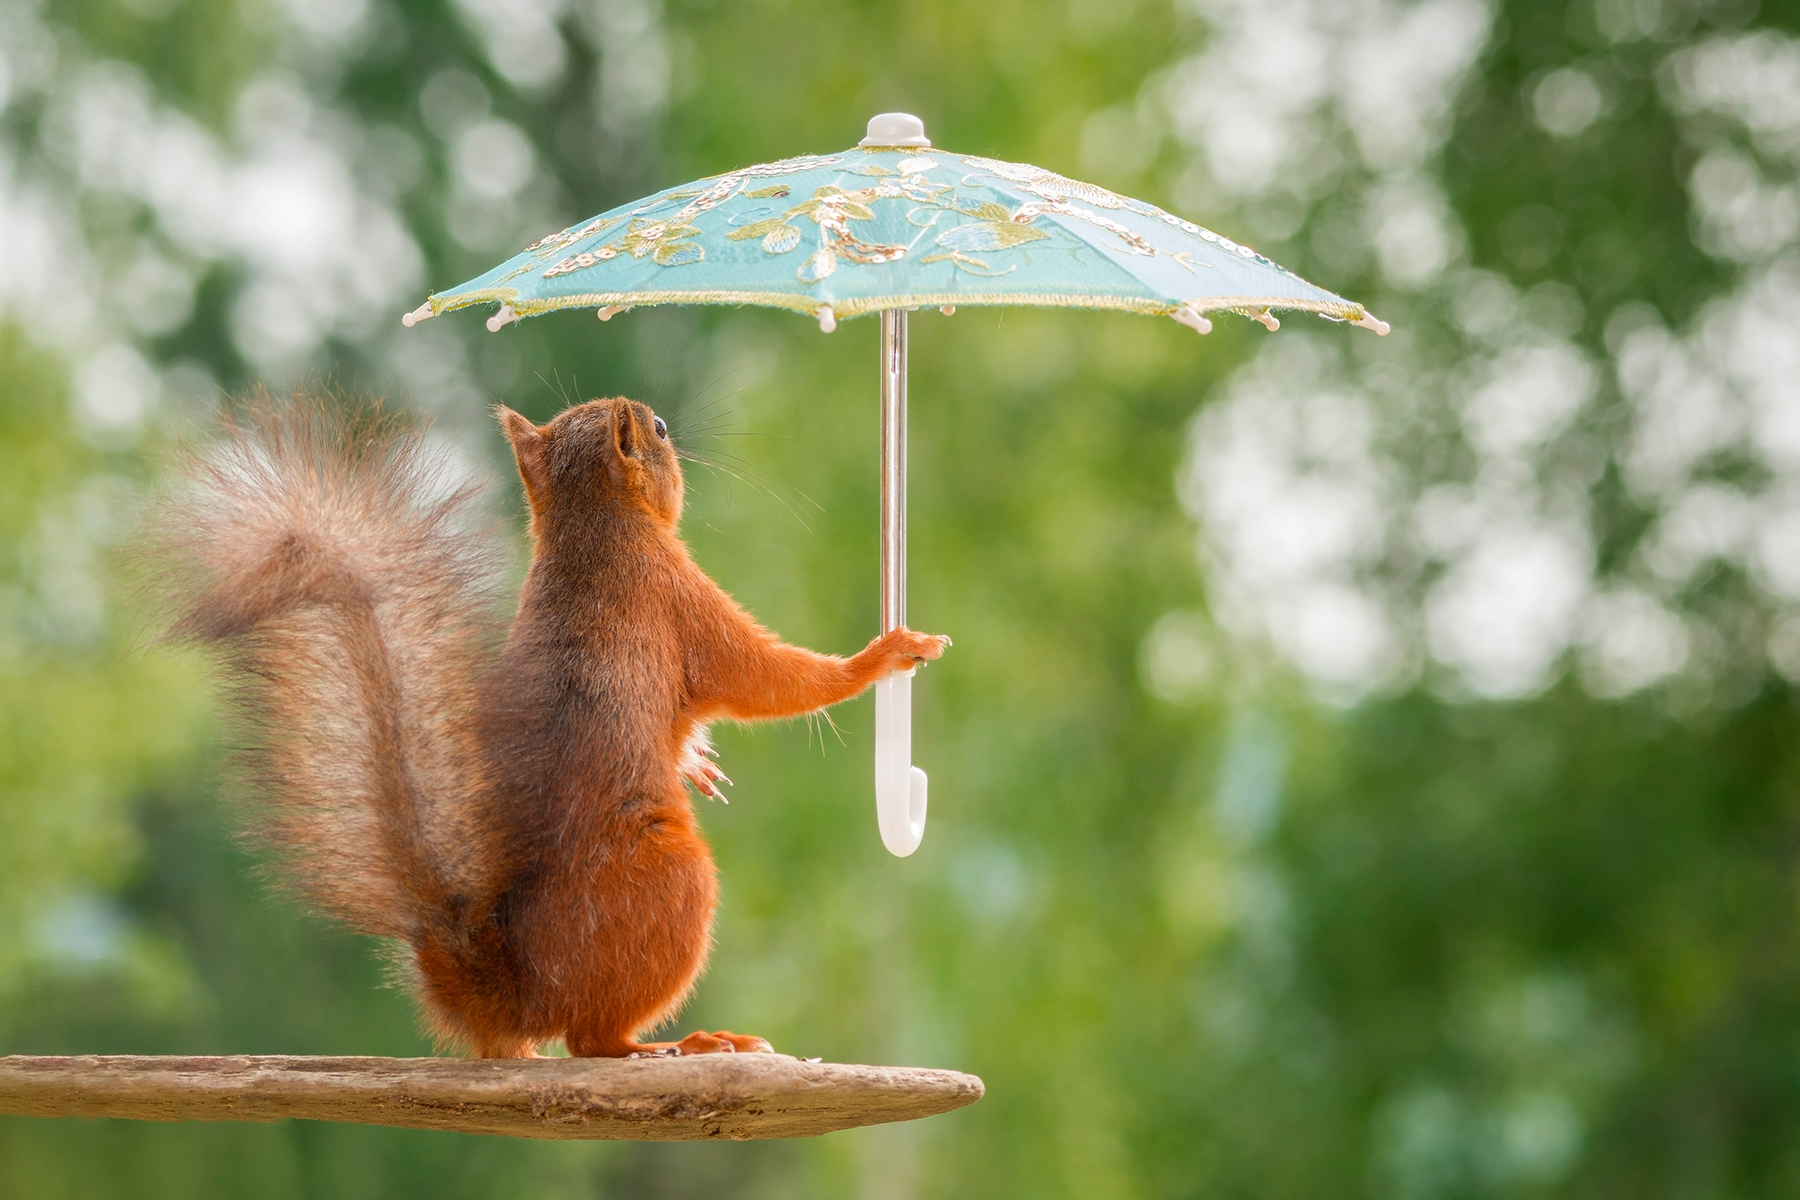

If you’d like to see more of Geert’s work, please check out his website
Painting the Fabric
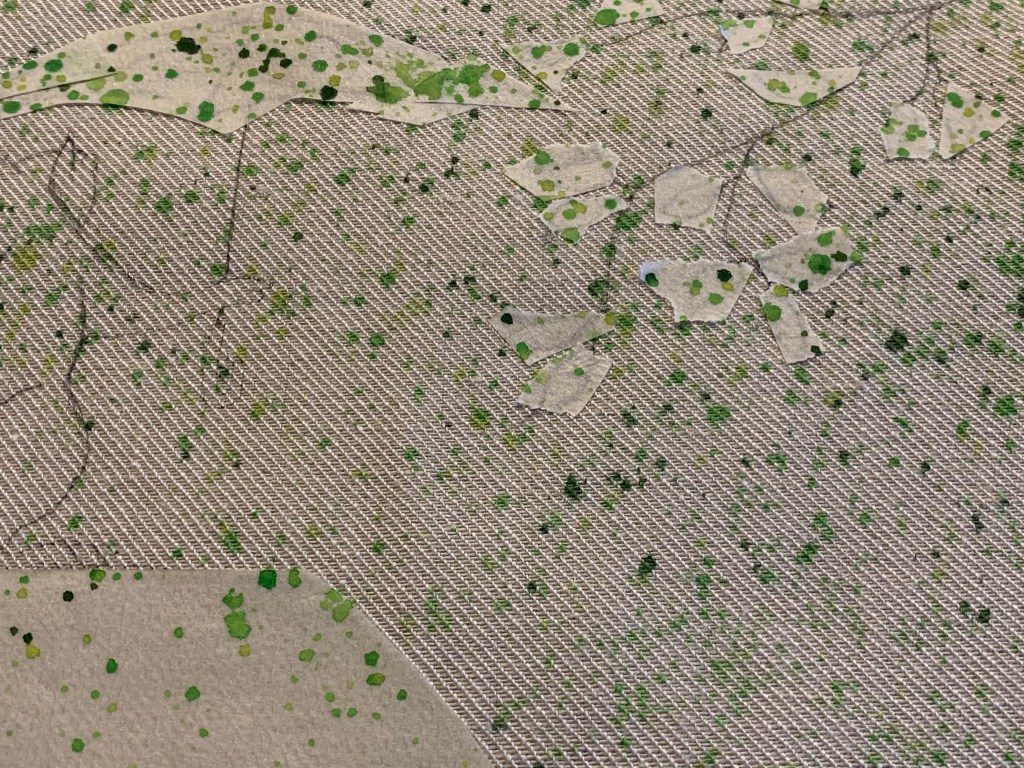
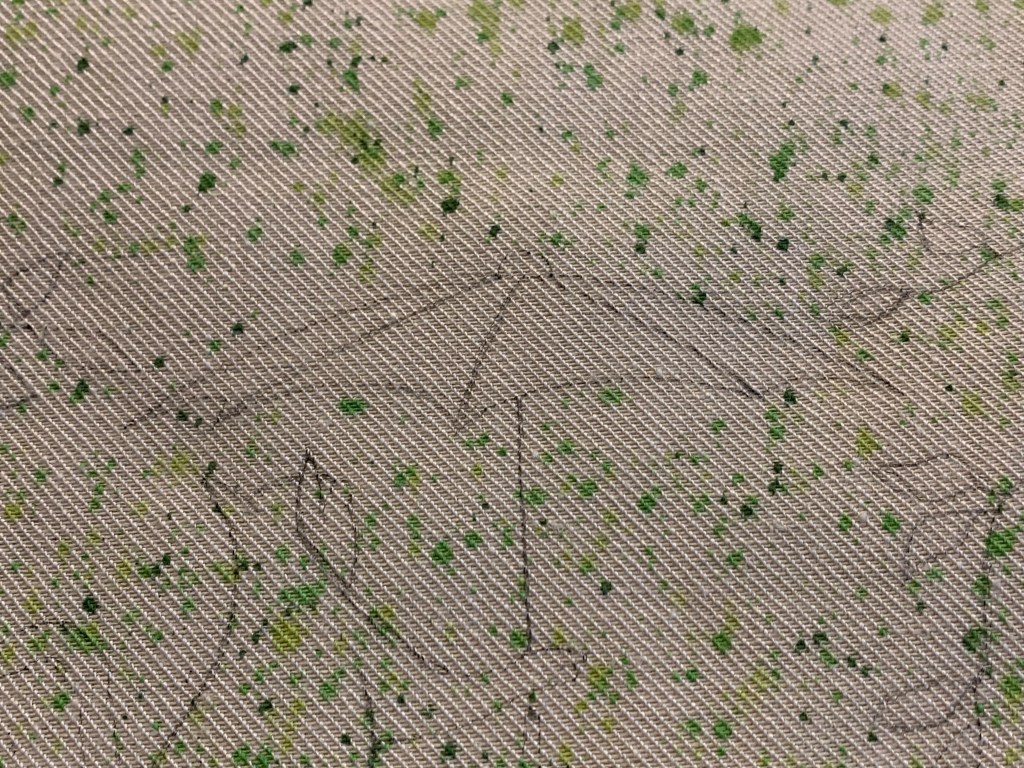
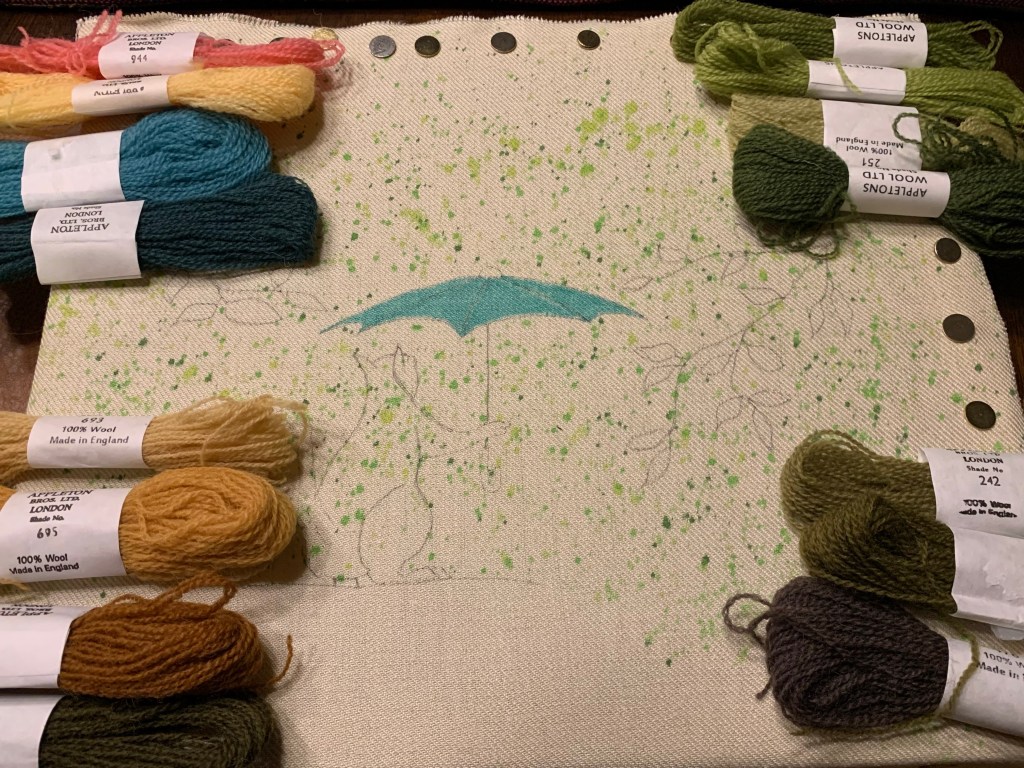
Representation of the leafy spackled background in the photo prooved to be a challenge for me. I felt that a spackly background in different greens would work very well.
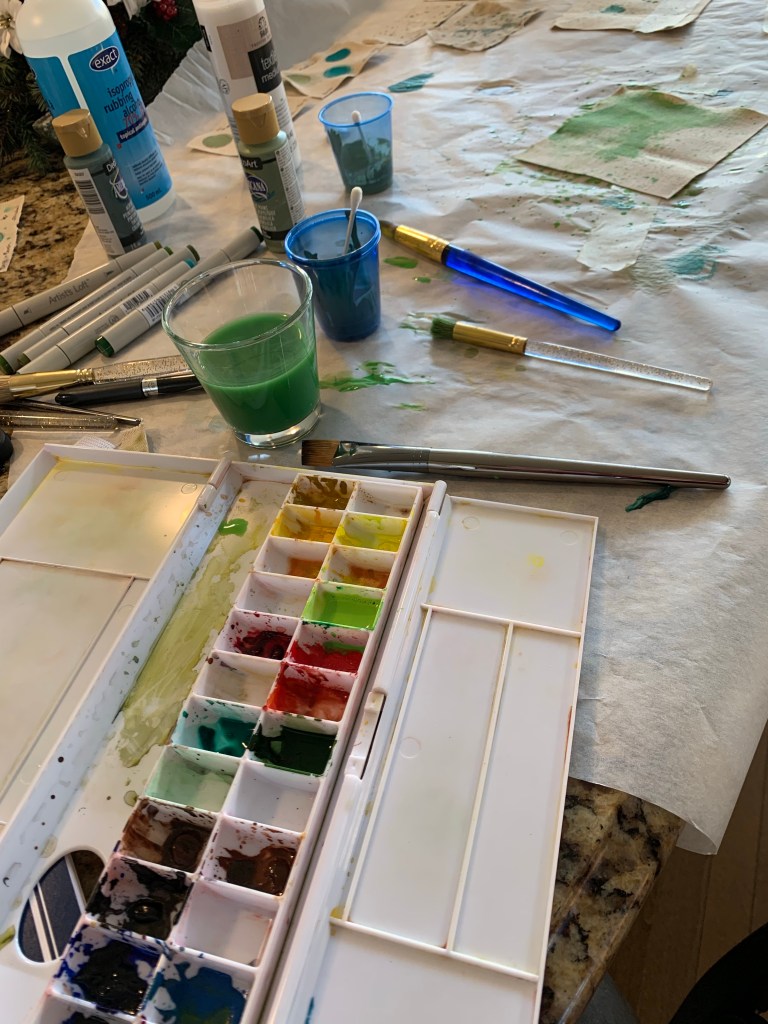
I experimented with both watercolour and acrylic paint (which I watered down). The acrylic paint did not soak into the fabric as I was expecting (it kind of blobbed on top of the fabric). The results with watercolour paints were much more satisfactory. The watercolour paint soaked and spread into the fabric in a much more pleasing way. In the end, I used a few different shades of green for the spackle.
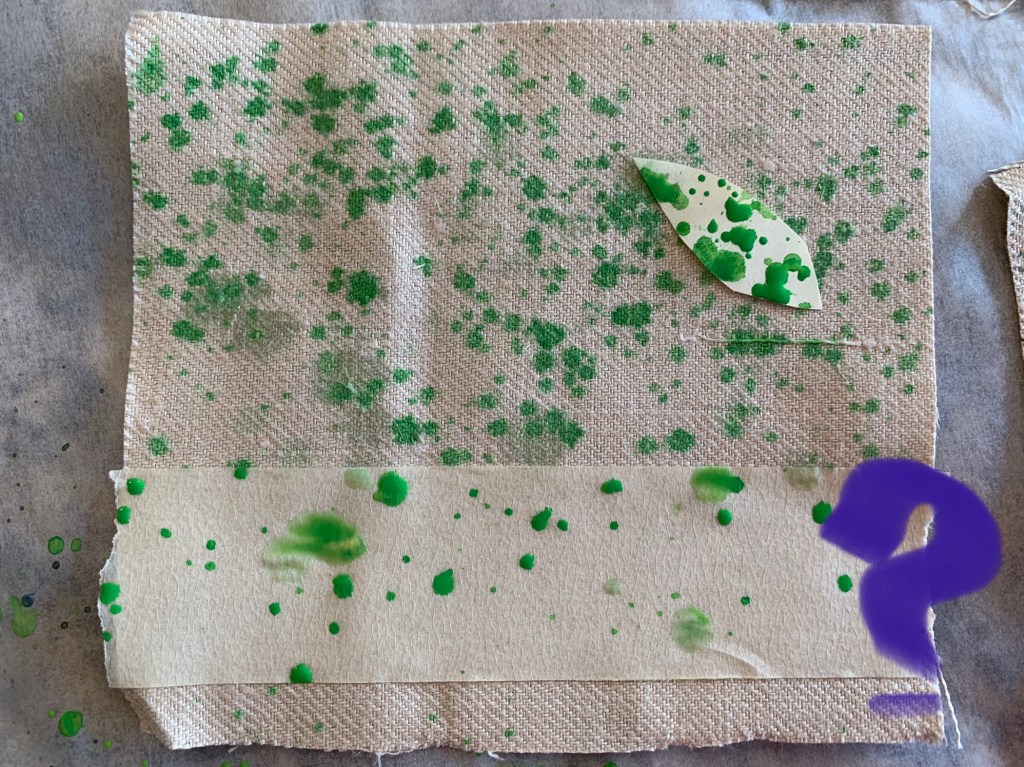
Before painting, the design outline was traced onto the fabric using a soft pencil.
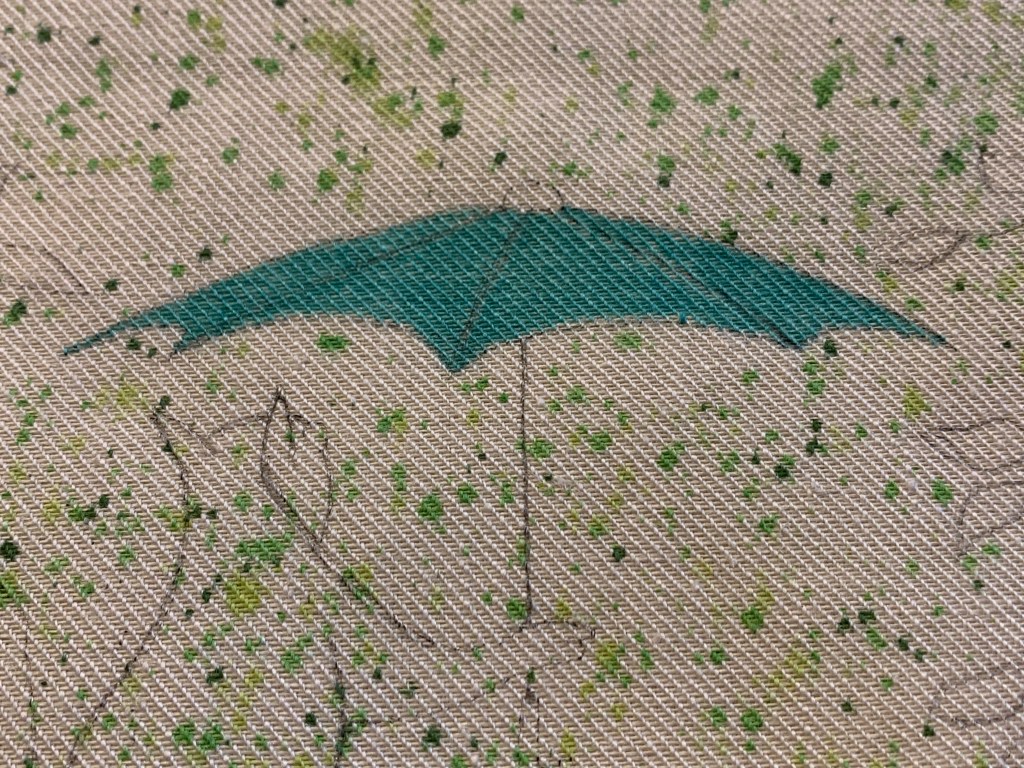
There were certain areas on the fabric (umbrella, leaves and hillock) that I did not want the spackly green paint to go – so I covered the areas using masking tape.
I then took a large paint brush, loaded it with one colour at a time and then lightly tapped the brush with my hand, letting the paint “spray” on to the fabric.
When the paint was dry, I removed the masking tape.
Experimenting with alcohol markers
Time to experiment! I’ve never tried to dye fabric with alcohol markers before and I wanted to see how the pigment reacted on linen twill fabric under different conditions. Would the alcohol pigment “bleed” if I added water or rubbing alcohol to the fabric or if it was drawn on when the fabric was dry. I decided that I did not like the look that these treatments left and felt that the best way to use these markers was to fill in the areas on dry fabric.
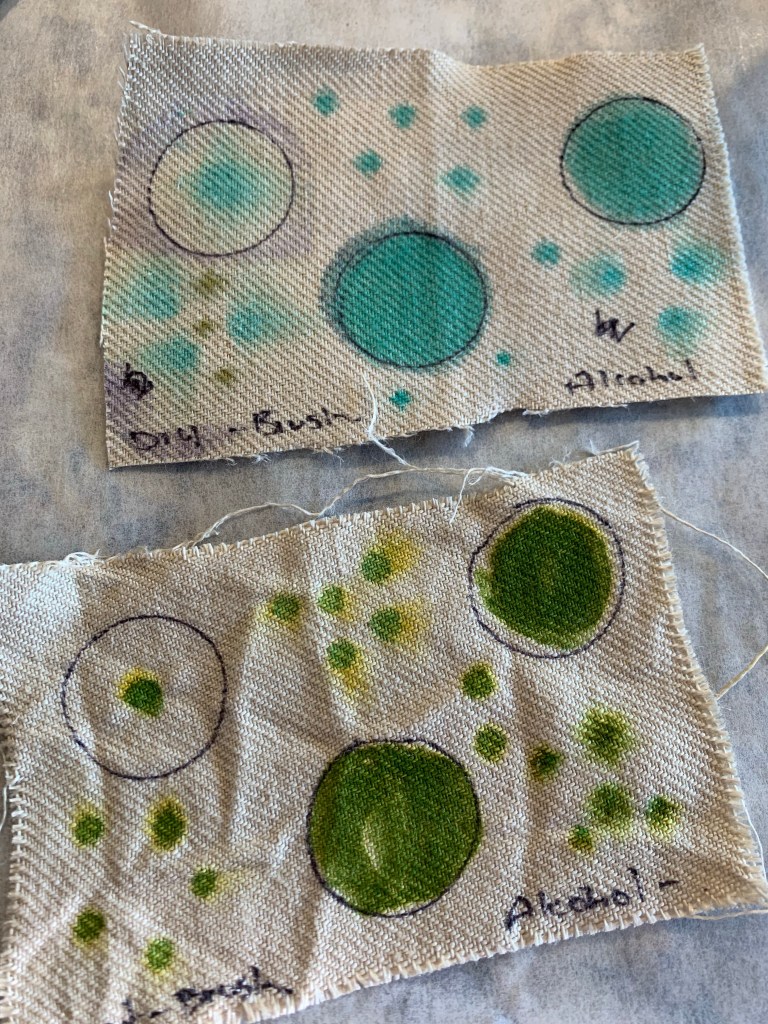
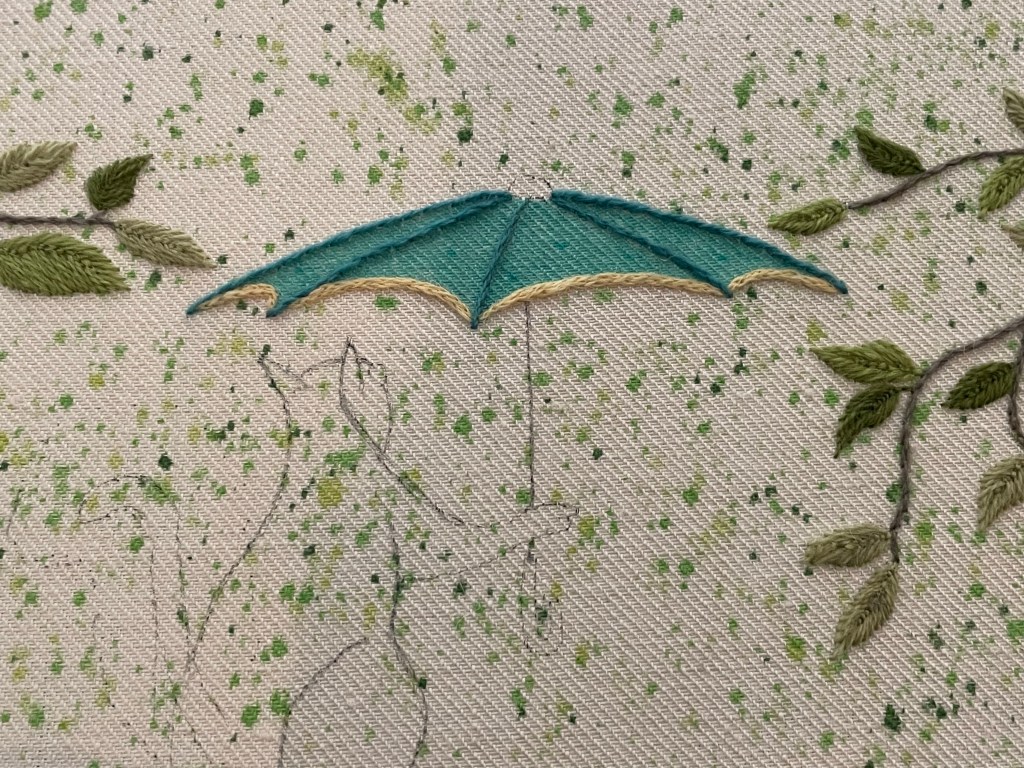
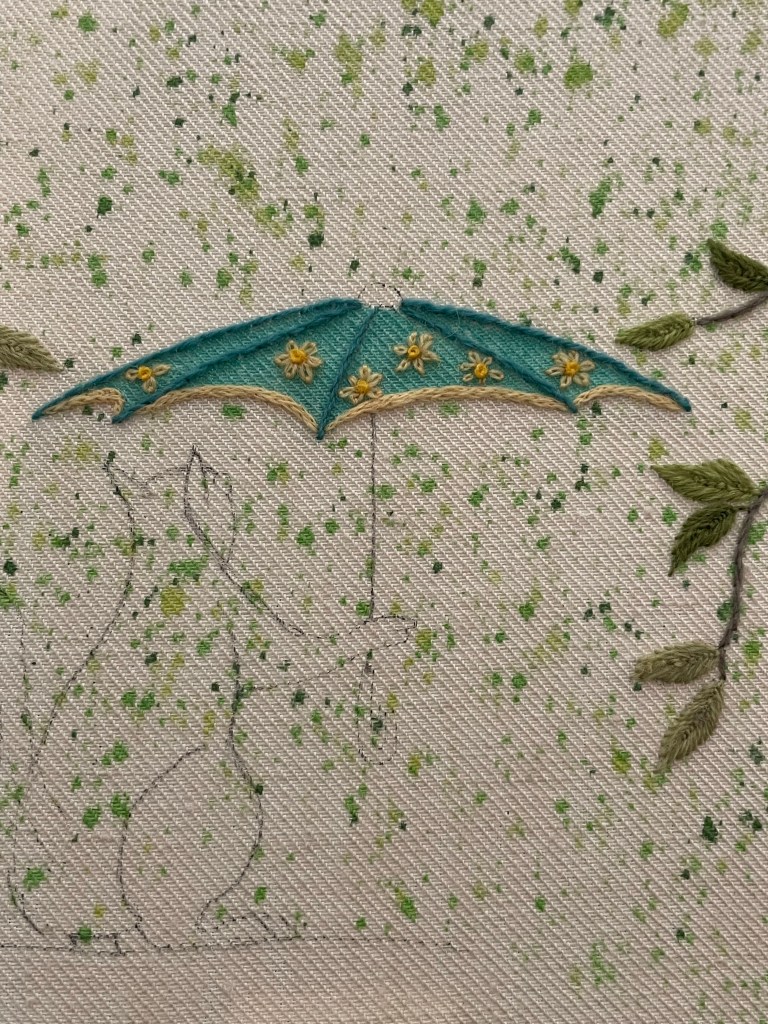
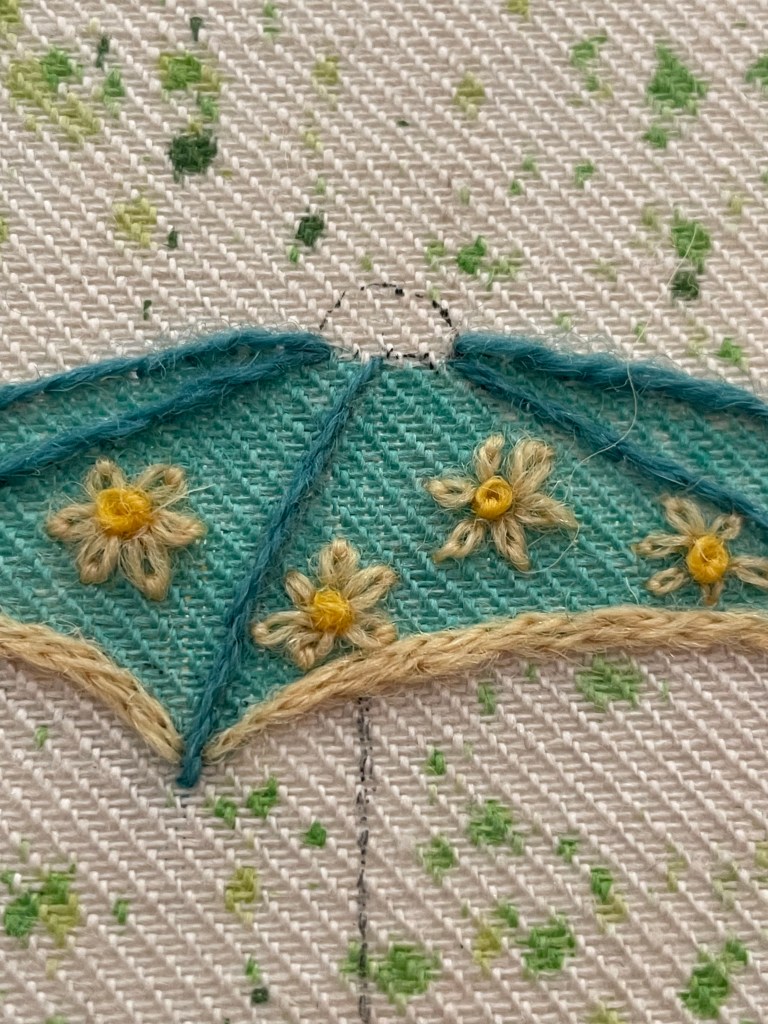
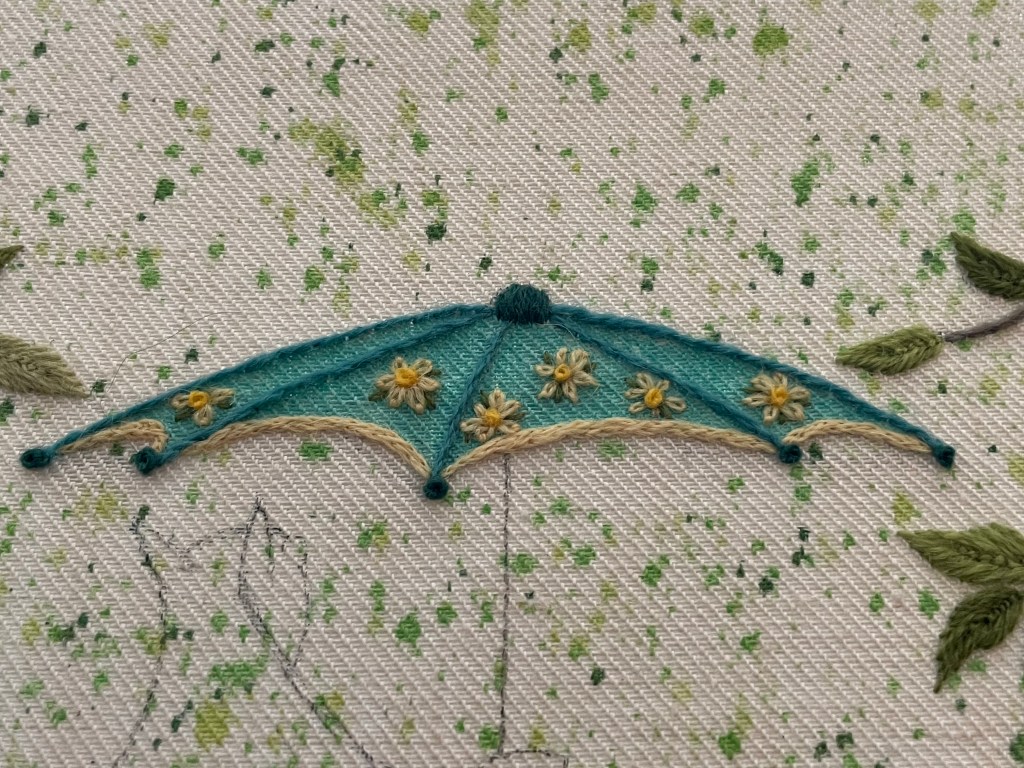
The most important area that I wanted to use the alcohol marker was on the umbrella. I consider this a “modern” crewelwork piece and I wanted to take things to the next level with the design. I “coloured” in the umbrella with a lovely shade of teal. With the fabric being dry, no bleeding occured.
Picking colours
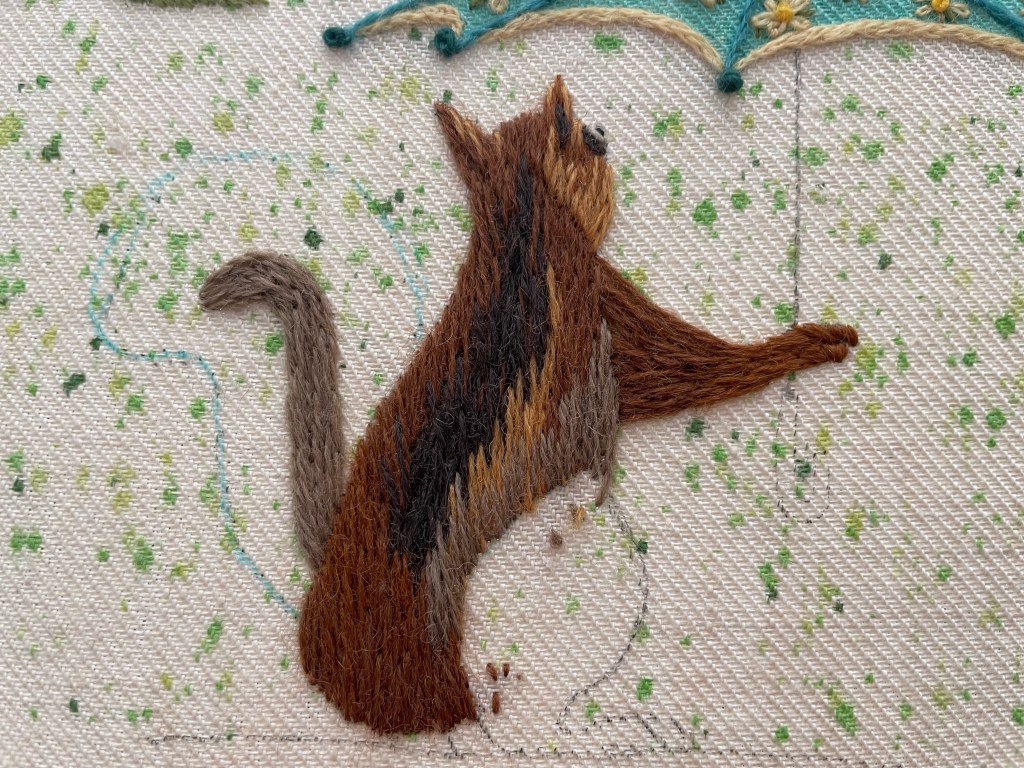
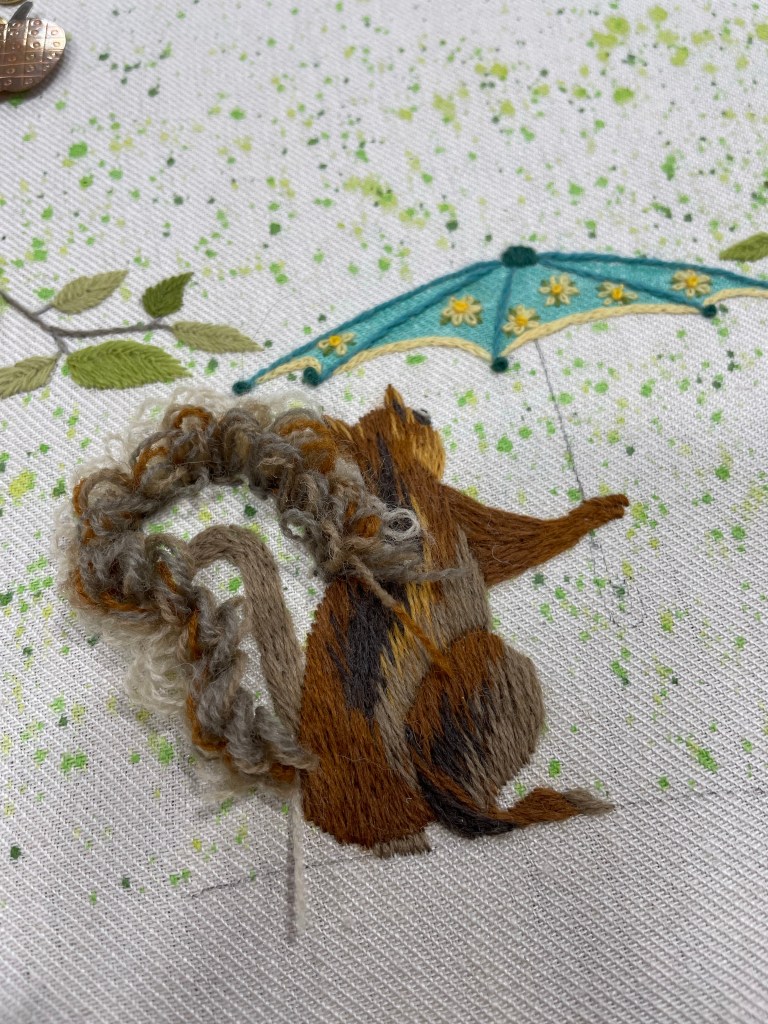
I originally envisioned this piece done in crewelwork. I enjoy working with crewel wool and the textures that you can get with different stitches is endless. Blending colours is also effective using long and short shading.
Stitching the Piece – Progress photos

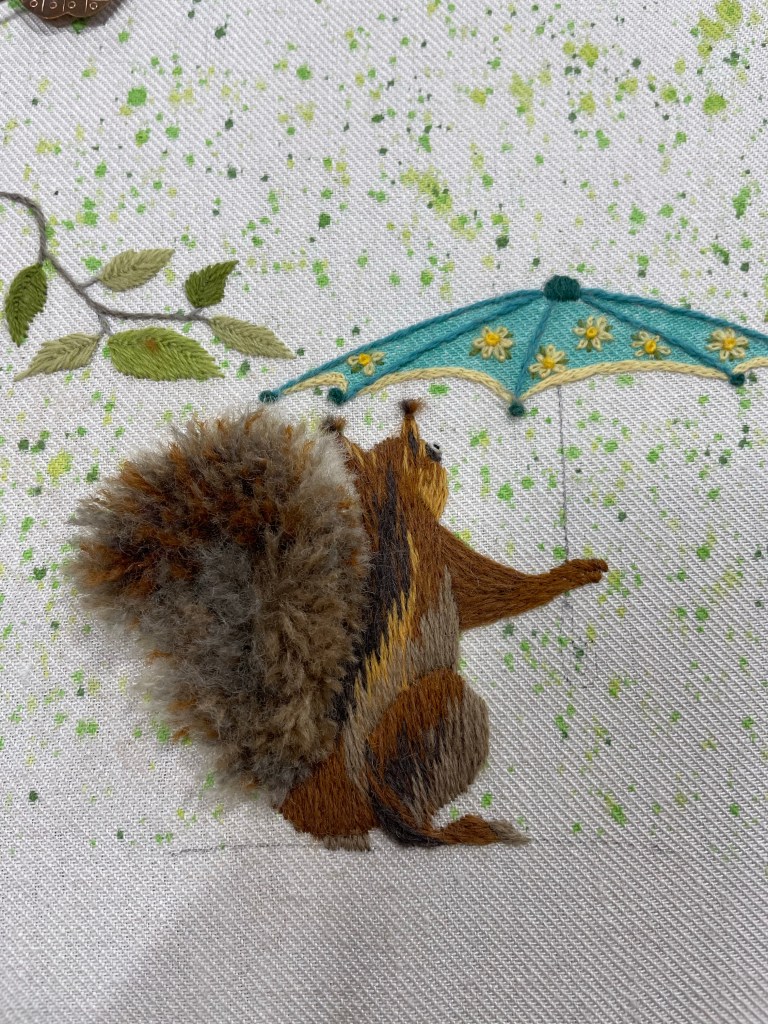
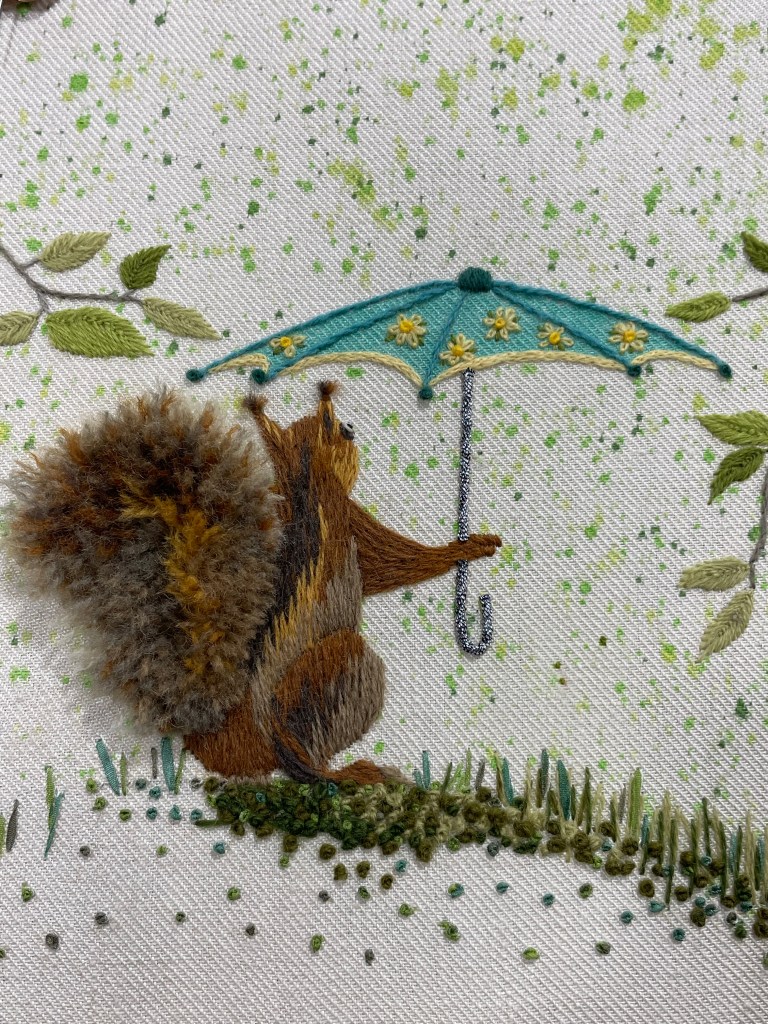
The hillock is made up of many, many French knots stitched with a variety of green crewel wool colours. Intermingled amongst the wool french knots, I added many more knots using white silk ribbon which I dyed after stitching with alcohol pens in different greens. I used the same dying technique with the grass stalks.
Check out this video on how to make stumpwork moss. I used this technique to dye the silk french knots in the hillock and also on some of the grass fronds. It worked VERY well and I love how the silk knots look.
To give the hillock additional definition, I added random straight stitches to some of the open spaces.
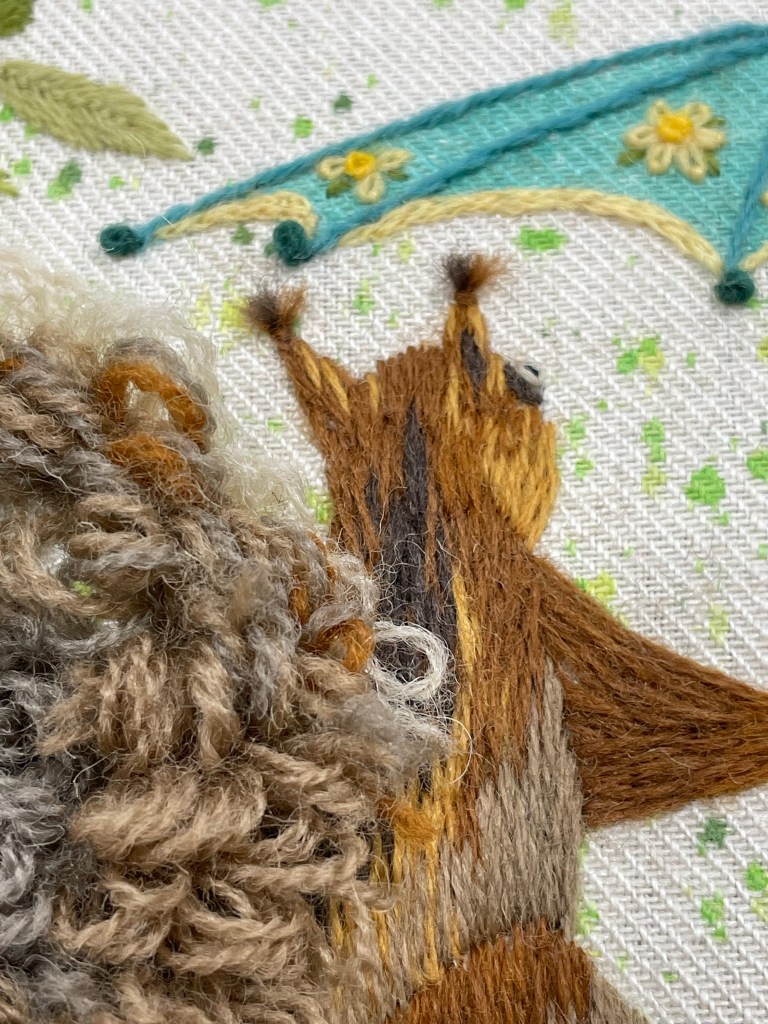
For the umbrella handle, two pieces of Access Commodities Soft Twist was couched to the fabric using clear nylon thread. The ends were treated with FrayChek to arrest any fraying. A few stitches of the lighter squirrel brown were added to the top of the hand, covering the metallic thread end, making it look like it’s behind Mr. Squirrel’s paw.