It’s time to celebrate! After two years and many, many hours planning and stitching, my journal is finished. I am so happy with it!
As I flip through the pages I fondly recall the beginnings of each page. I really had no idea that my journal would become the beautiful piece that it is. I have learned so much and am thrilled that I have been able to share my learnings on this blog.
I’ve made a lovely little video of me flipping through the pages of the journal… Enjoy!
Page Order
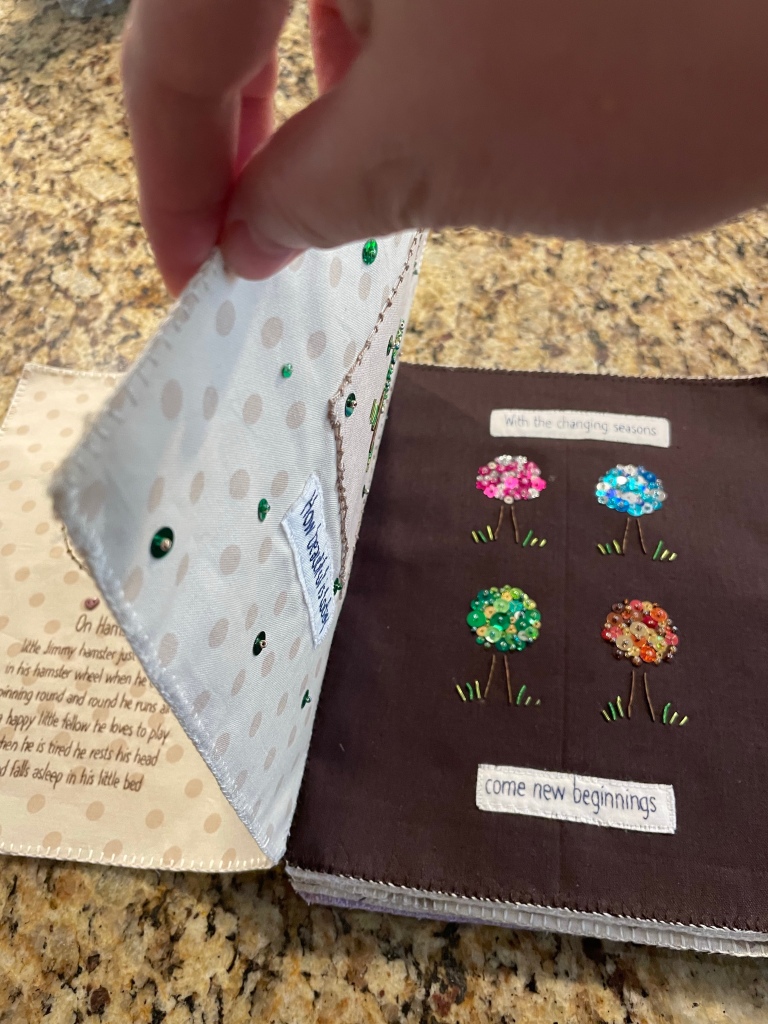
As this journal ended up being mostly random embroidery pieces that I wanted to showcase together, I did not need to worry too much about the order of the pages. The only consideration I gave was to make sure that the pages where I used black, brown or purple were not next to each other. So I had a neutral spread followed by a black spread/ then neutral again, then brown, etc. It’s pretty random and the flow of the book worked out very nicely.
Building the book – Attaching the “spreads” together to make complete pages
After each page was stitched all of the way around with button hole stitch and the pages were attached in the middle with a whip stitch to create the “spread”, it became time to sew the spreads together into the pages of the book.

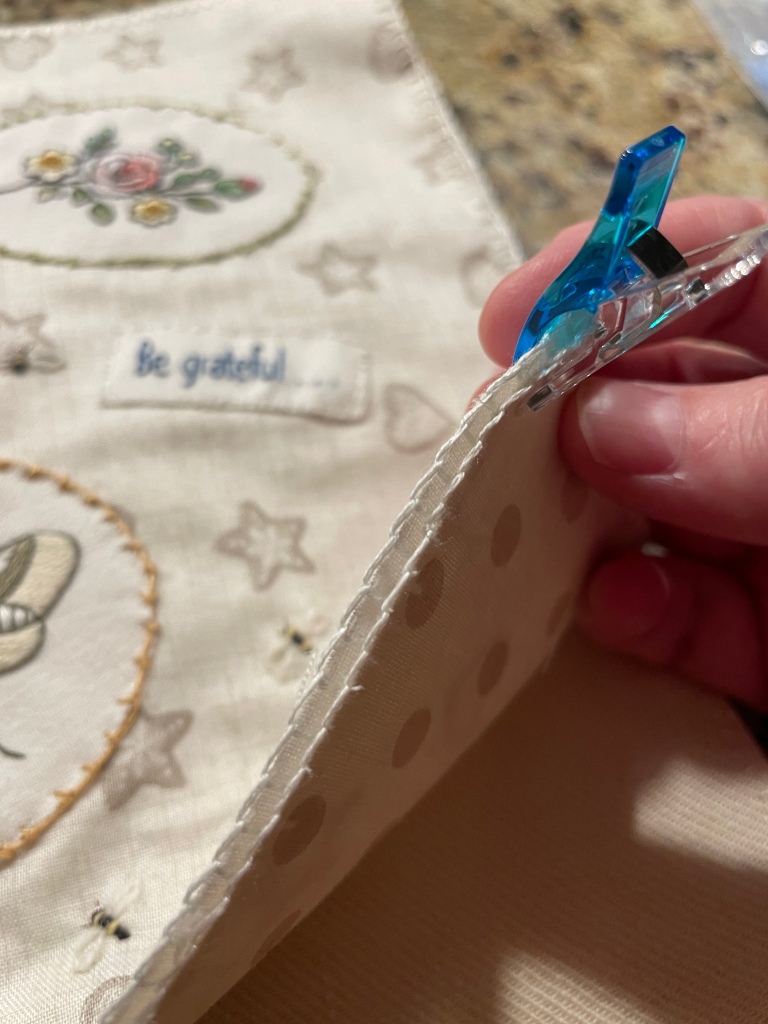
I took two spreads and clipped the left page of one spread to the right page of the second spread. I then whip stitched around the 3 sides of the page (top, outside edge and bottom). When I finished this, I added another spread the same way.

The spine, front and back covers
I found a lovely piece of fabric in my stash that I had dyed last summer to use for the spine of the journal. For stability, I backed the piece with interfacing and used two layers of fabric (one on the outside of the cover and then one on the inside which covered the raw edges of the front and back covers).

The front and back covers are the same size as the pages in the journal. I added an extra 1/4″ to each side of the spine so that it is slightly larger than the width of the pages in the journal. The spine fabric extends around 1/4” extends over onto the front and back cover.

When the spine was partially sewn on, I inserted a piece of heavy duty stabilizer in between the two fabric layers to provide extra support.

The cover was attached and sewn on in the same way as the inside pages. I used clips to secure the cover to the pages and then sewed the edges together using whip stitch.
Before the front and back covers were sewn around completely, I inserted a piece of heavy weight stabilizer in between the layers. This provided additional stability to the journal.

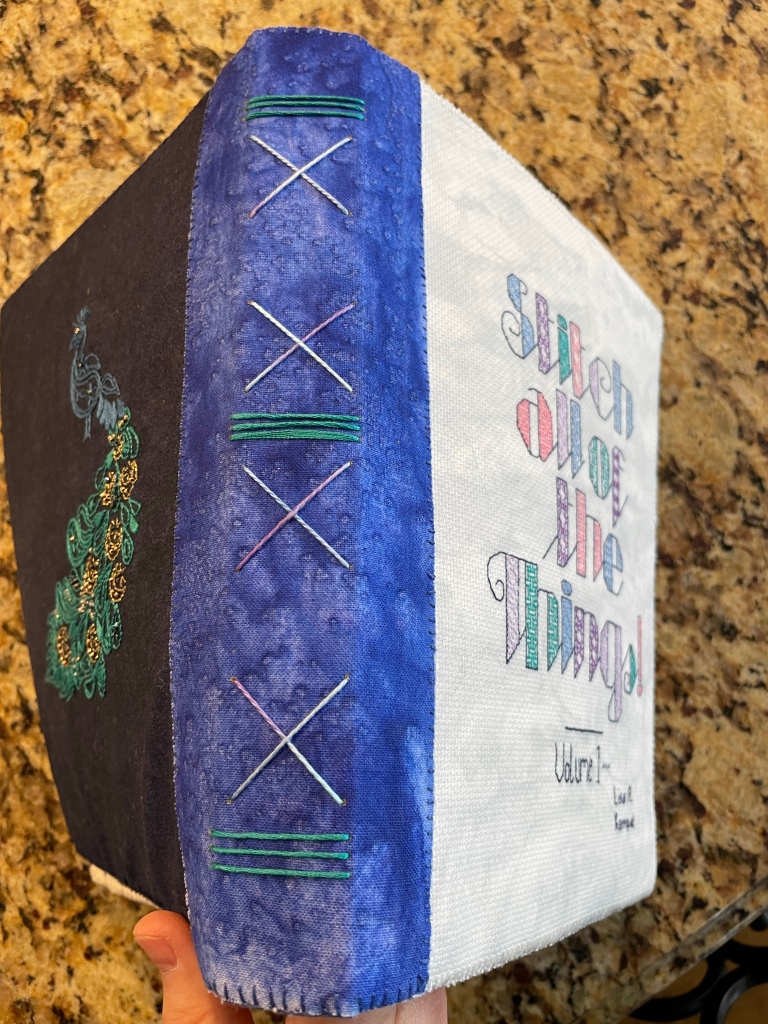

Will I make more embroidery journals? Yes, I think I will. This journal is “Volume 1” and I can easily see a “Volume 2” in my future!

