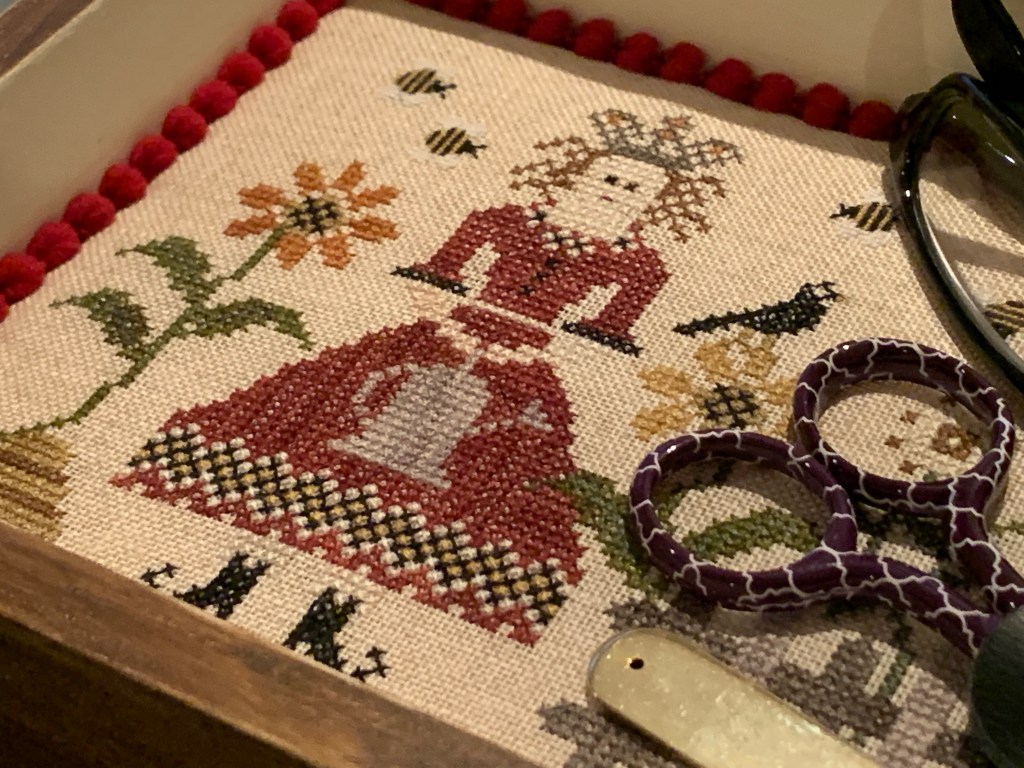
I finished this lovely little cross-stitch piece last year and as soon as I removed it from the stretcher bars, I promptly forgot about it.
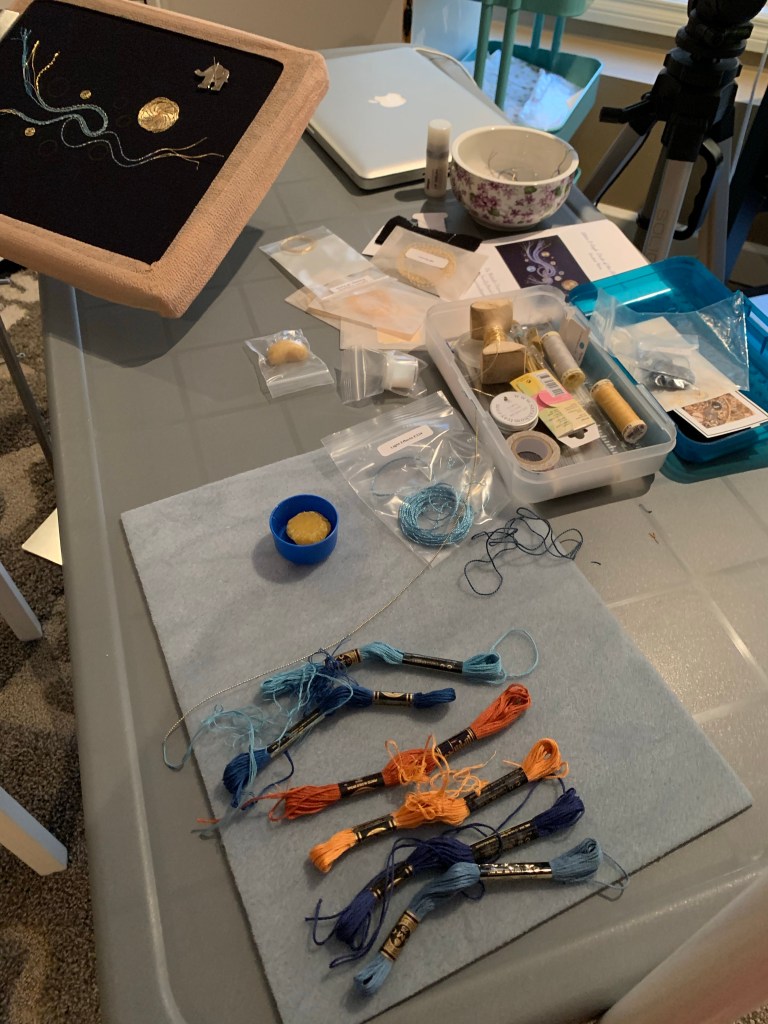
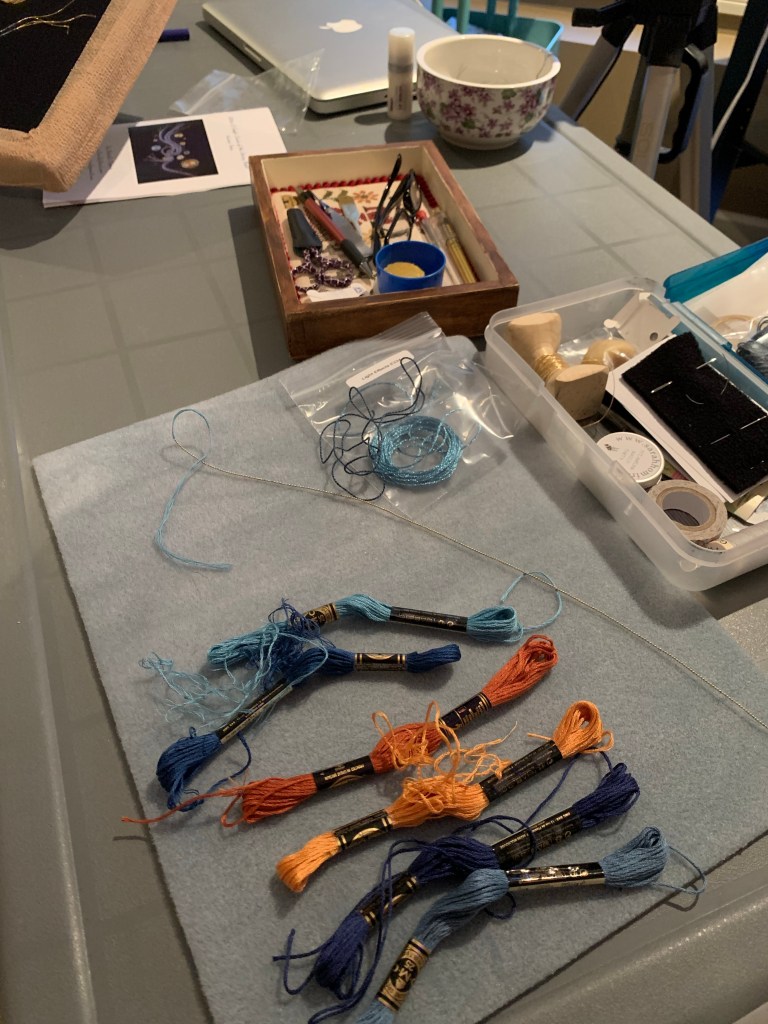
I rediscovered it a couple of weeks ago and decided to use it to embellish an embroidery tool tray. I’ve been having trouble wrangling some of my Goldwork supplies at my workstation – not only will I be able to enjoy this lovely piece, it is going to be a very useful tool to help me stay organized!
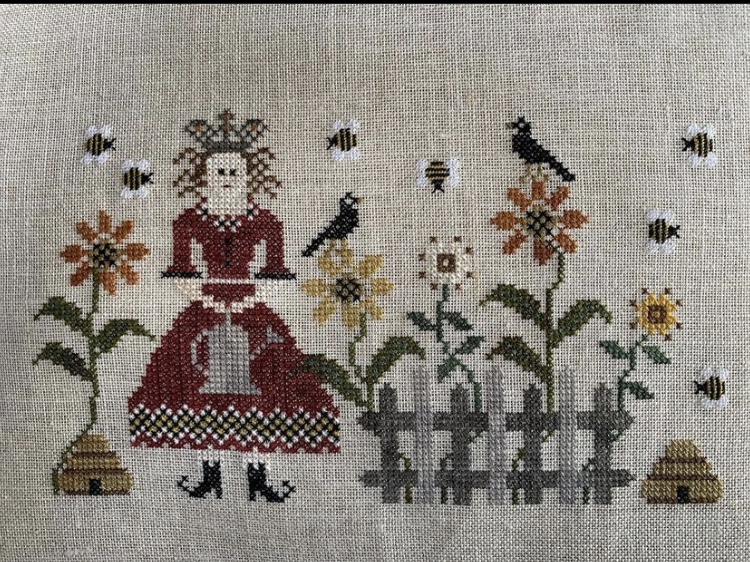
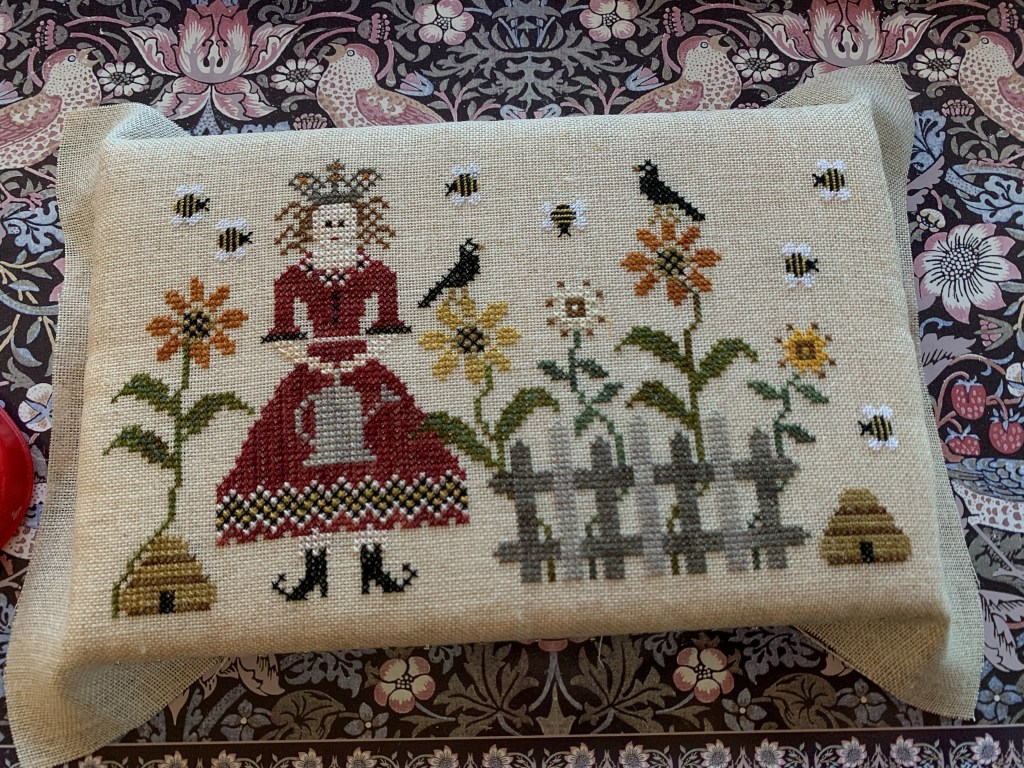
The cross stitch piece is called “The Queen’s Garden” and is designed by The Scarlett House. I love to garden and I was drawn to this piece because of the queen’s hair! Sometimes I feel I look a little like her when I come in from outside (although I don’t usually wear a crown when I’m gardening).
The best part about this project is that there is NO sewing involved!
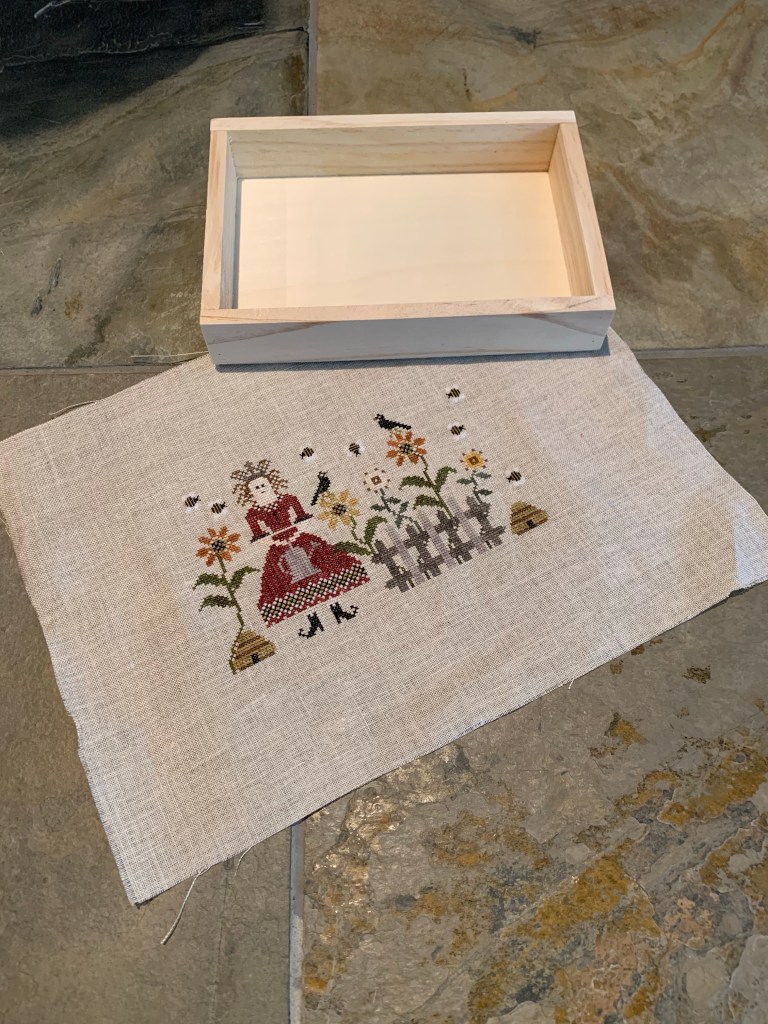
I purchased this inexpensive, unfinished pine tray from Michael’s (Canada) – NOTE: The store website describes it at as “Large Wooden Plaque by Artminds”. It is approximately 9″ by 6 1/4″ in size. I found some sheepskin chalk paint and brown antiquing wax in the clearance bin (also at Michael’s). It was a great find and super cheap. All other supplies for this project are from stash.
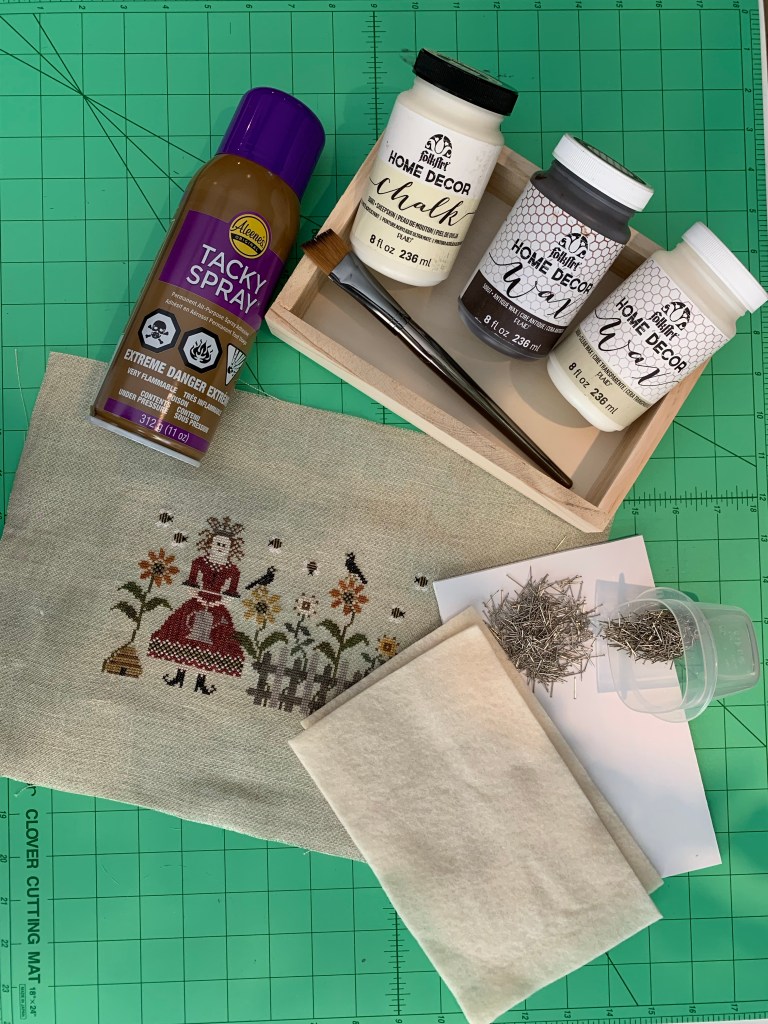
Supply List…
- unfinished pine tray 9″ by 6 1/4″ (from Michaels Canada)
- finished embroidery piece (finished size is 8″ by 5 1/2″)
- chalk paint (sheepskin)
- antquing wax (brown and clear)
- paint brush
- old rag
- Aileen’s Tacky Spray
- wool felt or batting
- foamcore (acid free)
- stainless steel sequin pins
- scissors
- Lady Dot pom pom trim
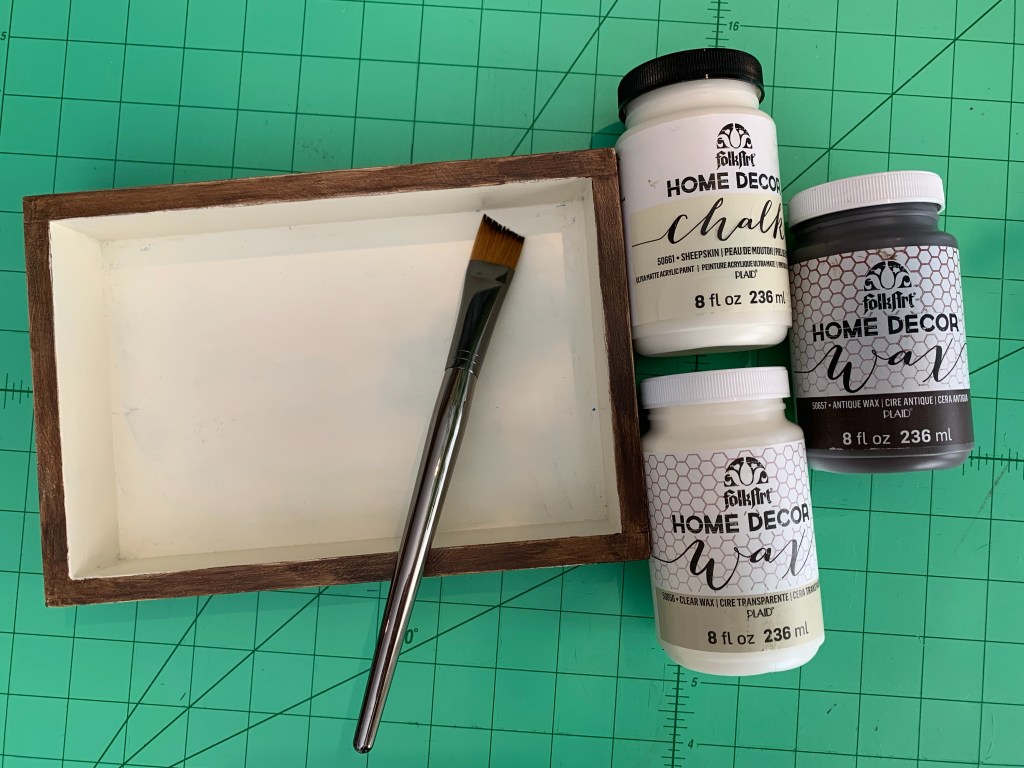
Chalk Paint, wax and paintbrush 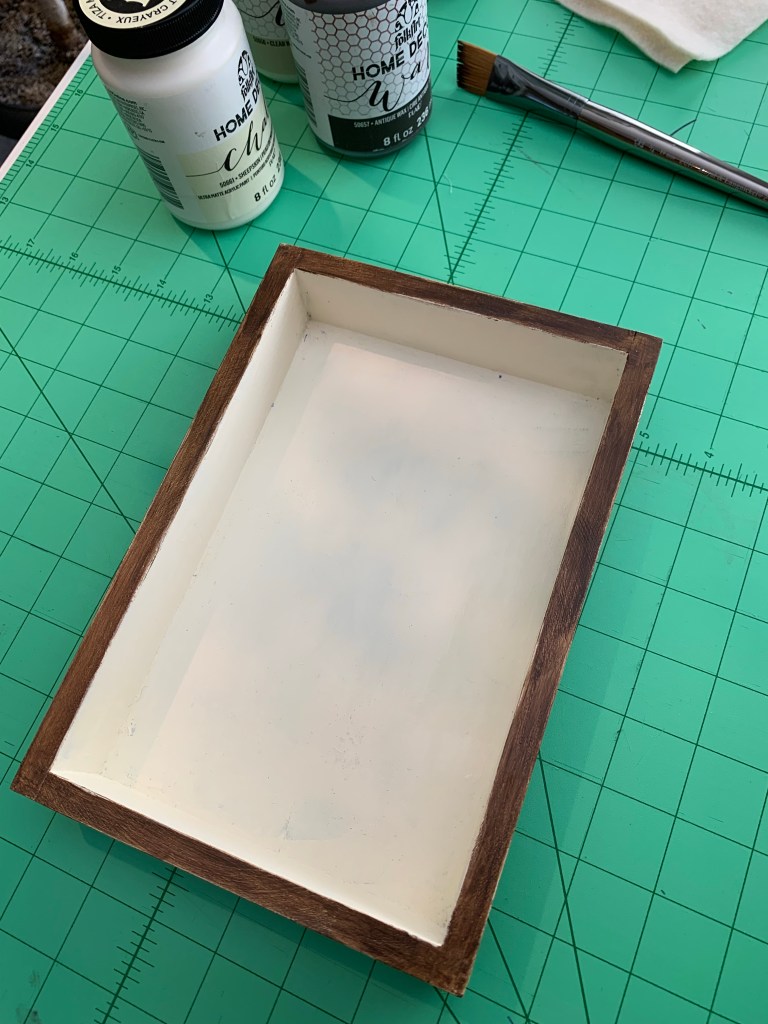
I like the creamy inside colour. 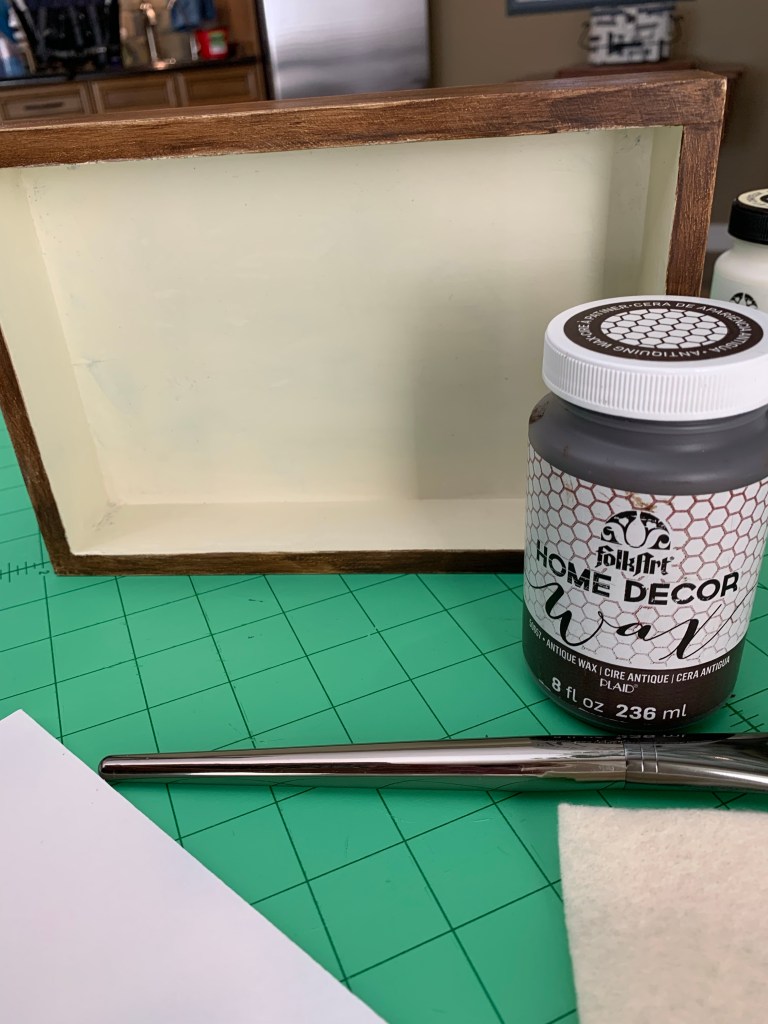
Distress after applying the wax 
The finish looks great!
Paint the wood tray with two coats of Sheepskin FolkArt Chalk Paint. Wait till the paint completely dry beween coats. Set aside for a day.
Step 2 – Apply the wax and distress
Outside tray – Apply an even coat of brown FolkArt Antiquing Wax to the outside of the tray. Let dry for a few hours (or overnight). Take a cloth rag and rub the wax until it is smooth. To distress the edge, take a damp Scotchbrite kitchen sponge and rub the edges to remove enough wax so that the chalk paint shows through. If you rub away too much, you can reapply the brown antiquing wax and try again.
Inside tray – apply an even coat of clear Folkart Wax to the inside of the tray. Let dry for a few hours (or overnight). Take a cloth rag and rub the wax until it is smooth. You are done!
Set the tray aside for a few days until the wax and paint have cured. The finish should have a soft, silky feel.
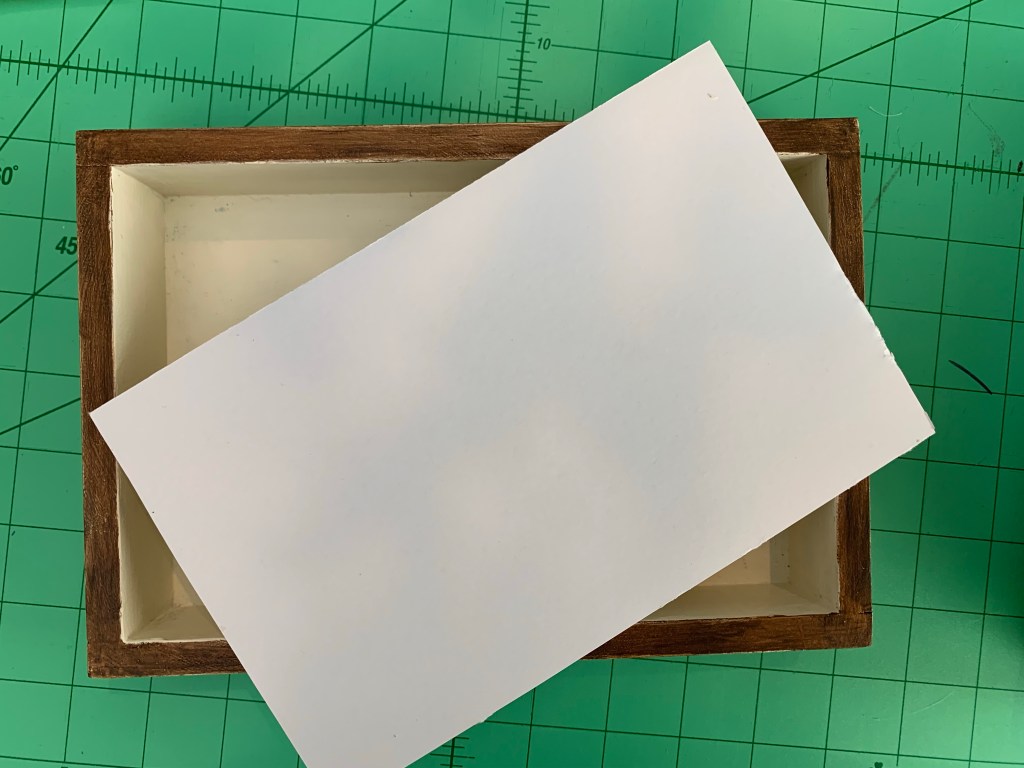
Foamcore – cut to size 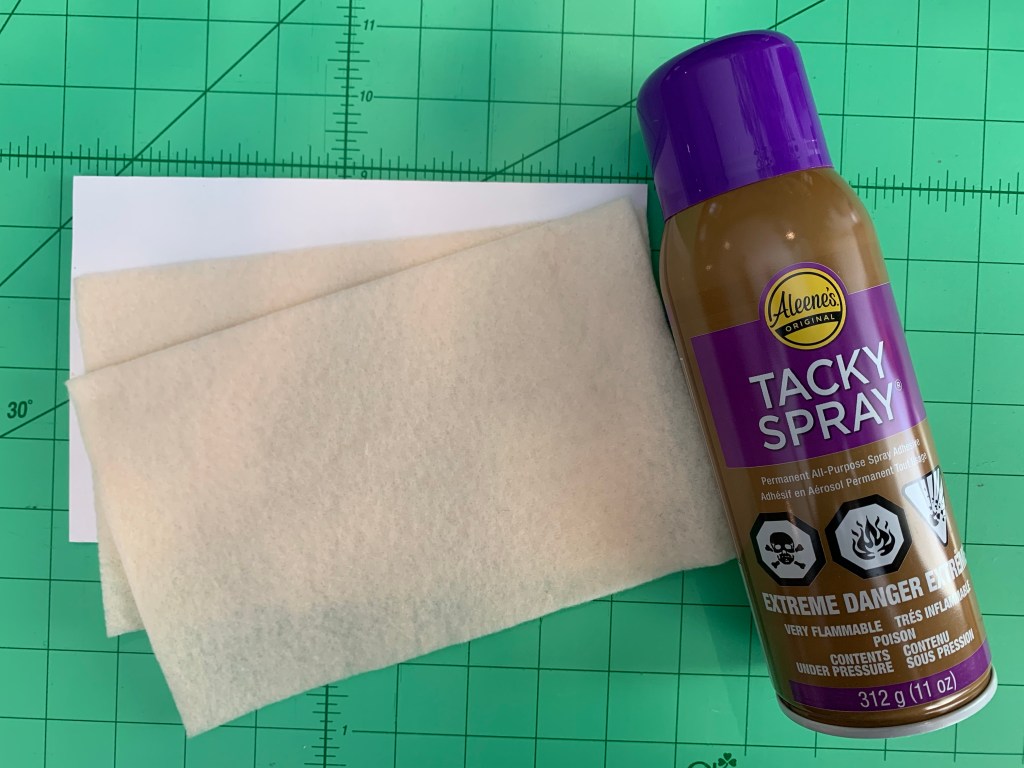
Wool Felt Padding and Tacky Spray
Step 3 – Cut foamcore and wool felt padding to size
Using an exacto knife and ruler (I used a quilting ruler), cut the foamcore to size. Make sure you have just a little more than 1/8″ of room between the foamcore and the sides of the tray.
With a rotary cutter, cut out 2 pieces of wool felt. One piece should be just a scant bit smaller than the size of the foamcore. The second piece should be about a 1/4″ smaller, all the way around.
In an open, ventilated area, glue the felt to the foamcore (put the smaller felt piece on first, and then cover with the larger piece). If you don’t have the tacky spray, you can use white glue or fabric glue. Just make sure the glue is applied in a thin even coat. Let dry
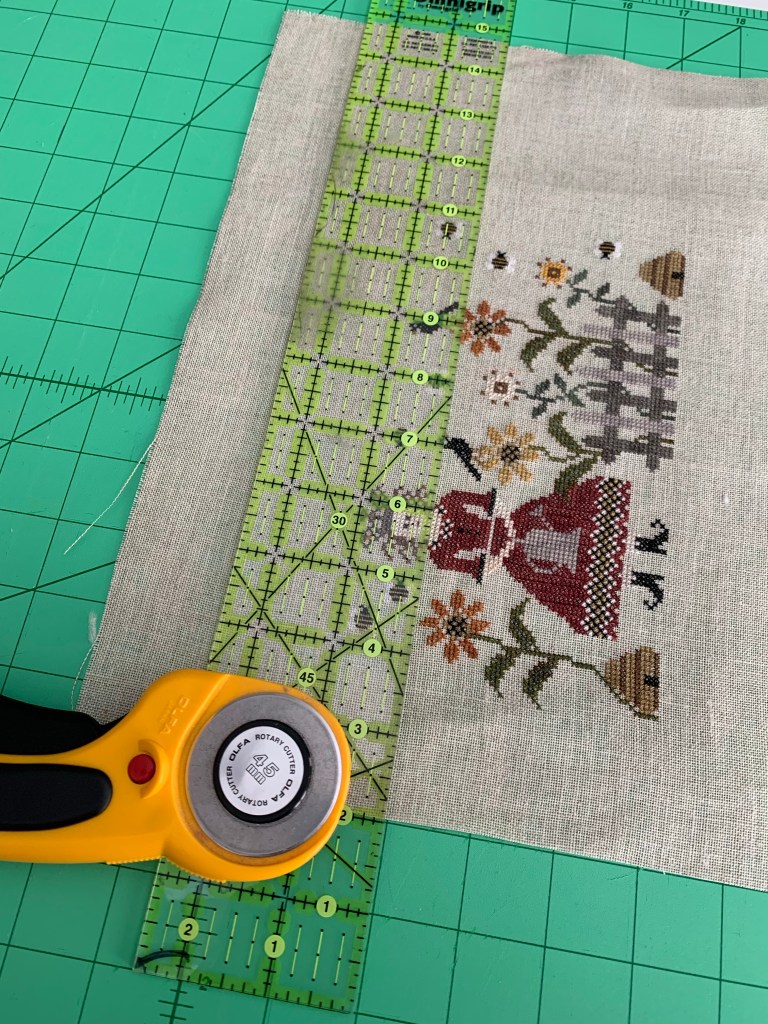
Step 4 – Trim embroidery piece
Trim the embroidery piece approximately 1 1/2″ larger than the foamcore (on all sides).
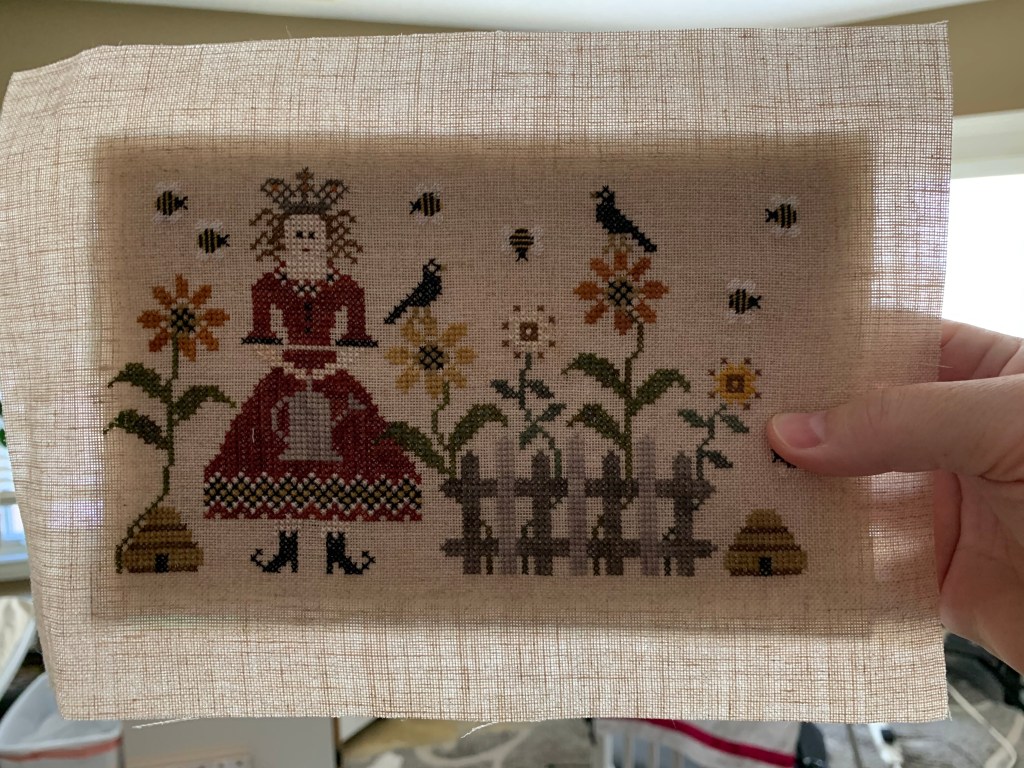
Step 5 – Mounting the embroidery
Place the embroidery piece over the felt and foamcore. Make sure it is properly centered. Tip: Hold it up to a window or light – you will be able to easily see where the sides of the foamcore are in relation to the embroidery on the piece.
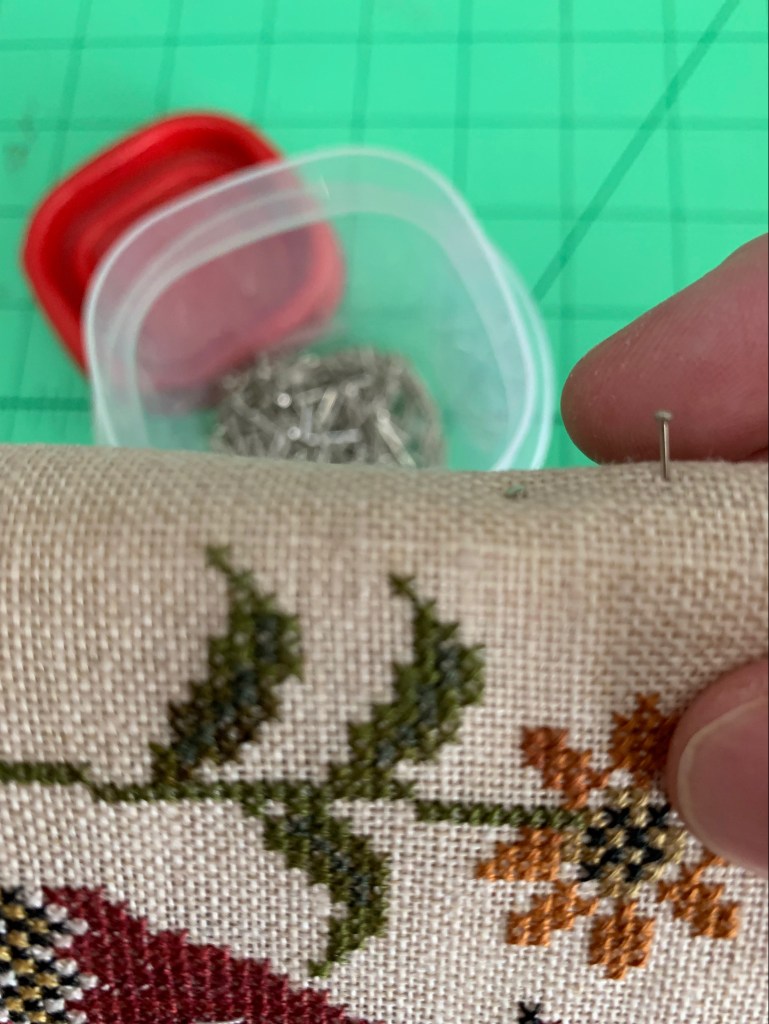
Hold in place with sequin pins 
double check positioning 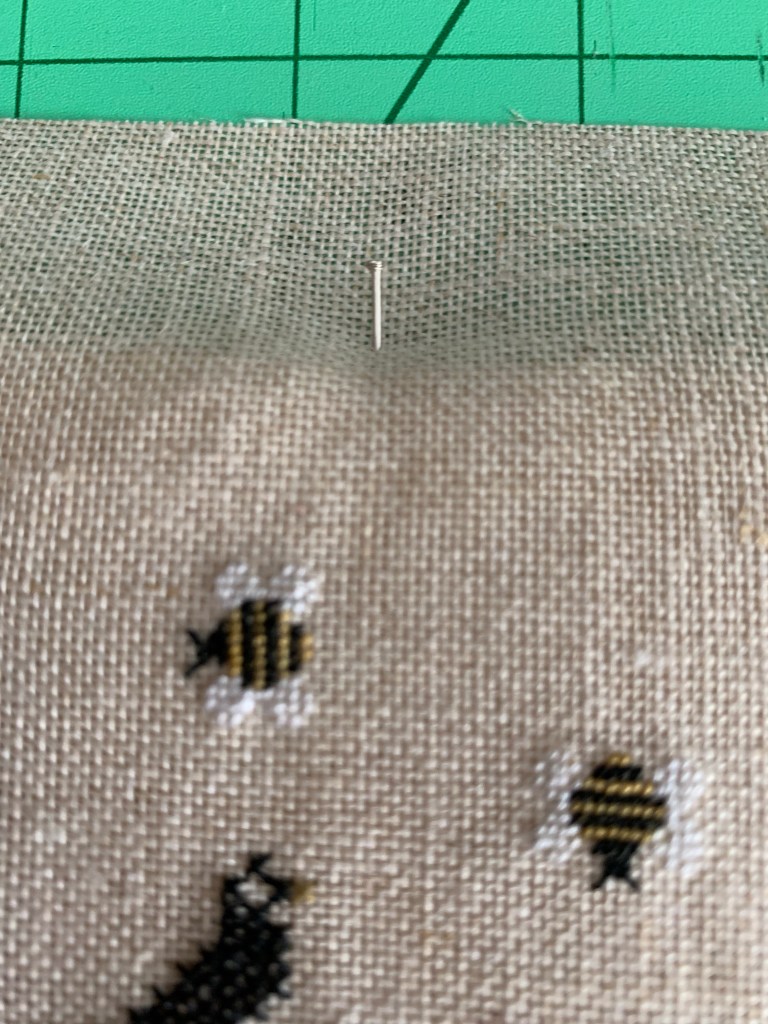
close up!
Step 6 – Tack in Place
Using the sequin pins, tack each side with one pin to hold the embroidery in place.
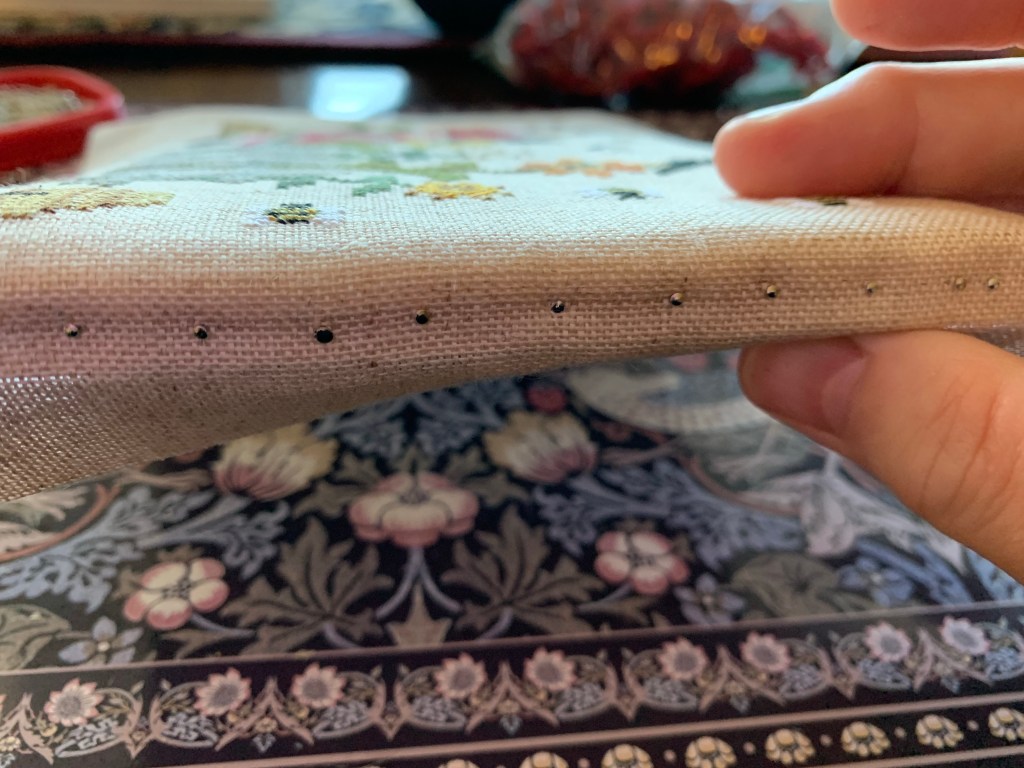
Step 7 – Pin embroidery to foamcore
Starting on a short side, pin the embroidery to the foamcore using the sequin pins. Place pins about 1/2″ apart. Do not pull the embroidery. Just make sure it’s laying flat.
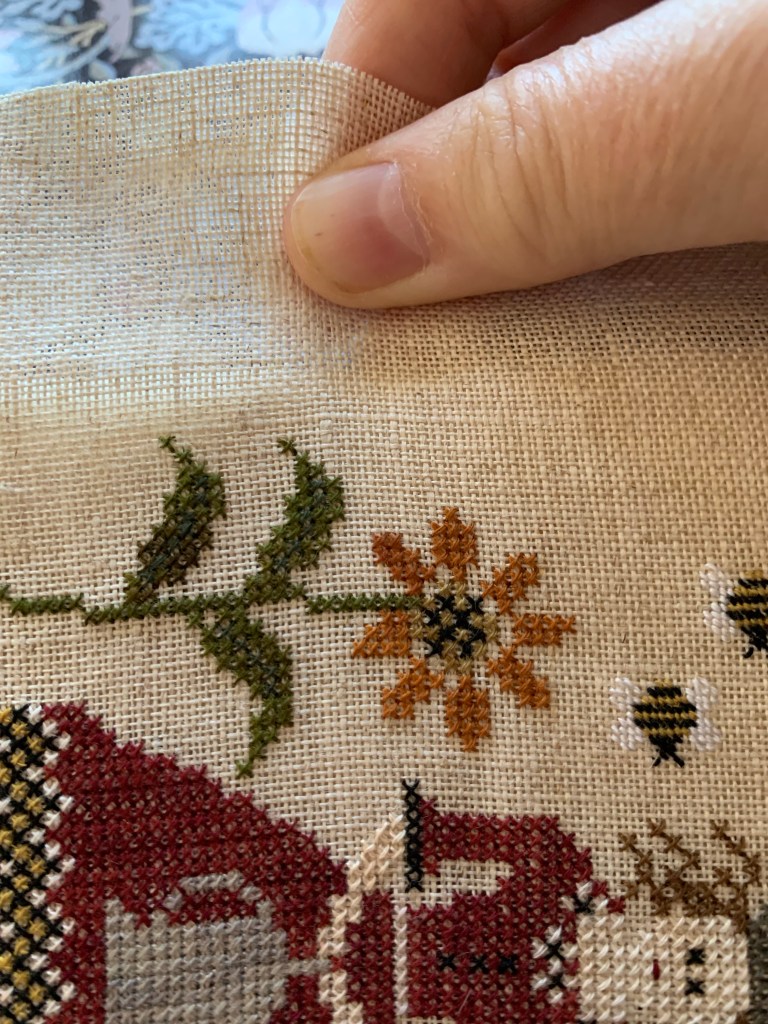
pin the opposite edge 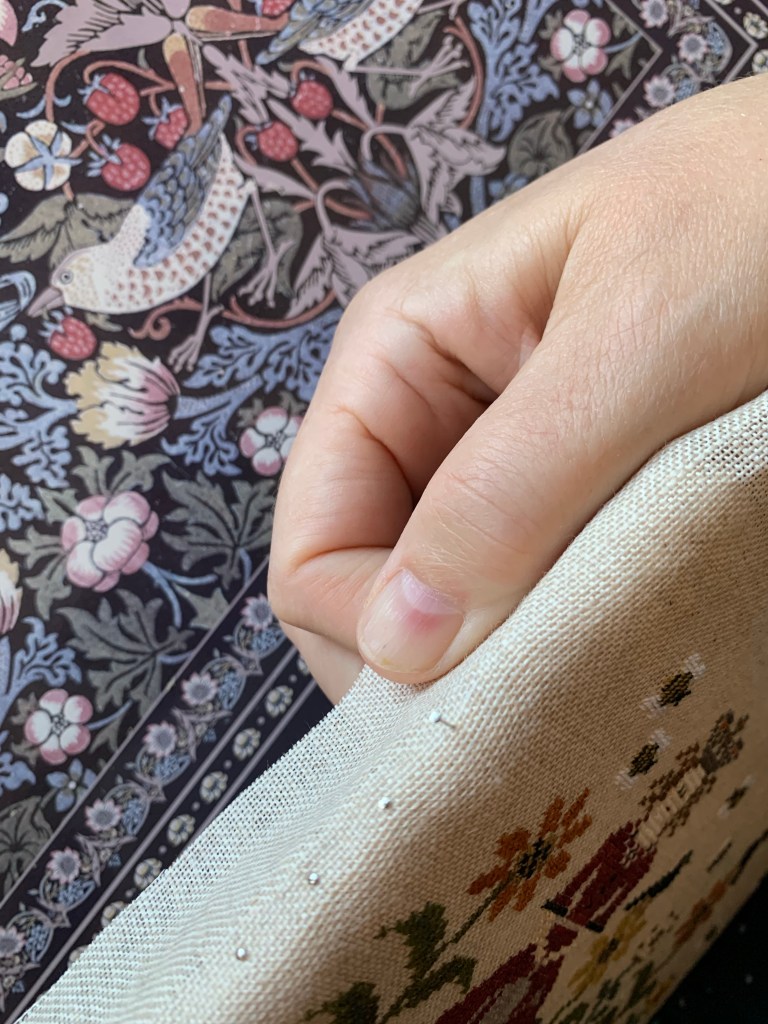
pull gently
When you are done pinning the first short side, flip the piece over and pin the second short side. Gently pull the embroidery so that it is very smooth and snug against the foamcore. Pin along the edge with sequin pins (every 1/2″ or so).
repeat on the other two sides 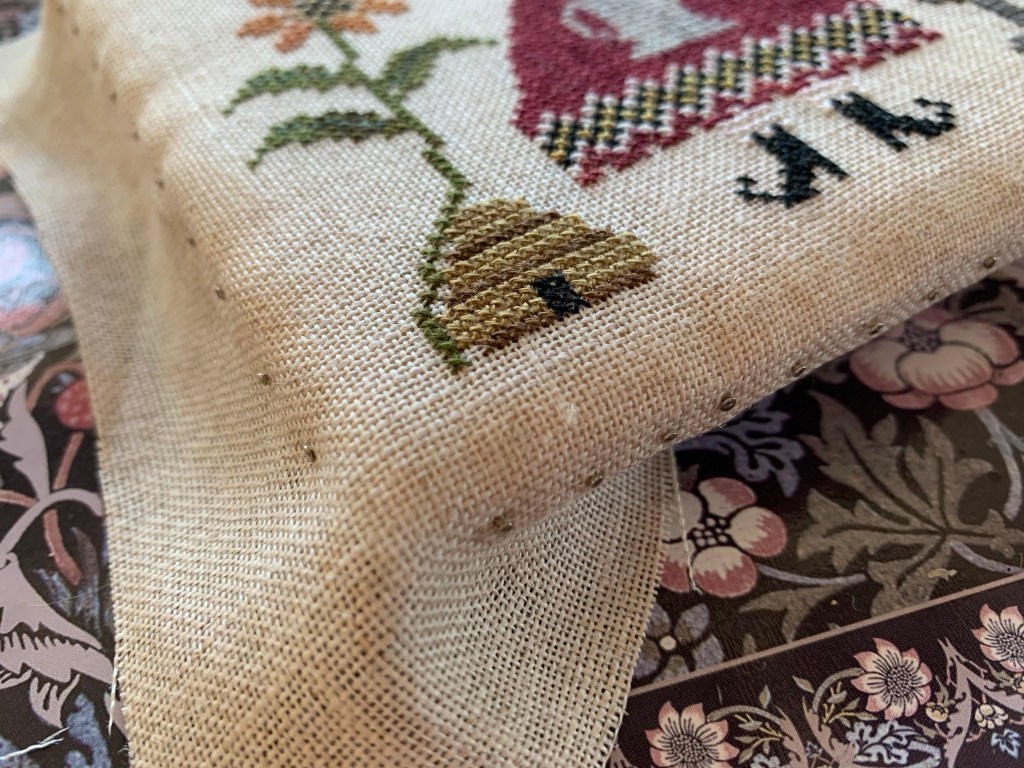
pin right to the corners
Repeat this process with the top and bottom of the piece. Make suire you pin right to the corners.
As you pin, make sure that the piece is still centered. If you find that it has come off center, remove one or two pins, reposition and repin. This process is a bit finiky and might take some time.
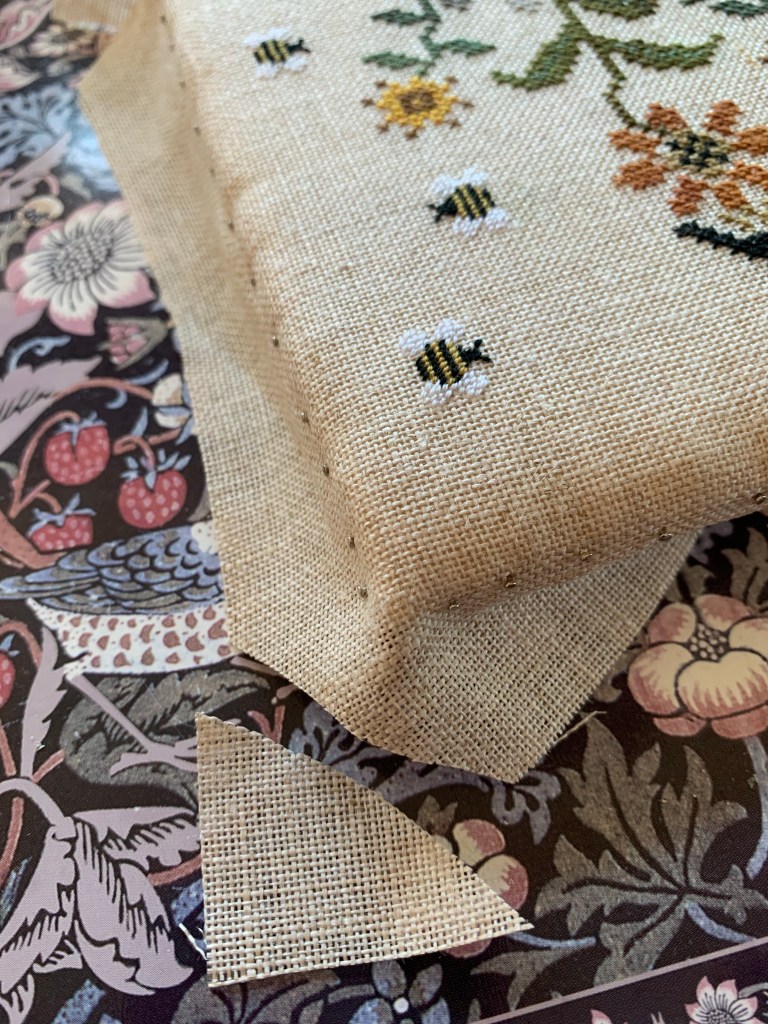
When you are done, trim points from all 4 corners.
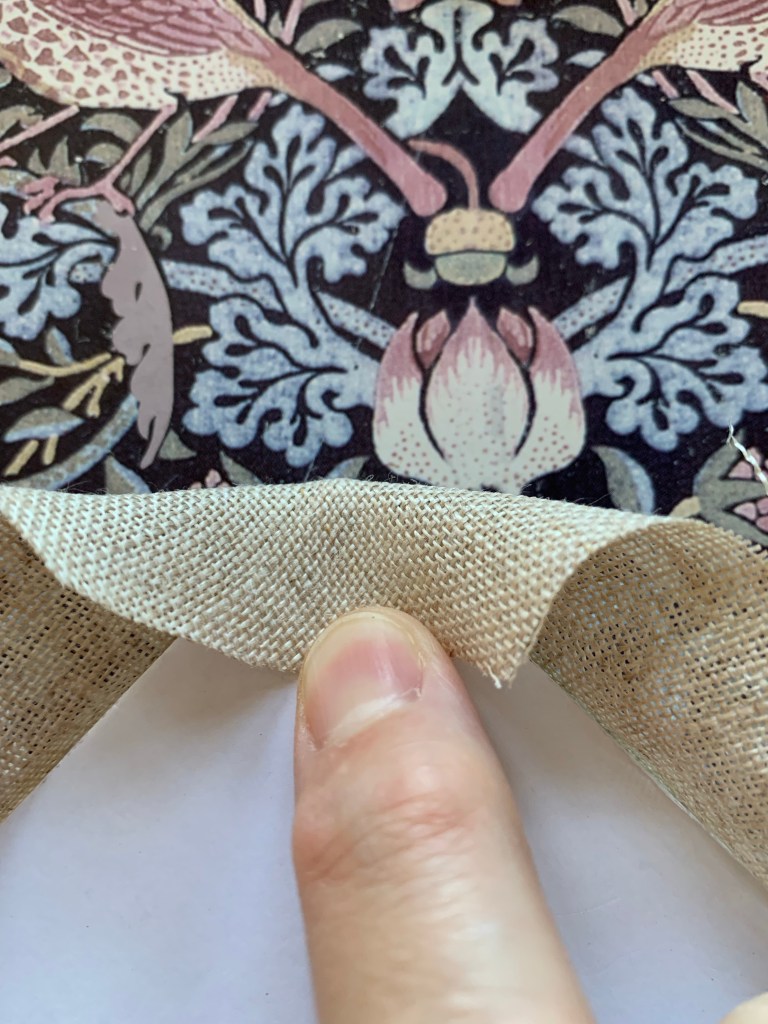
1. fold middle down 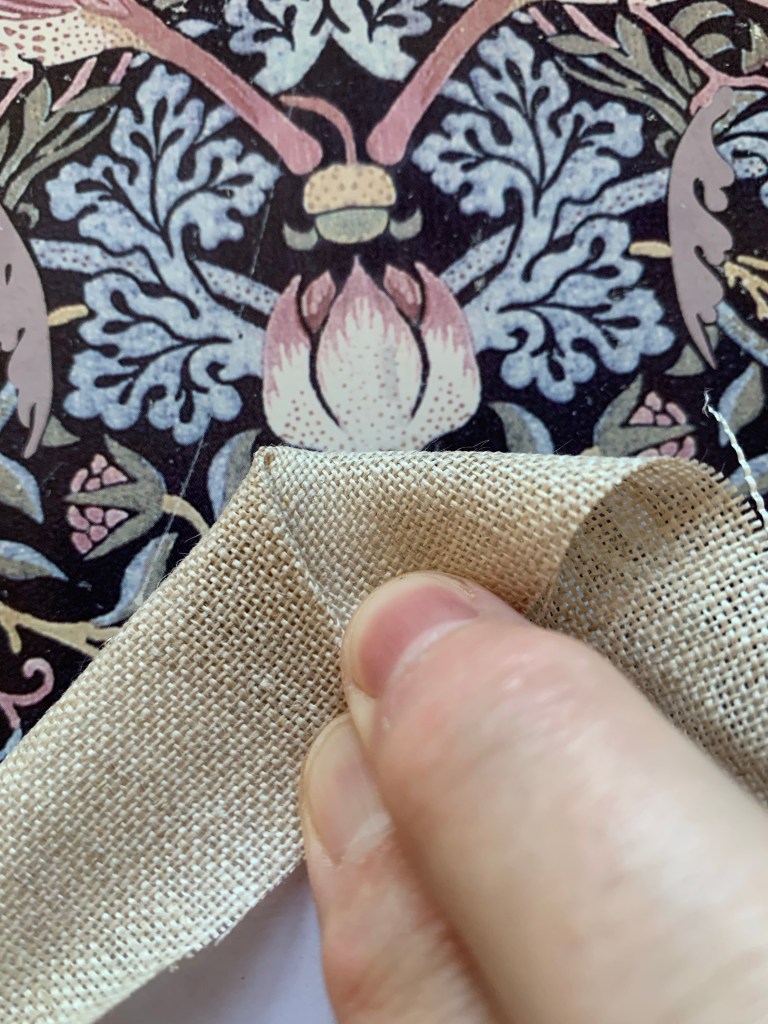
2. fold one side 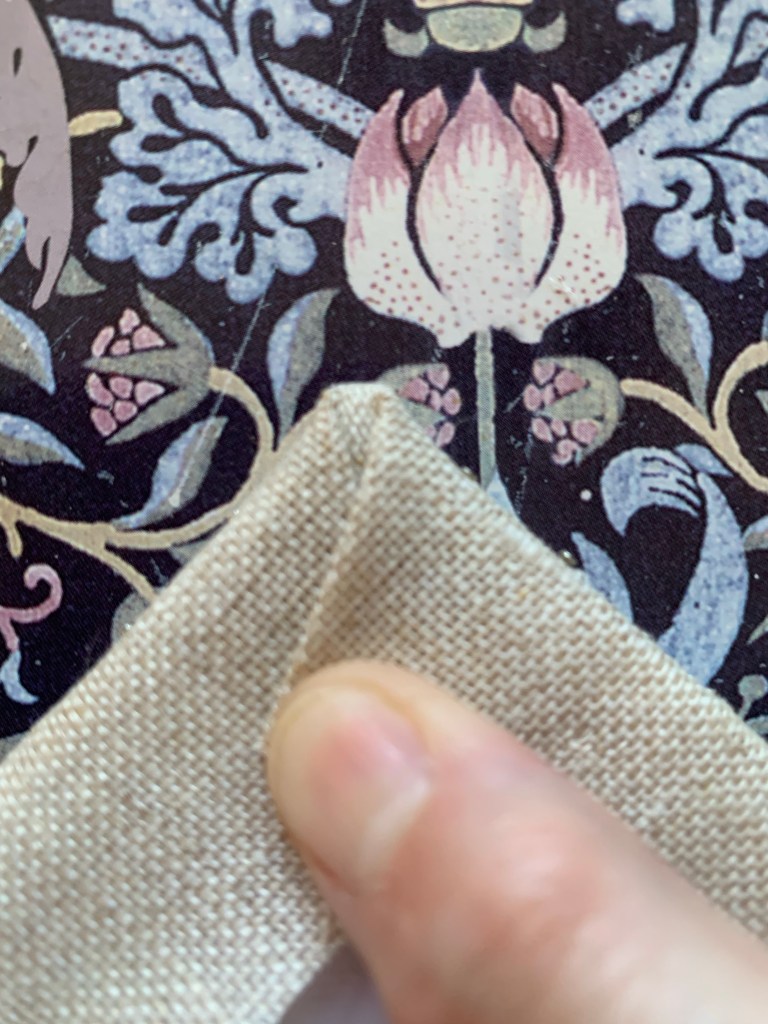
3. fold other side 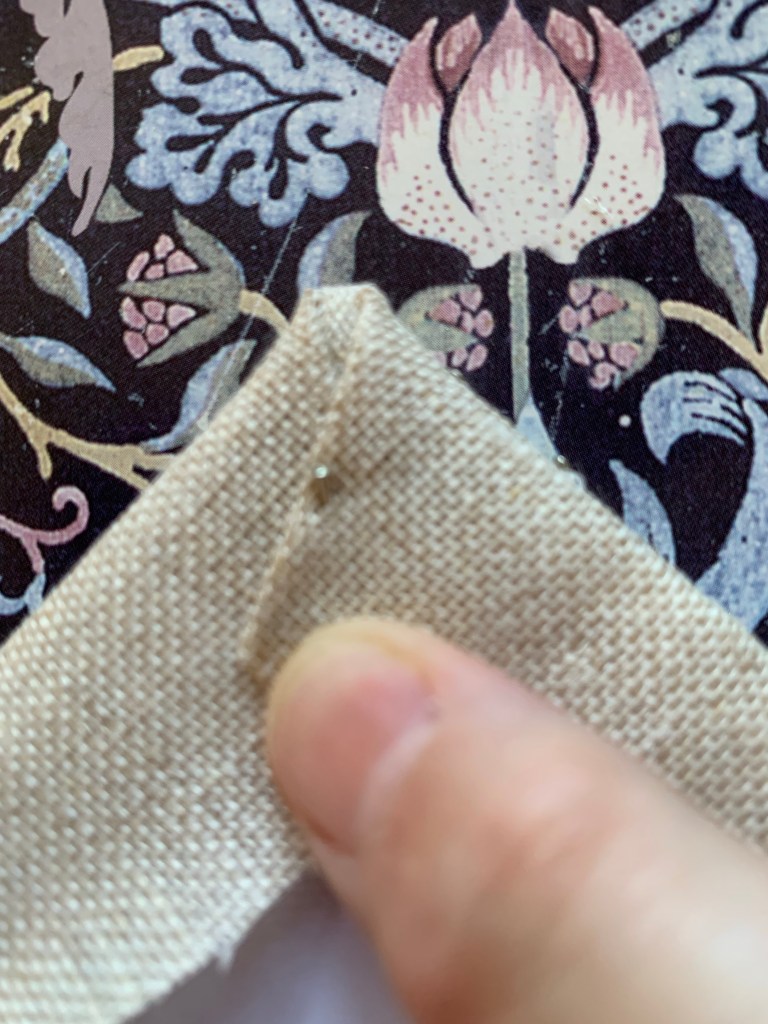
4. add pin on the bottom to hold in place
Step 8 – finish the corners
Folding the corners is a 4 part process: 1. fold the edge of the piece over the corner and onto the foamcore; 2. fold the left side in (tuck the extra fabric behind the fold); 3. Fold the right side in (tuck the extra fabric behind the fold). The folds should slightly overlap in the center. Smooth the corner with your fingers and add an extra pin or two if needed; 4. add a pin on the bottom of the foamcore to hold the fold in place.

add pom-pom trim 
use pins to hold in place 
make sure the pom poms are above the embroidery surface
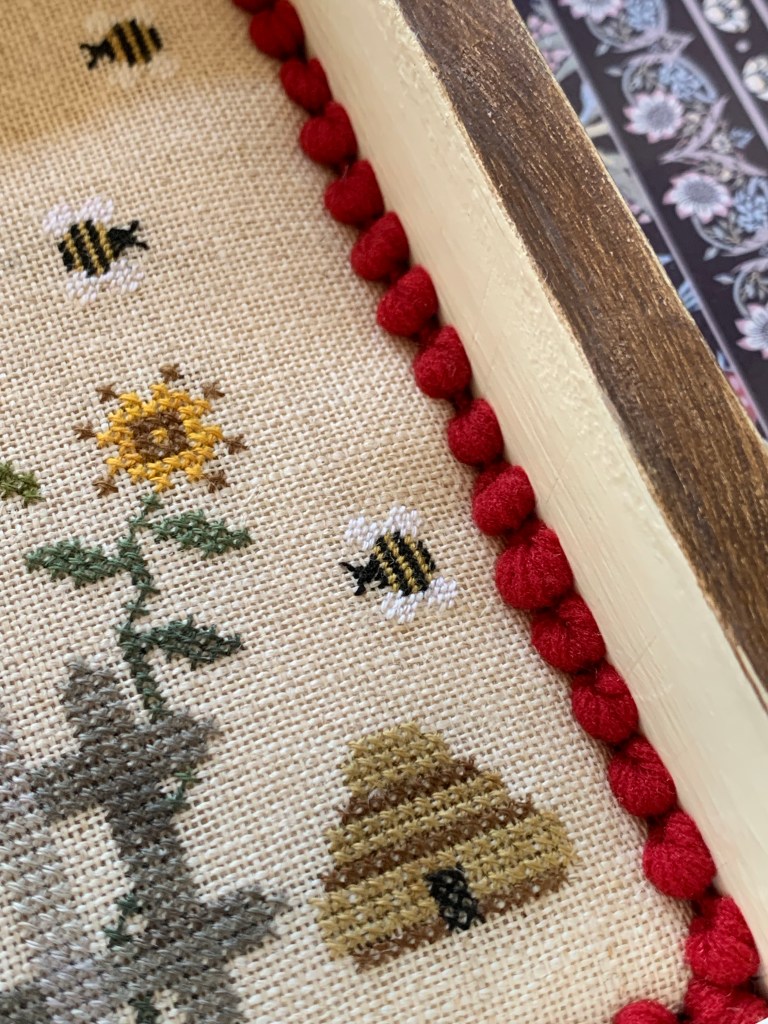
Step 9 – Add the pom-pom trim
Starting in the middle of the bottom of the foamcore, place the edge of the pom-pom trim along the edge, pin in place. Make sure that the pompoms extend above the edge of the embroidery. Continue pinning all the way around. Cut the trim and secure the ends together with pins.

Step 10 – Insert piece into tray
Start with one side, insert the mounted piece into the tray. This will be a very tight fit! Make sure that you watch the pins as you press the piece into the tray – you don’t want to scratch the paint and you don’t want the pins to pop out.
As you can see in the picture above, the embroidery piece was not mounted quite tight enough and it looks lumpy. This is very easy to fix. Remove the foamcore mount from the tray and readjust the pins, pulling the fabric just a little more snugly.

if the pom poms are tucked under, pull them up using a tweezers are pointy tool
If you find the pom-poms are not quite sitting high enough, you can gently pull them up with a pointy object. You can also adjust the height by adjusting the position of the pins on the sides (raising them up just a bit).

Step 11 – apply felt pads to the bottom
To keep the tray from scratching surfaces, apply “fuzzy feet” felt pads to the bottom. These pads are left over from an old Ikea build! They work great!!
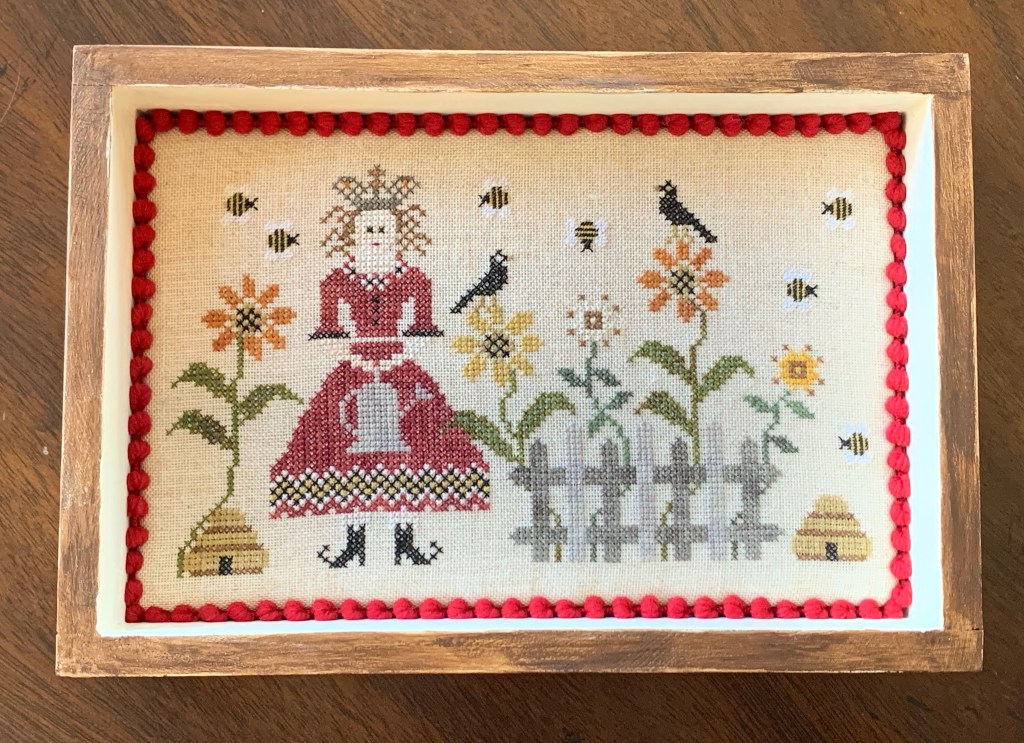
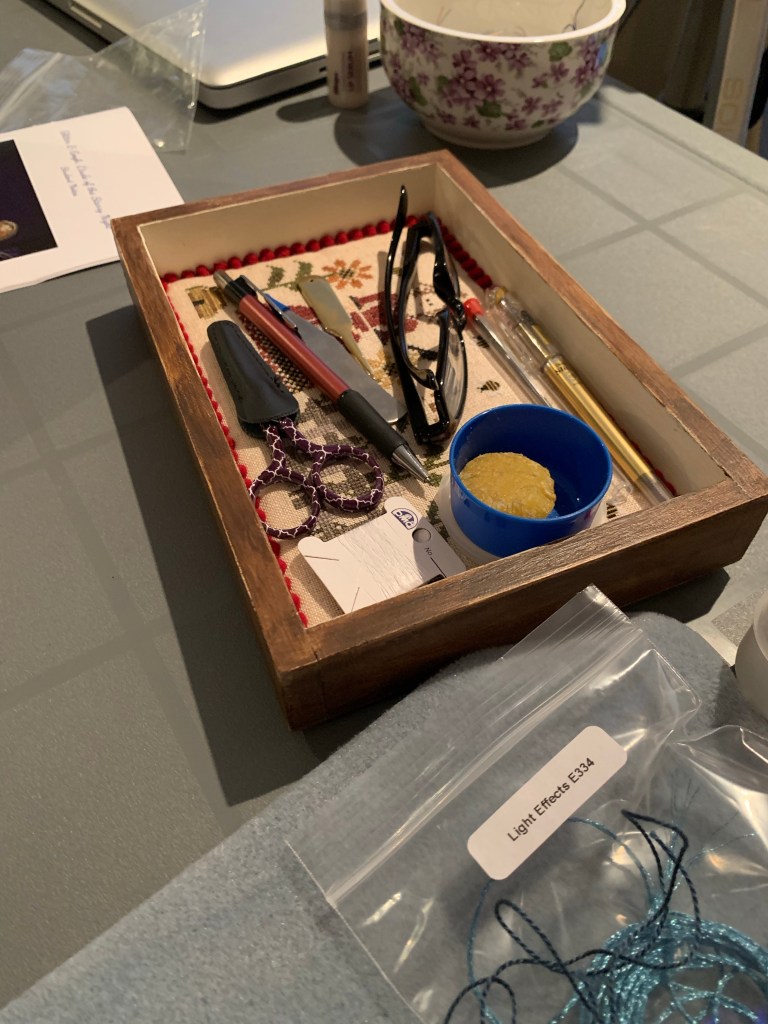
And that is all there is to it! You now have a beautiful, functional embroidery tool tray! I use mine to hold goldwork accessories. There are just so many little bits and pieces! I find this little tray is the perfect tool to help keep my workstation organized!


I love your little tray the embroidery and the directions very well explained and I love the idea of a tray to keep your tools, you always know where they are when you need to reach for one.
LikeLike
Thanks Bernice, I’ve used it quite a bit already!
LikeLike
Lovely work! Beautiful photography and nice clear instructions.
LikeLiked by 1 person
It is wonderful to see alternatives to framing finished works. Your tutorial was well presented – clear explanations and photographs. Thank you! I look forward to your future tutorials!
LikeLiked by 1 person